Peanut Butter Granola Bars That Actually Hold Together
Peanut butter granola bars should taste like a treat and still carry you through a 3 p.m. slump. Let’s make bars that deliver both without weird additives or a sugar crash. I’ll show you exactly how to get chewy-but-not-gummy texture, smart mix-ins, and a foolproof no-bake and baked option. Ready to stock your snack drawer like a pro?
Never wonder what's for dinner again.
Get 7 healthy, family-friendly dinners complete with recipes, grocery lists, and simple meal plans delivered straight to your inbox.
Why Peanut Butter Granola Bars Just Work
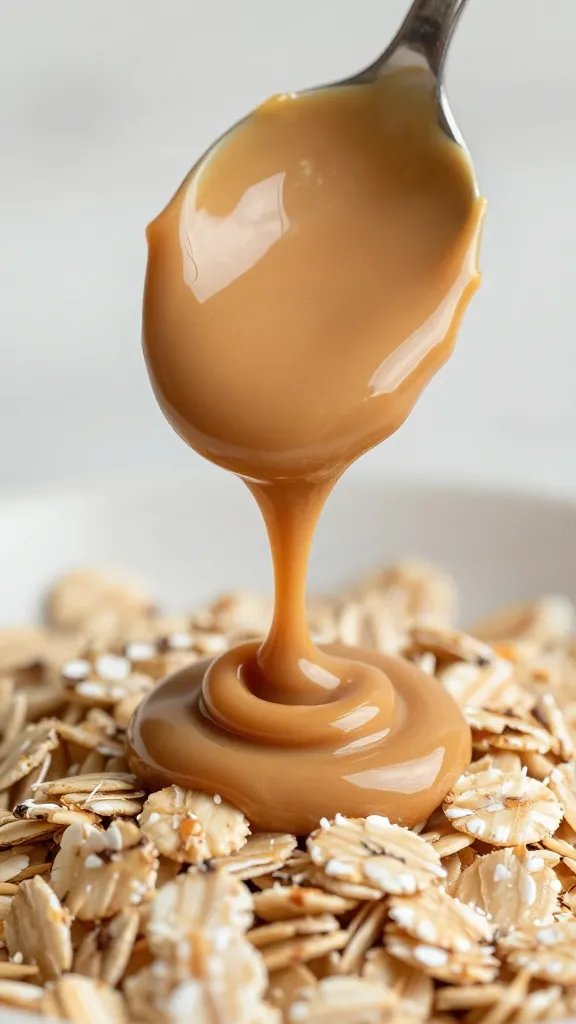
Peanut butter brings protein, healthy fats, and that nostalgic, stick-to-the-roof-of-your-mouth goodness. Oats keep things hearty and satisfyingly chewy. A little sweetness binds it all together and—let’s be honest—makes them feel like dessert-adjacent fuel. The key? Balance texture with binding power so your bars don’t crumble into granola confetti.
Core Ingredients That Nail Texture And Flavor
You don’t need a 20-ingredient shopping list. Stick to these essentials:
- Rolled Oats: Old-fashioned for chew. Skip quick oats if you want real texture.
- Peanut Butter: Natural or regular both work; regular makes firmer bars.
- Sweetener: Honey for chewiness, maple for softer bars with deeper flavor.
- Binder Boosters: A touch of brown sugar and a bit of coconut oil or butter for structure.
- Mix-Ins: Chopped peanuts, chocolate chips, seeds, or dried fruit. Go wild, but keep ratios sensible.
- Flavor Makers: Vanilla, a pinch of salt, maybe cinnamon.
Pro Ratio (Memorize This)
Oats:Peanut Butter:Liquid Sweetener = 3:1:1 by volume. Start there. Add 1–3 tablespoons fat (coconut oil or butter) per batch for sliceable bars that hold.
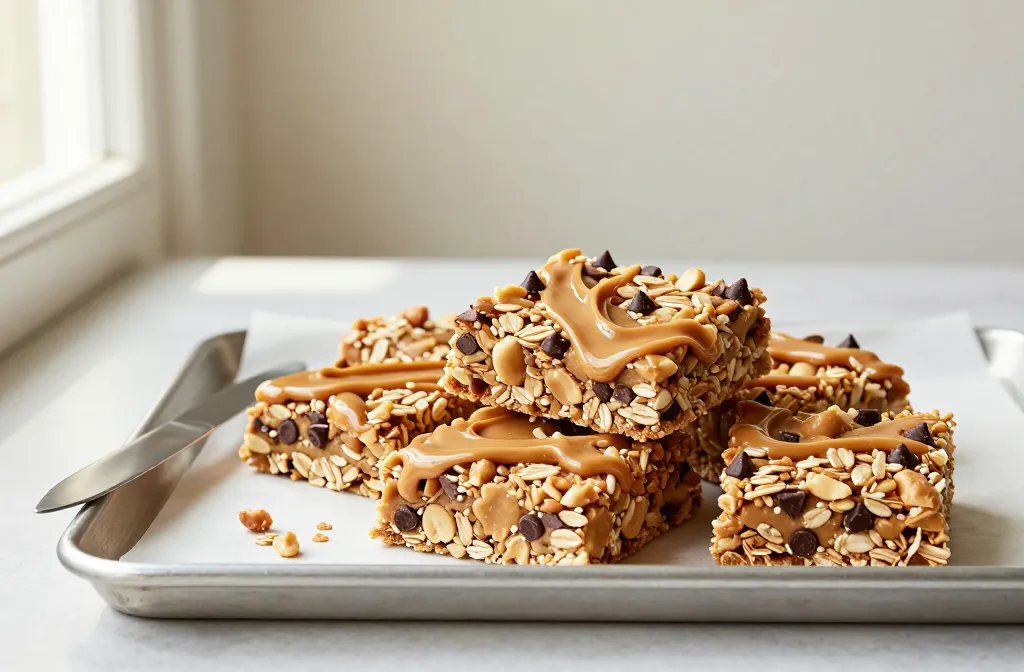
Recipe #1: No-Bake Chewy Peanut Butter Granola Bars
These are fast, flexible, and perfect for meal prep. No oven, zero drama.
Ingredients (Makes 12 Bars)
- 3 cups old-fashioned rolled oats
- 1/2 cup roasted unsalted peanuts, chopped
- 1/2 cup mini chocolate chips (optional but recommended—YOLO)
- 1 cup creamy peanut butter
- 1/2 cup honey (or maple syrup for vegan; slightly softer set)
- 2 tablespoons coconut oil or unsalted butter
- 1/4 cup light brown sugar, packed
- 1 teaspoon vanilla extract
- 1/4 teaspoon fine sea salt
Instructions
- Line an 8×8-inch pan with parchment, leaving overhang.
- In a large bowl, combine oats, chopped peanuts, and chocolate chips.
- In a saucepan over low heat, warm peanut butter, honey, coconut oil, and brown sugar. Stir until smooth and just starting to bubble—about 2–3 minutes. Remove from heat; stir in vanilla and salt.
- Pour the warm mixture over dry ingredients. Stir until every oat looks glossy. If chocolate chips melt a little, that’s a feature, not a bug.
- Press very firmly into the pan—use the back of a measuring cup to compact. Chill 1–2 hours, then slice into 12 bars.
Make-It-Yours Ideas
- Swap half the oats for crispy rice cereal for lighter crunch.
- Sub 1/4 cup of the peanuts with chia or pumpkin seeds for extra texture.
- Stir in 1/2 teaspoon cinnamon or espresso powder for a vibe.
Nutritional Facts (Estimated) – No-Bake Chewy Bars
Serving Size: 1 bar (1/12 of 8×8 pan), approx 50–55 g
- Calories: ~290
- Total Fat: ~15 g
- Total Carbohydrates: ~33 g
- Dietary Fiber: ~4 g
- Net Carbs: ~29 g
- Protein: ~8 g
Disclaimer: Nutrition values are estimates based on standard USDA data and common brands; actual values vary by ingredients and portion size.
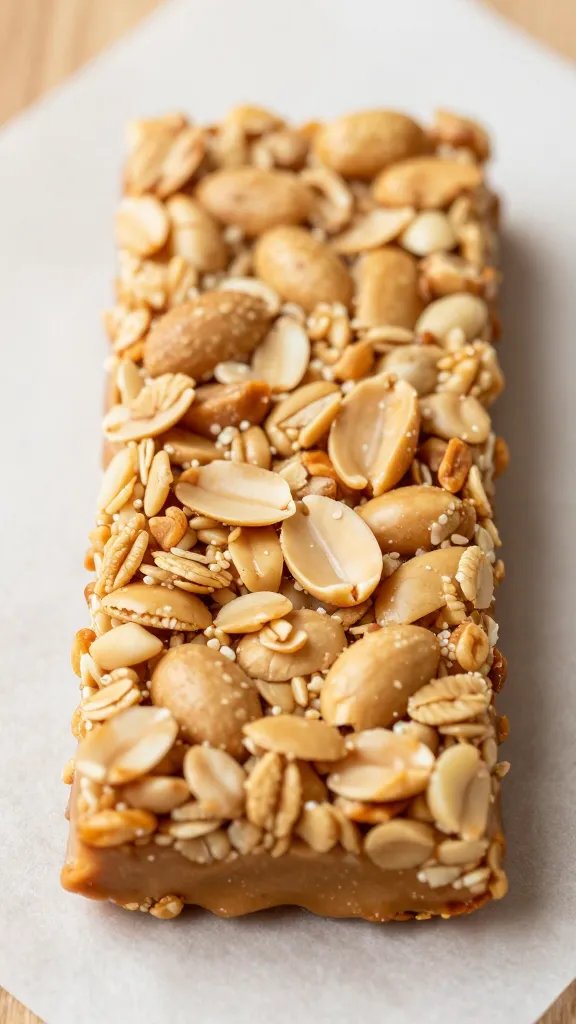
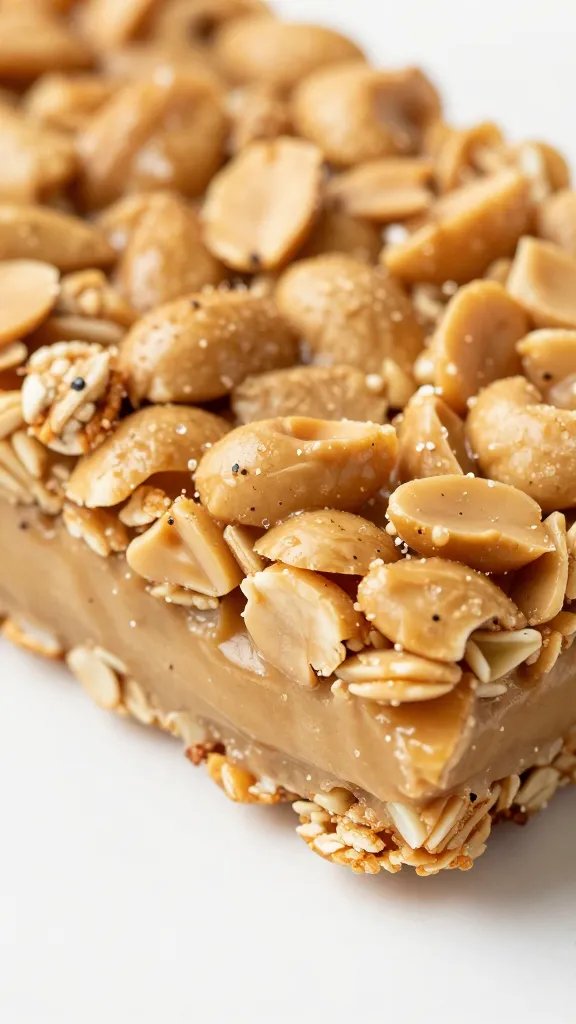
Recipe #2: Baked Crunchy Peanut Butter Granola Bars
Want a toasty, cookie-adjacent bar that still fuels you? Bake them. You’ll get crisp edges, a firm bite, and fewer fridge steps.
Ingredients (Makes 12 Bars)
- 3 cups old-fashioned rolled oats
- 1/2 cup chopped roasted peanuts
- 1/4 cup flaxseed meal (or wheat germ) for structure
- 1/3 cup mini chocolate chips or 1/3 cup dried cranberries
- 3/4 cup creamy peanut butter
- 1/2 cup honey
- 2 tablespoons unsalted butter, melted (or neutral oil)
- 1/4 cup light brown sugar
- 1 large egg, beaten (binder = sturdier bars)
- 1 teaspoon vanilla extract
- 1/2 teaspoon fine sea salt
Instructions
- Heat oven to 325°F (165°C). Line a 9×9-inch pan with parchment.
- In a big bowl, mix oats, peanuts, flax, and chips/cranberries.
- In another bowl, whisk peanut butter, honey, butter, brown sugar, egg, vanilla, and salt until smooth.
- Combine wet into dry and stir until evenly coated.
- Press mixture firmly into pan. Score lines lightly for easier slicing.
- Bake 22–27 minutes until edges are golden and center looks set.
- Cool completely in pan (important for crispness), then lift out and cut into 12 bars.
Nutritional Facts (Estimated) – Baked Crunchy Bars
Need More Easy Dinner Ideas?
Get my FREE 7-Day Easy Dinner Reset and enjoy a full week of healthy dinners without the meal-planning stress.
Serving Size: 1 bar (1/12 of 9×9 pan), approx 55–60 g
- Calories: ~275
- Total Fat: ~13 g
- Total Carbohydrates: ~31 g
- Dietary Fiber: ~4 g
- Net Carbs: ~27 g
- Protein: ~8 g
Disclaimer: Nutrition values are estimates based on standard USDA data and common brands; actual values vary by ingredients and portion size.
Texture Troubleshooting (So Your Bars Don’t Crumble)
Bars falling apart? Too dry. Add 1–2 tablespoons honey or peanut butter and press harder. Too soft or sticky? Add 2–3 tablespoons oats or chill longer. Crumbly edges but gooey middle? You didn’t compact the mix evenly—really press those corners, FYI. Chocolate chips melting? Let the warm syrup cool for 1–2 minutes before mixing, IMO.
Binding Hierarchy, From Strongest To Softest
- Honey + Brown Sugar (heated) = top-tier stickiness
- Maple Syrup = great flavor, slightly softer set
- Peanut Butter Alone = tasty, but needs help from a sweetener or egg
- Egg (baked) = structure bonus for crunchy bars
Smart Swaps And Flavor Spins
Want to keep things interesting? Try these:
- PB&J Vibes: Use dried strawberries and swirl 2 tablespoons jam on top before setting.
- Mocha Crunch: Add 1 teaspoon instant espresso and cacao nibs.
- Trail Bar: Add sunflower seeds, mini marshmallows, and chopped dark chocolate.
- Low-Sugar Nudge: Cut honey by 2 tablespoons and add 1 tablespoon chia seeds for binding.
- Gluten-Free: Use certified GF oats. Easy win.
Storage, Freezing, And On-The-Go Tips
Counter or fridge? Both work. For chewy no-bake bars, the fridge keeps them snappy; for baked bars, room temp preserves crunch. Wrap bars individually in parchment for grab-and-go sanity. Freeze in a zip-top bag up to 2 months—thaw 10 minutes and you’re golden. Road trip hack: stash a few in the glove box and feel smug later.
FAQ
Can I use natural peanut butter?
Yes. Stir it well to reincorporate oil. Natural PB makes a slightly softer bar, so press extra firmly and chill longer. If it still feels loose, add 1–2 tablespoons oats or a spoon of brown sugar.
Are these bars good for kids’ lunchboxes?
Absolutely. They’re sturdy, customizable, and not crazy sweet. For nut-free schools, swap peanut butter with sunflower seed butter and use seeds instead of peanuts.
How do I stop chocolate chips from melting in the mix?
Let the warm peanut butter–honey mixture cool 1–2 minutes before combining. Or fold chips in last and work quickly. You can also sprinkle chips on top and press them in so they keep their shape.
What if I want more protein?
Stir in 1/4–1/3 cup unflavored or vanilla whey/plant protein. Add a splash more honey or 1–2 tablespoons milk if the mixture gets too dry. Taste for sweetness since protein powders vary wildly.
Can I cut them into bites instead of bars?
Totally. Press into a loaf pan for thicker bars or cut 8×8 pans into 24 squares. Smaller bites chill and set faster and work great for quick pre-workout snacks, IMO.
Conclusion: Your New Snack Routine, Upgraded
Peanut butter granola bars hit that sweet spot between treat and fuel, and now you’ve got both a no-bake and a baked version that won’t fall apart on you. Keep the 3:1:1 ratio in your back pocket, press like you mean it, and mix in whatever makes you happy. Stock the fridge, stash a few in your bag, and crush the afternoon slump without a vending machine detour. Snacks: handled.
Printable Recipe Card
Want just the essential recipe details without scrolling through the article? Get our printable recipe card with just the ingredients and instructions.
Loved This Recipe?
If you're looking for more simple, healthy dinners your family will actually eat, grab my FREE 7-Day Easy Dinner Reset. You'll get 7 easy dinner recipes, simple grocery lists, and a done-for-you plan that takes the stress out of mealtime.