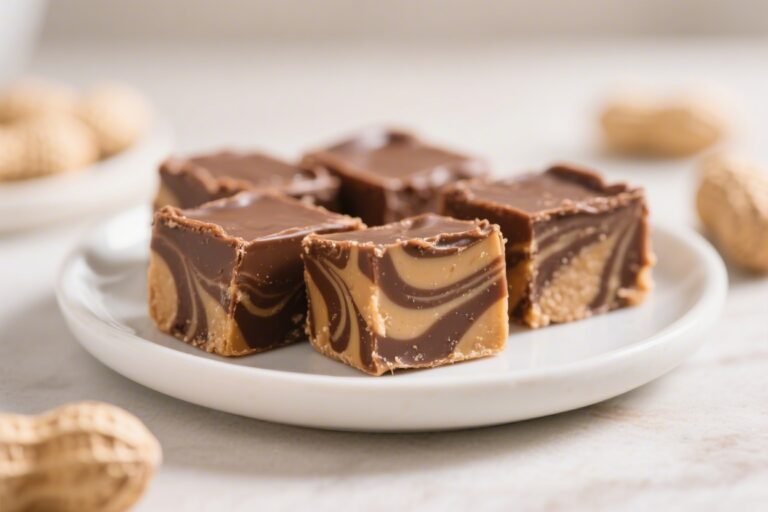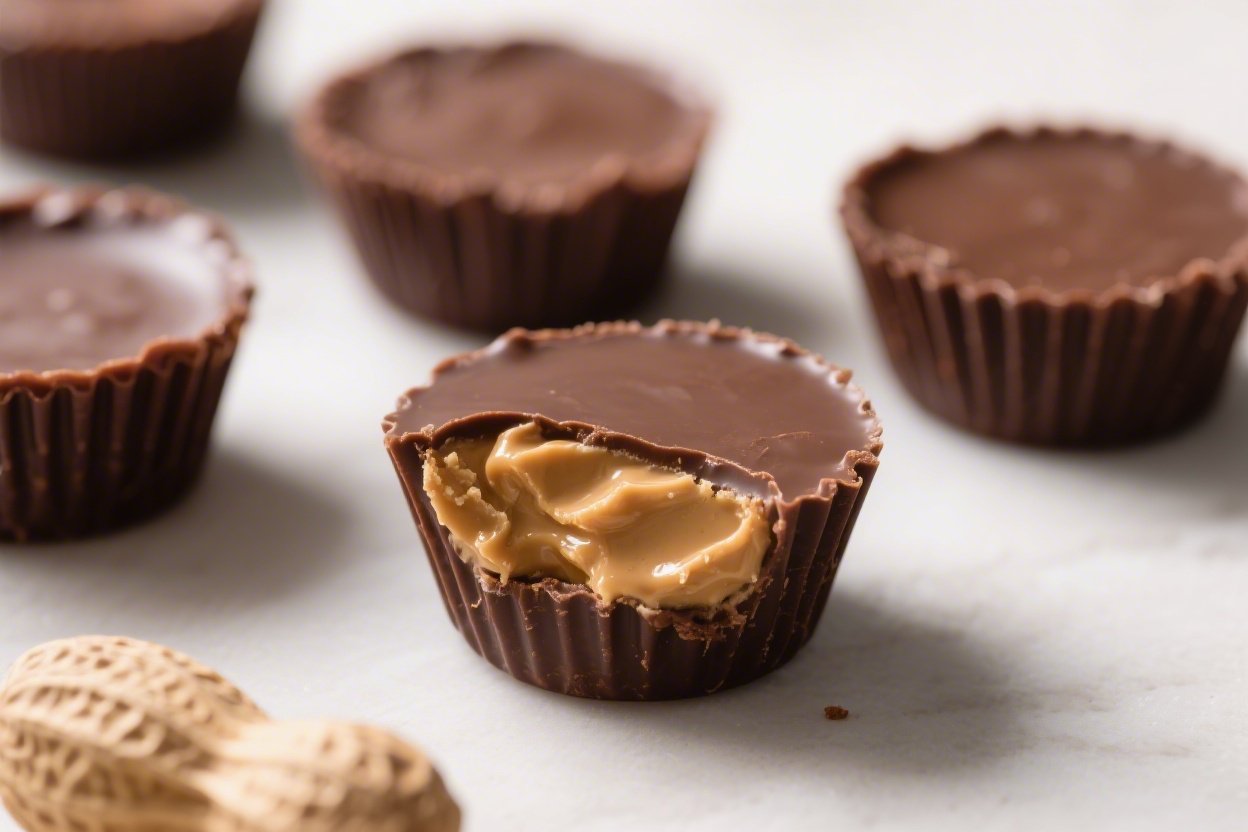
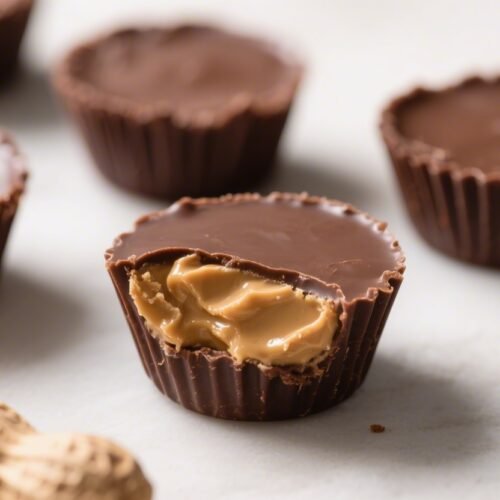
Chocolate Peanut Butter Protein Cups – Easy, Satisfying, and Packed With Good Stuff
If you love the classic combo of chocolate and peanut butter, these Chocolate Peanut Butter Protein Cups might become your new go-to snack. They taste like a treat, but they’re built to keep you full and energized. There’s no oven needed, and the steps are super simple, even if you’re not a frequent baker.
Never wonder what's for dinner again.
Get 7 healthy, family-friendly dinners complete with recipes, grocery lists, and simple meal plans delivered straight to your inbox.
Make a batch on Sunday and you’ll have a week’s worth of grab-and-go bites. They’re perfect after a workout, between meetings, or any time you want something sweet without the sugar crash.
Chocolate Peanut Butter Protein Cups - Easy, Satisfying, and Packed With Good Stuff
Ingredients
- Peanut butter: Natural creamy peanut butter works best. Look for one with just peanuts and salt.
- Protein powder: Whey or plant-based vanilla or chocolate protein powder. Choose one you like the taste of.
- Maple syrup or honey: For a touch of sweetness and to help the filling set.
- Coconut flour or oat flour: A small amount helps thicken the filling and keep it stable.
- Dark chocolate chips or chopped dark chocolate: Around 60–70% cacao melts smoothly and tastes rich.
- Coconut oil: Just a bit to help the chocolate set with a clean snap.
- Vanilla extract: Adds warmth and rounds out the flavors.
- Fine sea salt: A pinch in the filling, plus flaky salt on top if you like.
- Optional mix-ins: Chopped peanuts, chia seeds, or a splash of espresso for the chocolate layer.
- Equipment: Muffin tin, paper liners, two mixing bowls, microwave-safe bowl or double boiler, and a spoon.
Instructions
- Line the pan: Place paper liners in a 12-cup muffin tin. This prevents sticking and makes cleanup easy.
- Melt the chocolate base: In a microwave-safe bowl, combine 1 1/2 cups dark chocolate chips with 1 tablespoon coconut oil. Microwave in 20–30 second bursts, stirring between each, until smooth. Alternatively, melt over a double boiler.
- Make the peanut butter filling: In a separate bowl, stir together 3/4 cup creamy peanut butter, 1/4 to 1/3 cup protein powder, 1–2 tablespoons maple syrup or honey, 1–2 tablespoons coconut flour or oat flour, 1/2 teaspoon vanilla, and a pinch of salt. The mixture should be thick but spreadable. Adjust with a splash of milk or a bit more flour as needed.
- Create the bottom chocolate layer: Spoon about 1 teaspoon of melted chocolate into each liner and tilt the pan so it coats the bottom. Place the tin in the freezer for 5–7 minutes to set slightly.
- Add the filling: Roll the peanut butter mixture into 12 small disks that are slightly smaller than the muffin cups. Place one disk over each chocolate base and gently flatten. Leave a small border around the edges so the top chocolate can seal the cup.
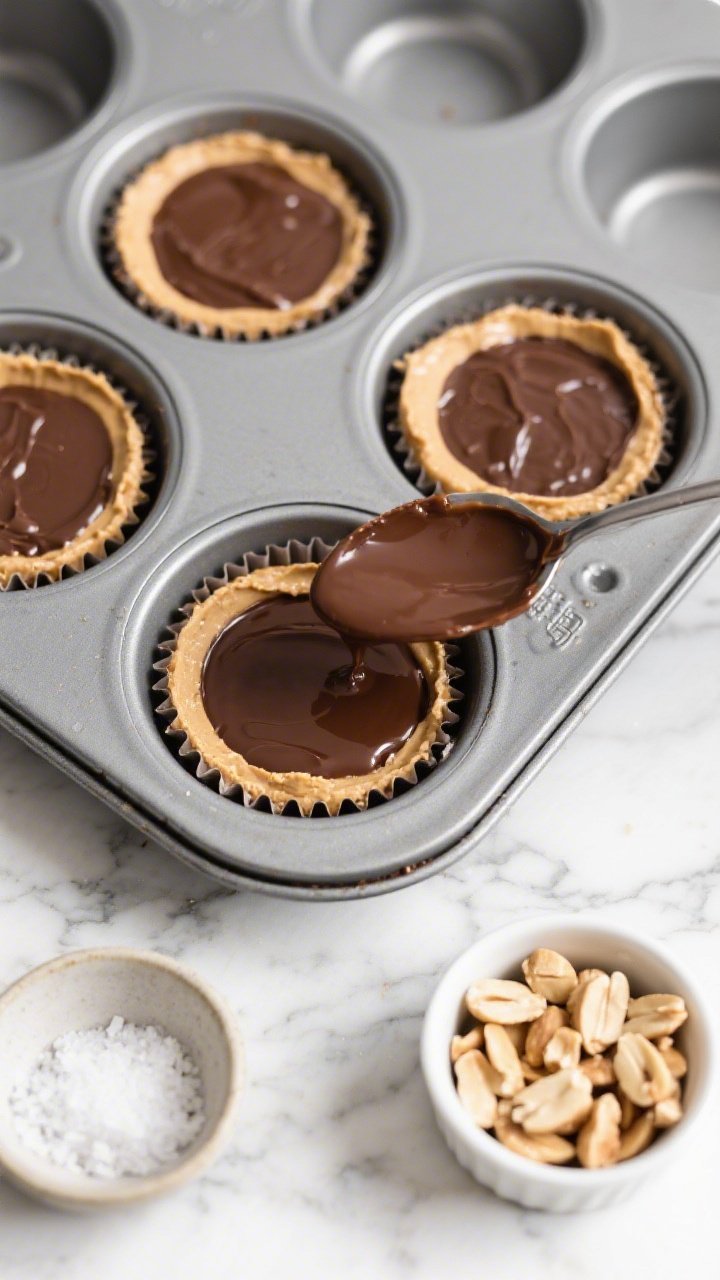
- Top with chocolate: Spoon enough melted chocolate over each cup to fully cover the filling, about 1–1 1/2 teaspoons per cup. Tap the pan gently on the counter to smooth the tops and release air bubbles.
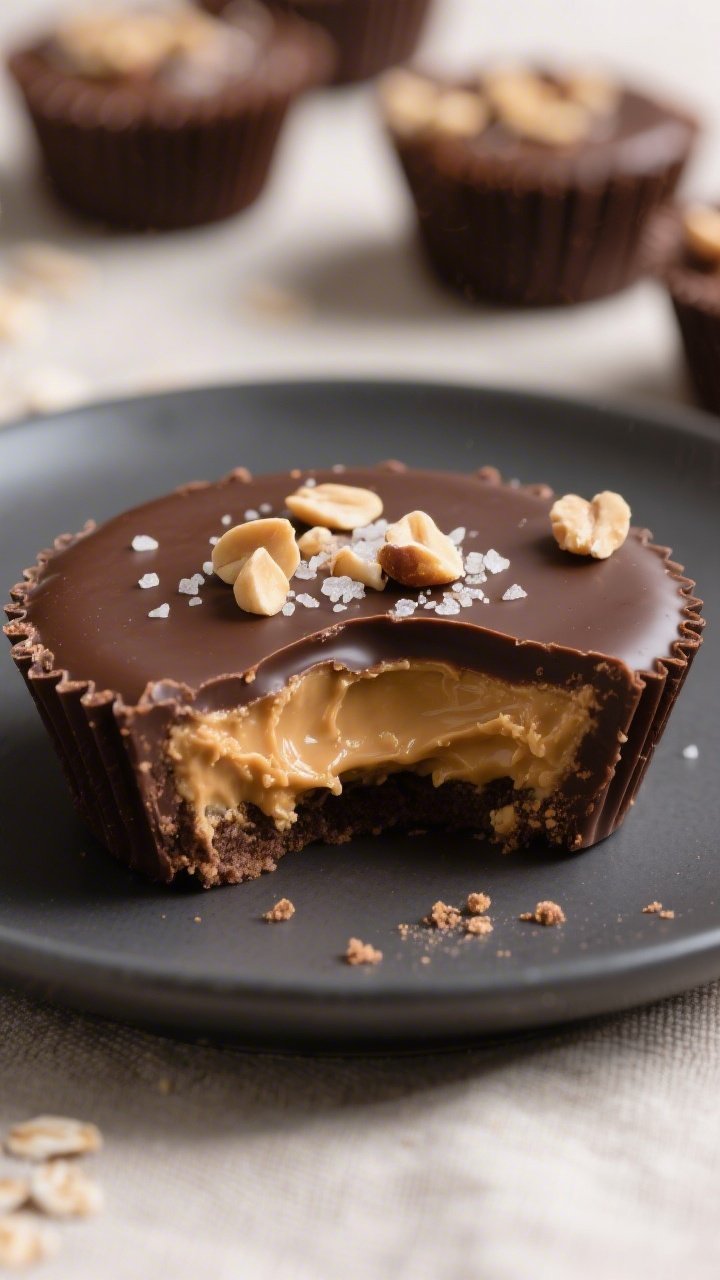
- Add finishing touches: Sprinkle with flaky sea salt or chopped peanuts if you like. This adds crunch and balances sweetness.
- Chill to set: Refrigerate for 30–45 minutes or freeze for 15–20 minutes, until the chocolate is firm.
- Serve and store: Peel off the liners and enjoy. Keep extras chilled so they hold their shape.
What Makes This Recipe So Good
- Familiar flavors, better balance: You get that chocolate–peanut butter goodness with a boost of protein and fiber.
- No-bake and quick: The whole process takes about 20–25 minutes, plus chilling time.
- Customizable: Choose your favorite protein powder and chocolate type, adjust the sweetness, and add fun mix-ins.
- Portable and mess-free: The cups hold their shape and pack well for busy days.
- Freezer-friendly: Make a double batch and stash some for later.
What You’ll Need
- Peanut butter: Natural creamy peanut butter works best. Look for one with just peanuts and salt.
- Protein powder: Whey or plant-based vanilla or chocolate protein powder.
Choose one you like the taste of.
- Maple syrup or honey: For a touch of sweetness and to help the filling set.
- Coconut flour or oat flour: A small amount helps thicken the filling and keep it stable.
- Dark chocolate chips or chopped dark chocolate: Around 60–70% cacao melts smoothly and tastes rich.
- Coconut oil: Just a bit to help the chocolate set with a clean snap.
- Vanilla extract: Adds warmth and rounds out the flavors.
- Fine sea salt: A pinch in the filling, plus flaky salt on top if you like.
- Optional mix-ins: Chopped peanuts, chia seeds, or a splash of espresso for the chocolate layer.
- Equipment: Muffin tin, paper liners, two mixing bowls, microwave-safe bowl or double boiler, and a spoon.
Step-by-Step Instructions
- Line the pan: Place paper liners in a 12-cup muffin tin. This prevents sticking and makes cleanup easy.
- Melt the chocolate base: In a microwave-safe bowl, combine 1 1/2 cups dark chocolate chips with 1 tablespoon coconut oil. Microwave in 20–30 second bursts, stirring between each, until smooth.
Alternatively, melt over a double boiler.
- Make the peanut butter filling: In a separate bowl, stir together 3/4 cup creamy peanut butter, 1/4 to 1/3 cup protein powder, 1–2 tablespoons maple syrup or honey, 1–2 tablespoons coconut flour or oat flour, 1/2 teaspoon vanilla, and a pinch of salt. The mixture should be thick but spreadable. Adjust with a splash of milk or a bit more flour as needed.
- Create the bottom chocolate layer: Spoon about 1 teaspoon of melted chocolate into each liner and tilt the pan so it coats the bottom.
Place the tin in the freezer for 5–7 minutes to set slightly.
- Add the filling: Roll the peanut butter mixture into 12 small disks that are slightly smaller than the muffin cups. Place one disk over each chocolate base and gently flatten. Leave a small border around the edges so the top chocolate can seal the cup.
- Top with chocolate: Spoon enough melted chocolate over each cup to fully cover the filling, about 1–1 1/2 teaspoons per cup.
Tap the pan gently on the counter to smooth the tops and release air bubbles.
- Add finishing touches: Sprinkle with flaky sea salt or chopped peanuts if you like. This adds crunch and balances sweetness.
- Chill to set: Refrigerate for 30–45 minutes or freeze for 15–20 minutes, until the chocolate is firm.
- Serve and store: Peel off the liners and enjoy. Keep extras chilled so they hold their shape.
Keeping It Fresh
- In the fridge: Store in an airtight container for up to 10 days.
Keep a layer of parchment between stacks to prevent sticking.
- In the freezer: Freeze for up to 2–3 months. Let a cup sit at room temperature for 5–10 minutes before eating for the best texture.
- Avoid heat: These soften if left in a warm car or near direct sunlight. Pack with an ice pack if you’re taking them on the go.
Health Benefits
- Protein for satiety: The protein powder and peanut butter help keep you full longer and support muscle repair after workouts.
- Healthy fats: Peanut butter and a small amount of coconut oil provide fats that help with energy and absorption of fat-soluble vitamins.
- Lower sugar than store-bought treats: You control the sweetener and can keep portions modest while still satisfying a sweet tooth.
- Fiber and micronutrients: Using natural peanut butter and a little oat or coconut flour adds fiber.
Dark chocolate brings antioxidants like flavanols.
Pitfalls to Watch Out For
- Overly dry filling: Too much protein powder or flour can make the center crumbly. If this happens, mix in a teaspoon of milk or a bit more peanut butter.
- Chocolate seizing: Water droplets can cause melted chocolate to clump. Keep utensils dry and melt gently.
- Not enough seal: If the peanut butter touches the liner, the chocolate top may not fully lock in.
Keep that small border around the filling.
- Too sweet or not sweet enough: Protein powders vary. Taste the filling and adjust the sweetener before assembling.
- Sticking to liners: Use quality paper liners or silicone cups, and make sure the cups are fully set before peeling.
Variations You Can Try
- Almond or cashew butter: Swap the peanut butter for a different nut butter if you prefer a milder flavor or have allergies.
- Crunch factor: Stir in chopped roasted peanuts, cacao nibs, or rice crisps for texture.
- Salty-sweet caramel: Drizzle a little date caramel over the filling before adding the top chocolate layer.
- Mocha cups: Add a teaspoon of instant espresso powder to the melted chocolate.
- Nut-free option: Use sunflower seed butter and check your chocolate for cross-contamination if needed.
- High-fiber boost: Mix in a teaspoon of chia or ground flax with the filling for extra fiber and omega-3s.
- Different chocolate: Try milk chocolate for a sweeter cup, or 85% dark for a more intense flavor.
FAQ
Need More Easy Dinner Ideas?
Get my FREE 7-Day Easy Dinner Reset and enjoy a full week of healthy dinners without the meal-planning stress.
Can I make these without protein powder?
Yes. Replace the protein powder with an extra tablespoon or two of oat or coconut flour to keep the filling thick.
You may want to add a touch more vanilla or sweetener to balance the flavor.
What type of protein powder works best?
Whey isolates blend smoothly and give a creamy filling. For dairy-free, pea or rice protein works well, but you may need a splash of milk to loosen the mixture since plant-based powders can be drier.
How many grams of protein are in each cup?
It depends on your protein powder and serving size, but a typical batch with 1/3 cup protein powder usually delivers about 6–8 grams of protein per cup. Check your label and adjust the amount to hit your goals.
Can I skip the coconut oil?
You can, but the chocolate may set a bit harder and be more prone to bloom.
Coconut oil helps create a glossy, snappy top. If you skip it, melt the chocolate gently and store the cups chilled.
Why is my chocolate streaky or dull?
Overheating or moisture can cause this. Melt the chocolate slowly, stir often, and avoid steam or water.
Using fresh, good-quality chocolate also helps.
How do I make these less sweet?
Use darker chocolate, reduce the maple or honey to 1 tablespoon, and rely on the vanilla and salt to enhance flavor. You can also use an unsweetened peanut butter for a more balanced bite.
Can I make mini cups?
Absolutely. Use a mini muffin tin and liners, and cut quantities per cup in half.
They’ll set faster and make great bite-sized snacks.
Wrapping Up
Chocolate Peanut Butter Protein Cups are a simple, satisfying treat you can feel good about keeping on hand. They mix everyday pantry staples with just a few smart tweaks for better nutrition. Once you try a batch, play with flavors and textures until you land on your perfect version.
Keep a container in the fridge and you’ll always have a tasty, protein-packed bite ready when cravings hit.
Printable Recipe Card
Want just the essential recipe details without scrolling through the article? Get our printable recipe card with just the ingredients and instructions.
Loved This Recipe?
If you're looking for more simple, healthy dinners your family will actually eat, grab my FREE 7-Day Easy Dinner Reset. You'll get 7 easy dinner recipes, simple grocery lists, and a done-for-you plan that takes the stress out of mealtime.