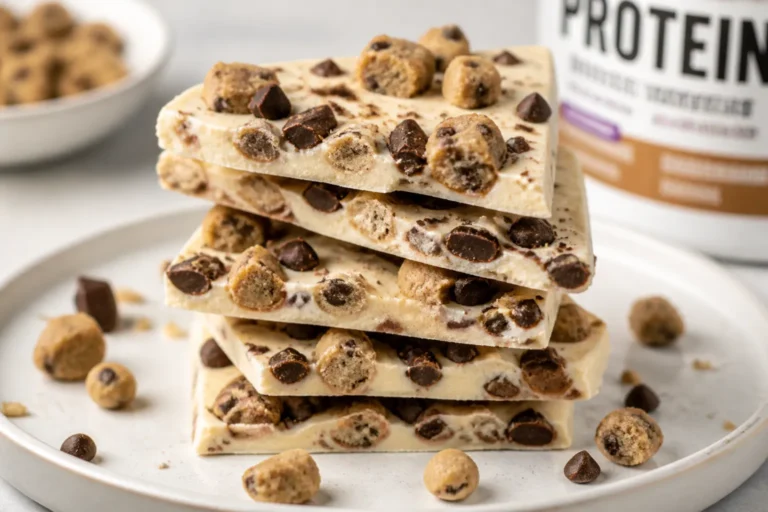
High Protein Peanut Butter Protein Bars – Easy, No-Bake Snack Fuel
These bars are the kind of snack you actually look forward to. They’re sweet, salty, and chewy, with a big hit of protein that keeps you satisfied. No oven, no fussy steps, and no weird textures—just simple ingredients that come together fast.
Never wonder what's for dinner again.
Get 7 healthy, family-friendly dinners complete with recipes, grocery lists, and simple meal plans delivered straight to your inbox.
Make a batch on Sunday and you’ve got grab-and-go fuel for busy mornings, gym days, or afternoon slumps.
High Protein Peanut Butter Protein Bars - Easy, No-Bake Snack Fuel
Ingredients
- Natural peanut butter (creamy; just peanuts and salt if possible)
- Vanilla or chocolate protein powder (whey or plant-based)
- Rolled oats (old-fashioned; not instant)
- Honey or maple syrup
- Milk (dairy or unsweetened non-dairy)
- Vanilla extract
- Salt
- Optional add-ins: mini chocolate chips, chopped peanuts, chia seeds, ground flaxseed, shredded coconut, cinnamon, or a drizzle of melted dark chocolate
- Optional topping: flaky sea salt
- Pan and lining: 8x8-inch pan and parchment paper
Instructions
- Prep the pan. Line an 8x8-inch pan with parchment, leaving overhang for easy lifting later.
- Warm the base. In a medium bowl, stir 1 cup peanut butter with 1/3 cup honey or maple syrup. If it’s too thick, microwave for 15–20 seconds to loosen.
- Add flavors. Stir in 1 teaspoon vanilla extract and a pinch (1/4 teaspoon) of salt.
- Mix in protein and oats. Add 1 cup protein powder and 1 1/2 cups rolled oats. Stir until crumbly.
- Adjust texture. Add milk 1 tablespoon at a time (usually 2–4 tablespoons total) until the mixture holds together when pressed. It should be thick and slightly sticky, not wet.
- Add extras. Fold in 2–4 tablespoons of optional add-ins like mini chocolate chips, chopped peanuts, or chia seeds.
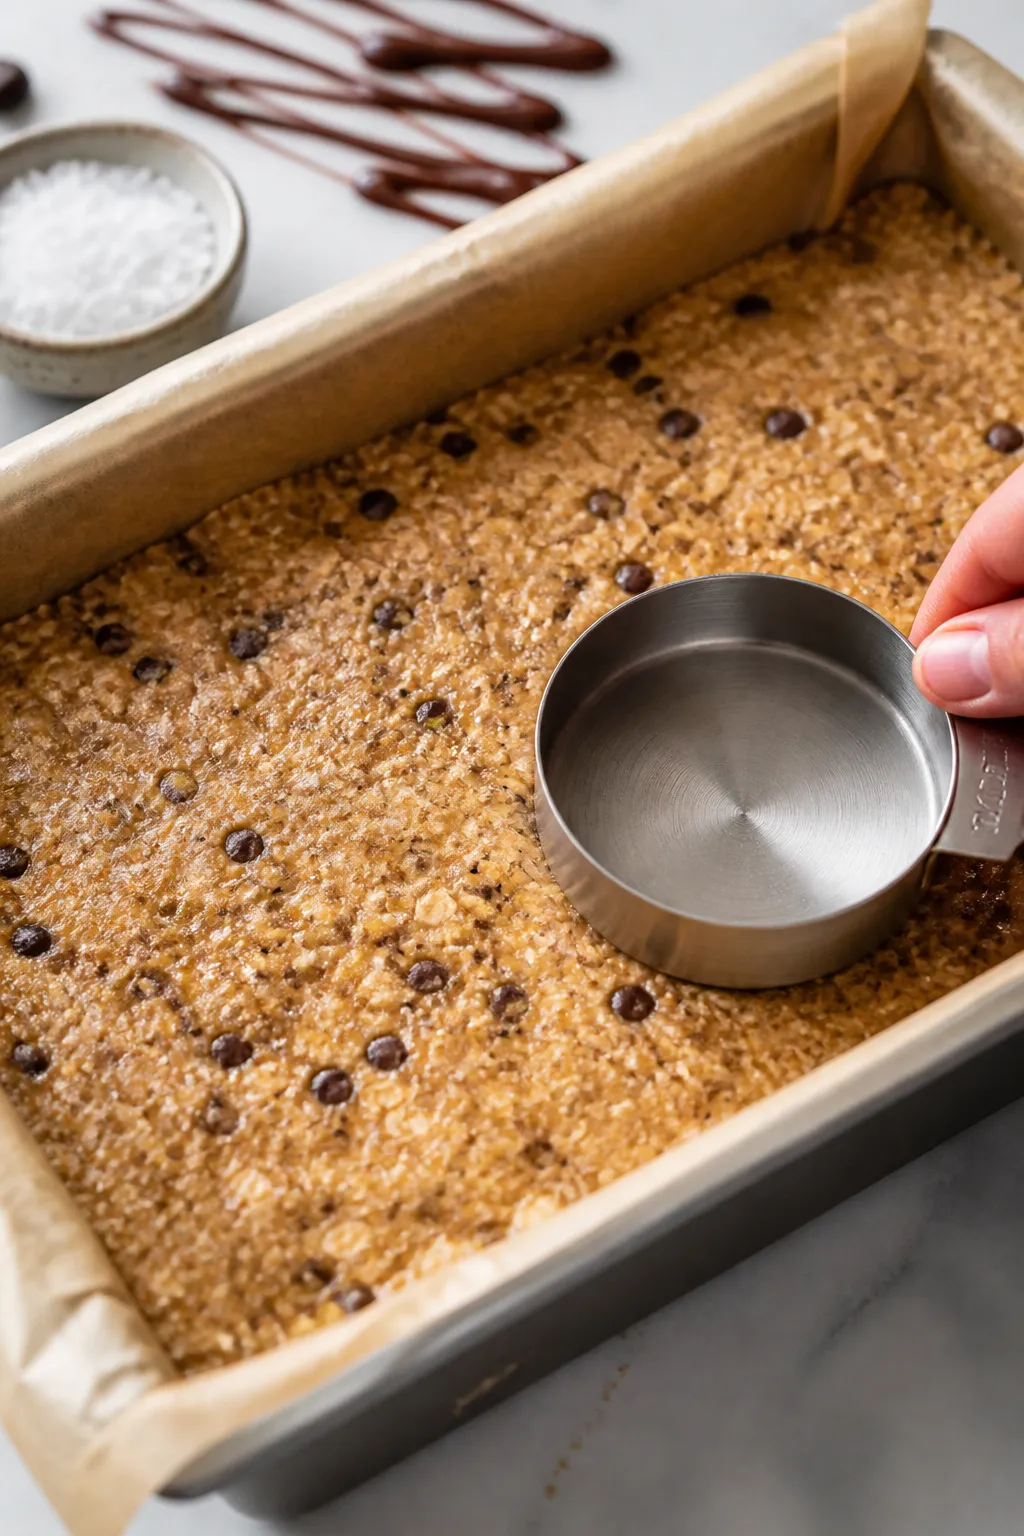
- Press into pan. Transfer the mixture to the lined pan. Press it down firmly and evenly using a spatula or the back of a measuring cup. Firm packing helps the bars hold shape.
- Chill to set. Refrigerate for at least 1 hour, or freeze for 20–30 minutes, until firm.
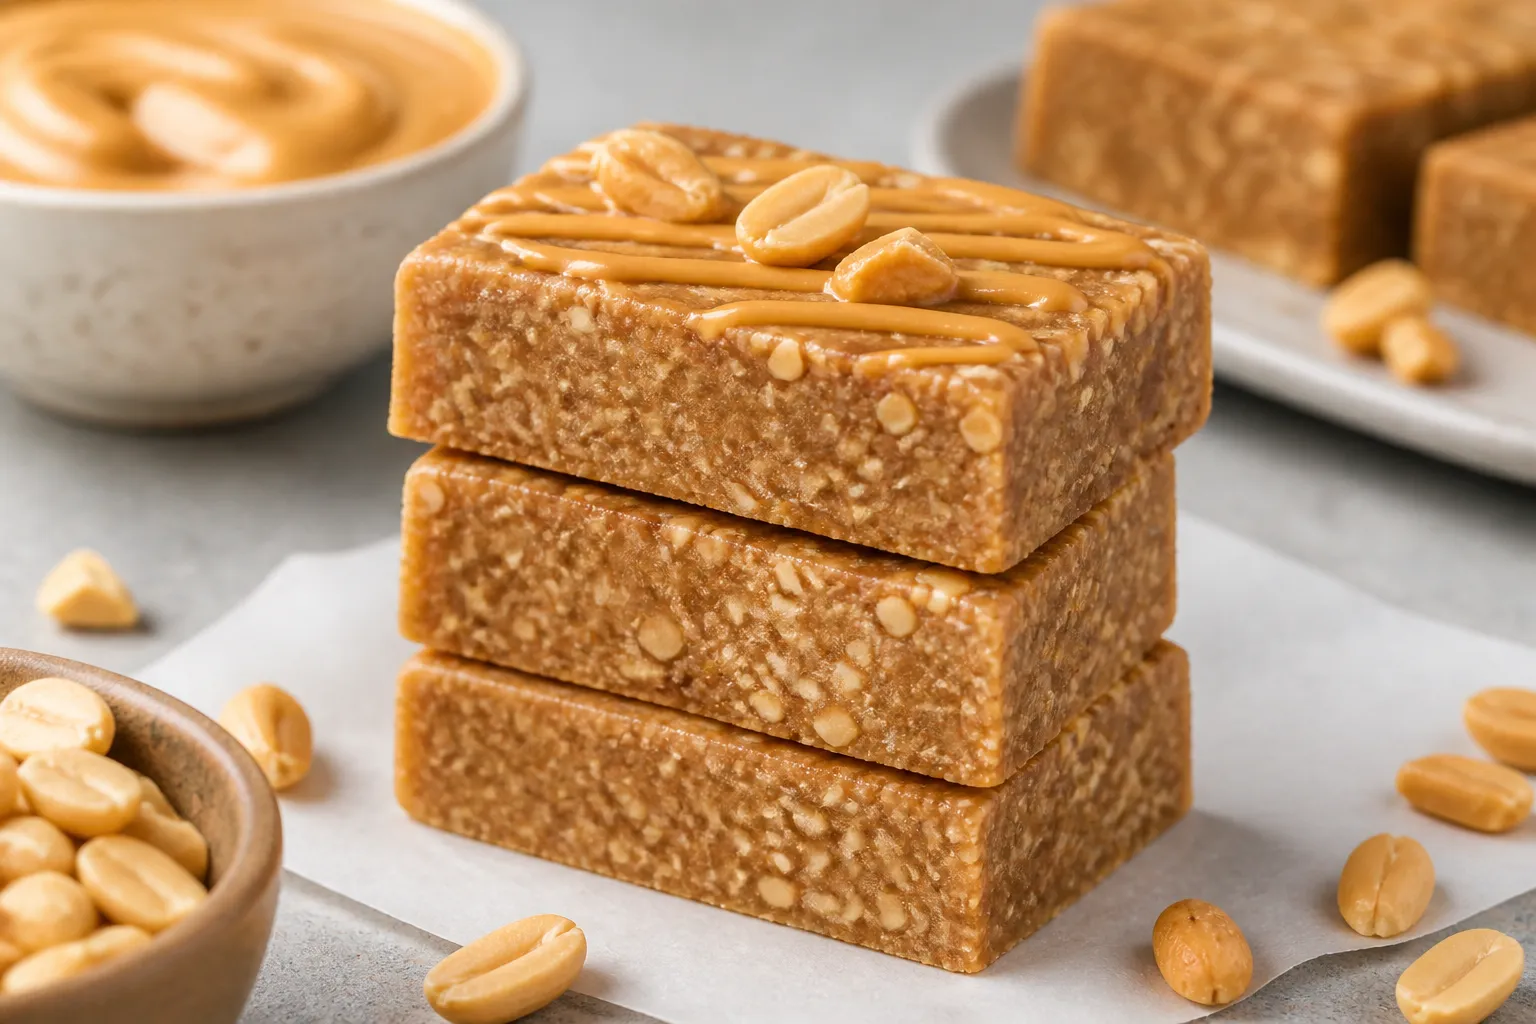
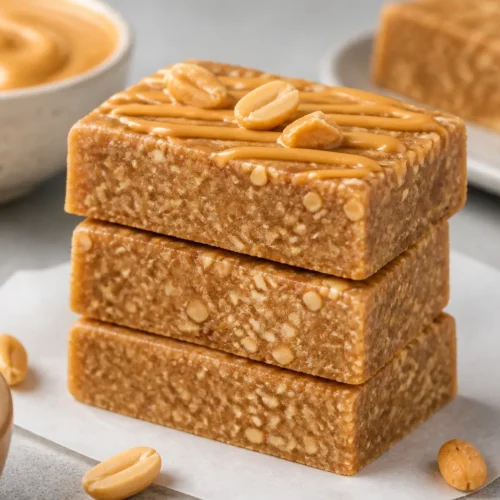
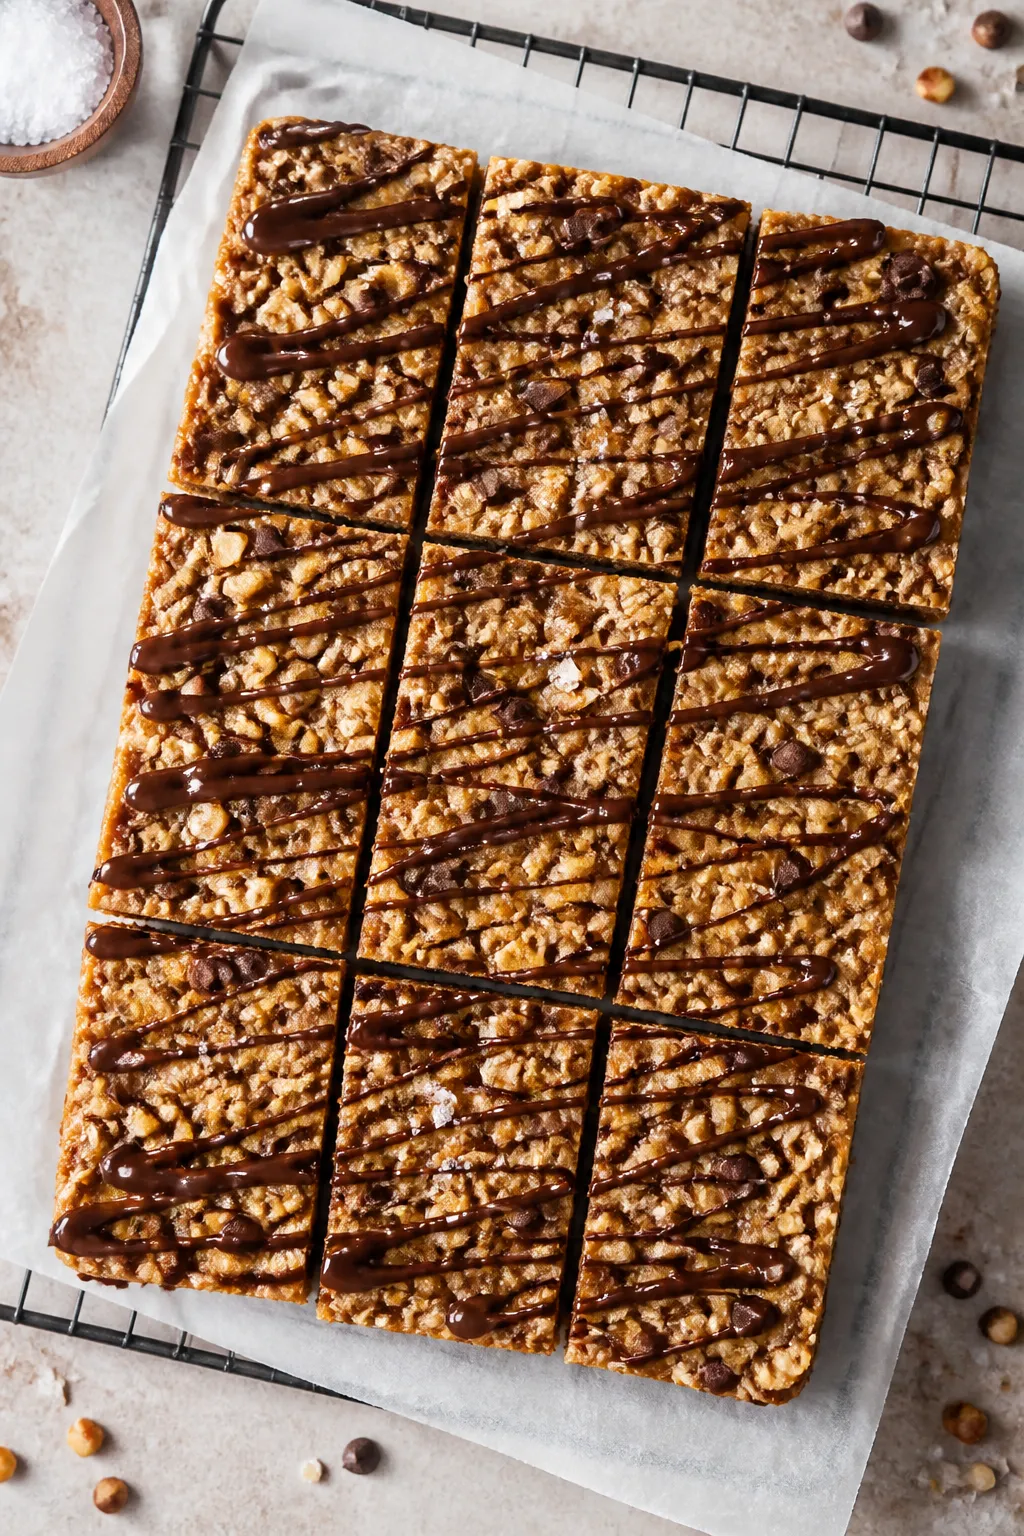
- Slice. Lift the slab out with the parchment. Cut into 10–12 bars or 16 squares, depending on your preferred size.
- Optional finish. Drizzle with melted dark chocolate and sprinkle with flaky sea salt. Let set before storing.
Why This Recipe Works
This recipe balances flavor and function. Peanut butter adds healthy fats and a rich, nutty base, while protein powder boosts the protein without making the bars chalky. Oats bring structure and slow-digesting carbs for steady energy.
A touch of honey or maple syrup binds everything and keeps the bars pleasantly chewy. It’s a short ingredient list, easy to customize, and ready in under 20 minutes.
Shopping List
- Natural peanut butter (creamy; just peanuts and salt if possible)
- Vanilla or chocolate protein powder (whey or plant-based)
- Rolled oats (old-fashioned; not instant)
- Honey or maple syrup
- Milk (dairy or unsweetened non-dairy)
- Vanilla extract
- Salt
- Optional add-ins: mini chocolate chips, chopped peanuts, chia seeds, ground flaxseed, shredded coconut, cinnamon, or a drizzle of melted dark chocolate
- Optional topping: flaky sea salt
- Pan and lining: 8×8-inch pan and parchment paper
Instructions
- Prep the pan. Line an 8×8-inch pan with parchment, leaving overhang for easy lifting later.
- Warm the base. In a medium bowl, stir 1 cup peanut butter with 1/3 cup honey or maple syrup. If it’s too thick, microwave for 15–20 seconds to loosen.
- Add flavors. Stir in 1 teaspoon vanilla extract and a pinch (1/4 teaspoon) of salt.
- Mix in protein and oats. Add 1 cup protein powder and 1 1/2 cups rolled oats.
Stir until crumbly.
- Adjust texture. Add milk 1 tablespoon at a time (usually 2–4 tablespoons total) until the mixture holds together when pressed. It should be thick and slightly sticky, not wet.
- Add extras. Fold in 2–4 tablespoons of optional add-ins like mini chocolate chips, chopped peanuts, or chia seeds.
- Press into pan. Transfer the mixture to the lined pan. Press it down firmly and evenly using a spatula or the back of a measuring cup.
Firm packing helps the bars hold shape.
- Chill to set. Refrigerate for at least 1 hour, or freeze for 20–30 minutes, until firm.
- Slice. Lift the slab out with the parchment. Cut into 10–12 bars or 16 squares, depending on your preferred size.
- Optional finish. Drizzle with melted dark chocolate and sprinkle with flaky sea salt. Let set before storing.
How to Store
Refrigerator: Store bars in an airtight container with parchment between layers for up to 7–10 days.
They’ll stay firm and chewy.
Freezer: Wrap bars individually and freeze for up to 3 months. Thaw at room temperature for 15–20 minutes or in the fridge overnight.
On-the-go: Pack a bar straight from the fridge. It will soften slightly but hold together for a few hours.
Benefits of This Recipe
- High in protein: Each bar delivers a solid protein boost to support recovery and keep you full.
- No-bake and fast: Minimal tools, zero oven time, ready in minutes.
- Balanced nutrition: Protein, healthy fats, and complex carbs in one bite.
- Customizable: Works with whey or plant-based protein and a range of mix-ins.
- Simple ingredients: Pantry-friendly and easy to scale up.
Common Mistakes to Avoid
- Using dry or chalky protein powder: Not all powders mix well.
If your dough feels sandy, add a splash more milk or switch brands for next time.
- Too much liquid: Overdoing the milk makes sticky, soft bars. Add liquid slowly and stop as soon as the mix holds together.
- Skimping on the chill time: Warm bars crumble. Let them firm up fully for clean slices and better texture.
- Using instant oats: They can get pasty.
Rolled oats keep the bars chewy and structured.
- Overloading add-ins: Too many chips or seeds can make the bars fall apart. Keep extras to about 1/4–1/2 cup total.
Alternatives
- Nut-free version: Swap peanut butter for sunflower seed butter. Taste and add a little extra honey if it’s bitter.
- Different flavors: Use chocolate protein powder, add 1 tablespoon cocoa powder, and top with dark chocolate for a brownie vibe.
- Crunchy texture: Mix in chopped roasted peanuts or puffed rice cereal for light crunch.
- Fiber boost: Add 1–2 tablespoons ground flaxseed or chia.
If the mix gets dry, add an extra splash of milk.
- Lower sugar: Use a sugar-free syrup designed for baking, or reduce honey/maple to 1/4 cup and increase milk to reach the right texture.
- Gluten-free: Choose certified gluten-free oats and a gluten-free protein powder.
- Dairy-free: Use plant-based protein and non-dairy milk.
FAQ
How much protein is in each bar?
It depends on your protein powder and bar size. With 1 cup of protein powder across 12 bars, most come out to roughly 10–15 grams of protein per bar. Check your powder’s label and do a quick calculation for accuracy.
Need More Easy Dinner Ideas?
Get my FREE 7-Day Easy Dinner Reset and enjoy a full week of healthy dinners without the meal-planning stress.
What type of protein powder works best?
Whey isolate blends smoothly and tastes creamy.
For dairy-free, pea or rice blends work well. Choose a powder you enjoy drinking—if it tastes good in a shake, it will taste good here.
Can I bake these bars?
They’re designed as no-bake, but you can bake at 325°F (165°C) for 10–12 minutes to set a bit more. The texture will be firmer and slightly drier.
My mixture is too crumbly.
How do I fix it?
Add milk 1 teaspoon at a time and mix thoroughly. You can also add a spoonful of peanut butter or a drizzle of honey to help it bind.
Can I use quick oats or oat flour?
Quick oats will work in a pinch but can make the bars softer and more uniform. Oat flour creates a denser, dough-like texture.
If using either, start with less and adjust liquids carefully.
How do I prevent the bars from sticking to the pan?
Use parchment with overhang and press the mixture with a lightly greased spatula. Chilling before slicing also helps clean release.
Are these good pre- or post-workout?
Yes. For pre-workout, pair a smaller piece with fruit for quick energy.
Post-workout, a full bar offers protein for recovery plus carbs to replenish glycogen.
Can I reduce the sweetness?
Yes. Cut the honey or maple to 1/4 cup and add a little extra milk to reach the right texture. A pinch more salt and vanilla can boost flavor without more sugar.
Can I swap peanut butter for almond or cashew butter?
Absolutely.
Almond butter gives a milder flavor; cashew butter makes the bars extra creamy. If your nut butter is very runny, reduce milk slightly.
Do I need to refrigerate them?
For best texture and freshness, yes. They can sit at room temperature for a few hours, but long-term storage is better in the fridge or freezer.
Wrapping Up
High Protein Peanut Butter Protein Bars are simple to make, easy to customize, and genuinely satisfying.
With a handful of pantry staples, you’ll have a week’s worth of snacks that taste great and support your goals. Keep a batch chilled, grab one when you need a boost, and enjoy that chewy, peanutty goodness without turning on the oven.
Printable Recipe Card
Want just the essential recipe details without scrolling through the article? Get our printable recipe card with just the ingredients and instructions.
Loved This Recipe?
If you're looking for more simple, healthy dinners your family will actually eat, grab my FREE 7-Day Easy Dinner Reset. You'll get 7 easy dinner recipes, simple grocery lists, and a done-for-you plan that takes the stress out of mealtime.