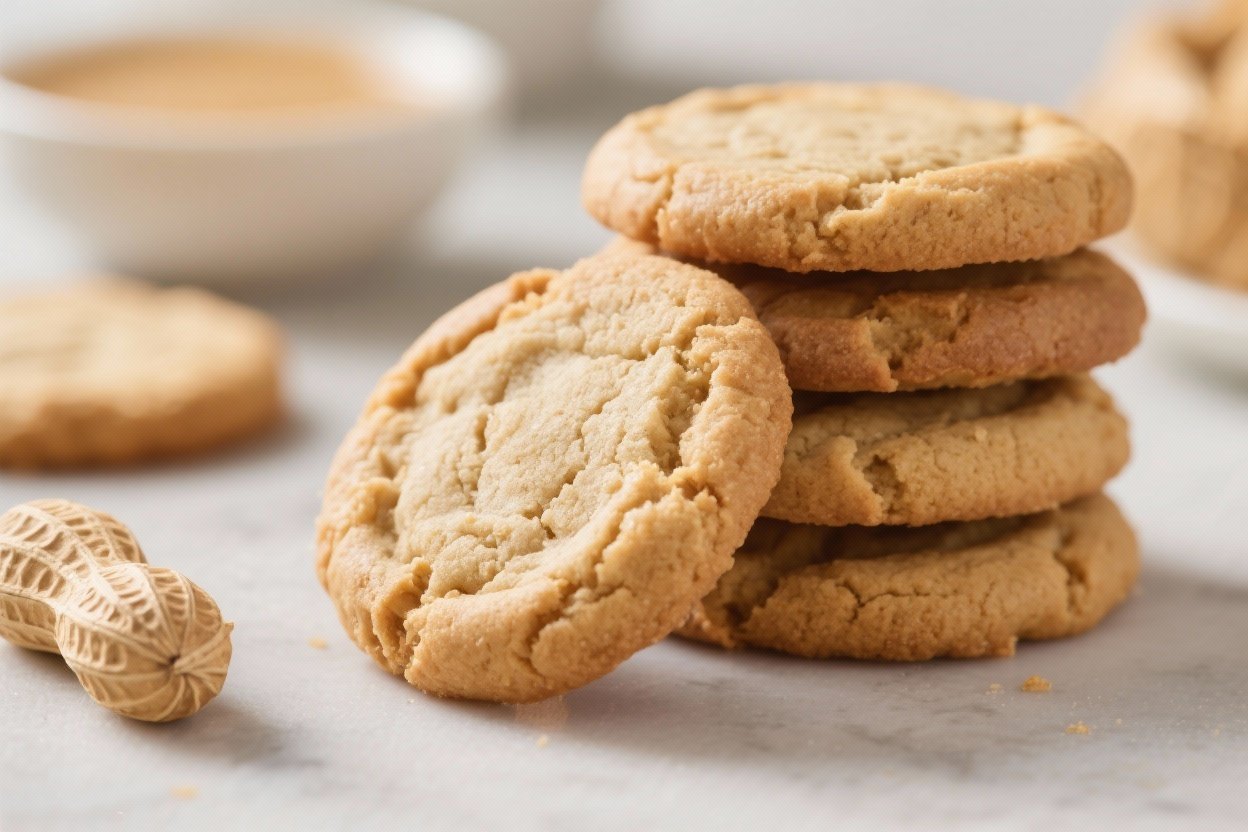
Stop Scrolling: “Easy 3-Ingredient Peanut Butter Cookies You Can Make in Minutes” That Taste Like Childhood and Win Any Bake-Off
You don’t need a mixer, a culinary degree, or a pantry that looks like a food blogger’s prop closet. You need three ingredients, one bowl, and about 10 minutes of your life. These cookies are proof that “simple” doesn’t mean “boring”—they’re chewy, peanut-buttery, and borderline dangerous to keep around.
Never wonder what's for dinner again.
Get 7 healthy, family-friendly dinners complete with recipes, grocery lists, and simple meal plans delivered straight to your inbox.
Perfect for last-minute dessert flexes, late-night cravings, or bribing roommates. And yes, they taste like the cookies your grandma made—minus the 47-step recipe card.
The Secret Behind This Recipe
This recipe works because it leans on peanut butter as both the fat and structure. Traditional cookies use butter and flour; here, peanut butter provides fat, eggs bring structure and moisture, and sugar sweetens while helping the edges caramelize.
That trio is the entire engine. The texture? Soft in the middle, crisp on the edges, especially if you let them cool properly.
No leaveners are needed; the egg does the lifting. The result is an intensely peanut-y cookie that’s small-batch friendly and nearly fail-proof. It’s the “I forgot dessert” solution with big flavor and minimal cleanup.
Win-win.
Shopping List – Ingredients
- 1 cup creamy peanut butter (no-stir is easiest; see FAQs for natural PB tips)
- 3/4 cup granulated sugar (or 1 cup for a sweeter, crisper edge)
- 1 large egg
Instructions
- Preheat the oven to 350°F (175°C). Line a baking sheet with parchment paper or a silicone mat.
- Mix the dough: In a medium bowl, stir peanut butter, sugar, and egg until smooth and thick, about 30–60 seconds. The batter should look glossy and scoopable.
- Portion: Scoop into 12 balls (about 1 tablespoon each).
Roll between your palms for smooth edges if you want that “I tried” look.
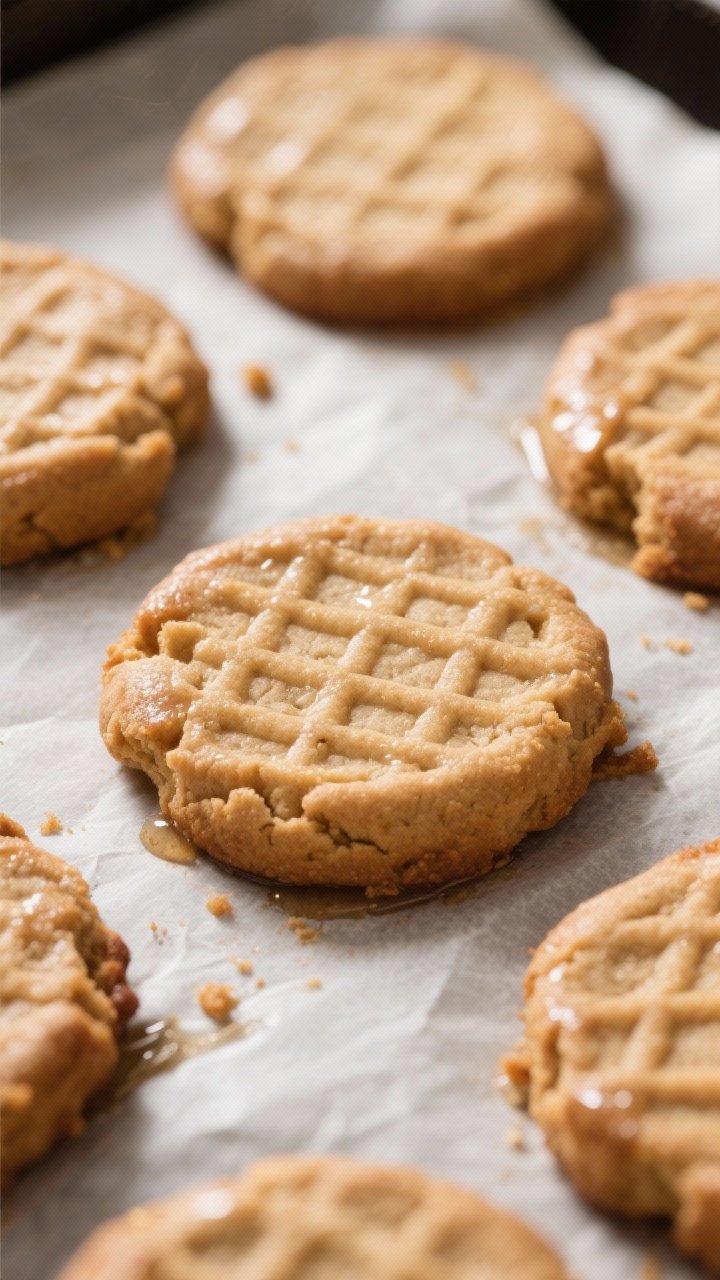
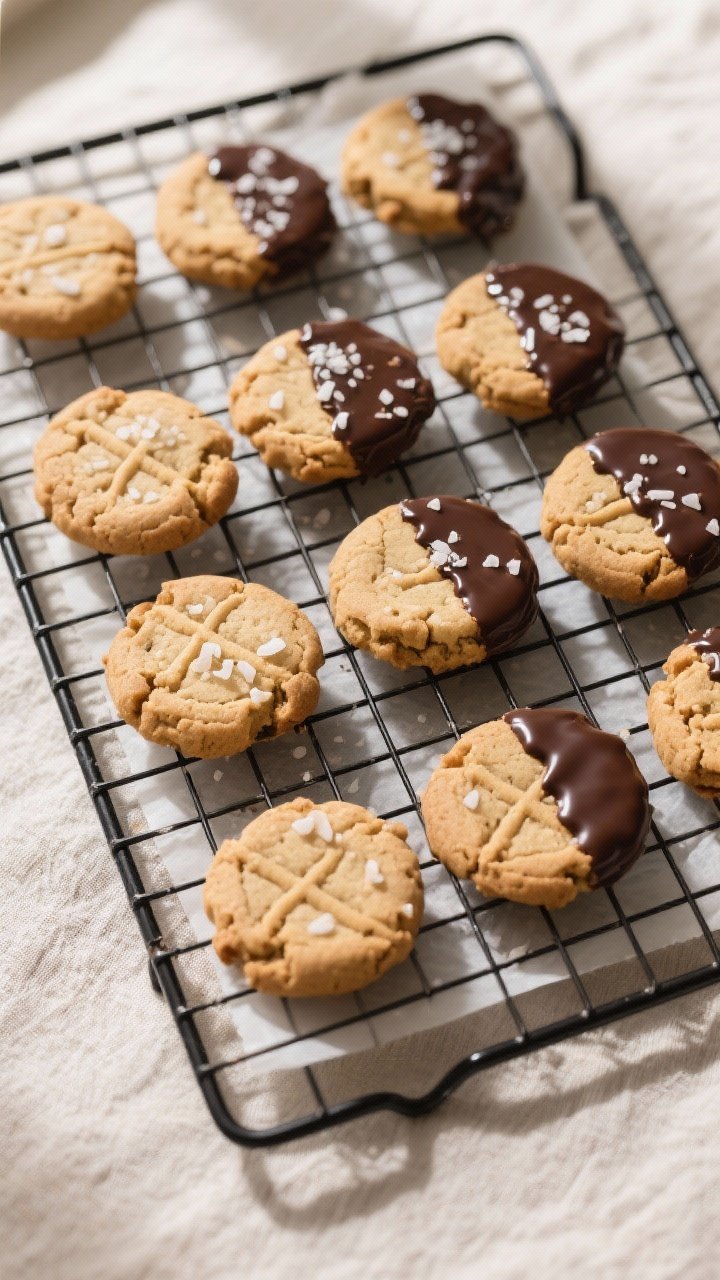
- Flatten with a fork: Press each ball with a fork in a criss-cross pattern to about 1/2-inch thick. This helps even baking and gives the classic PB cookie vibe.
- Bake for 8–10 minutes, until edges are set and the tops look slightly dry. Don’t wait for browning all over—overbaked equals dry.
Aim for 9 minutes if unsure.
- Cool on the sheet for 5 minutes, then transfer to a rack. They firm up as they cool. If one breaks, that’s called quality control.
Preservation Guide
- Room temperature: Store in an airtight container for 3–4 days.
Add a slice of sandwich bread to keep them soft (yes, really—science).
- Freezing baked cookies: Cool completely, then freeze in a zip-top bag up to 2 months. Thaw at room temp for 15 minutes.
- Freezing dough: Scoop, flatten with the fork pattern, and freeze on a tray. Once solid, bag them.
Bake from frozen at 350°F for 10–12 minutes.
- Reheat for “fresh-baked” vibes: 300°F for 3–4 minutes or 10 seconds in the microwave. Don’t turn them into lava—just a gentle warm-up.
Benefits of This Recipe
- Fast and foolproof: One bowl. No chilling.
No flour. Minimal dishes. Your sink will thank you.
- Gluten-free by default: No flour required.
Just check your peanut butter brand for cross-contamination if that’s critical.
- Budget-friendly: Three common pantry items, big cookie payoff. Your wallet can relax.
- Customizable: Add-ins, toppings, or swaps are easy without wrecking the base recipe.
- Kid-friendly: Simple steps and short bake time = family win. Also perfect for bake sales when you remember at 9 p.m. (we’ve all been there).
Avoid These Mistakes
- Using runny natural peanut butter without adjustments: If your PB is oily and pourable, the dough spreads too much.
Stir well or add 1–2 tablespoons extra sugar to help bind.
- Overbaking: They’ll look pale when done. Take them out when the edges set. They firm up as they cool—patience, grasshopper.
- Skipping the fork press: The criss-cross isn’t just cute; it helps them bake evenly and not stay domed and undercooked.
- Using old, dry peanut butter: Stale PB = crumbly cookies.
Fresh jar? Better texture and better flavor. IMO, it’s worth it.
- Making them massive without adjusting time: Big scoops need 10–12 minutes.
Otherwise, raw centers and burnt edges. Choose your fighter and time accordingly.
Mix It Up
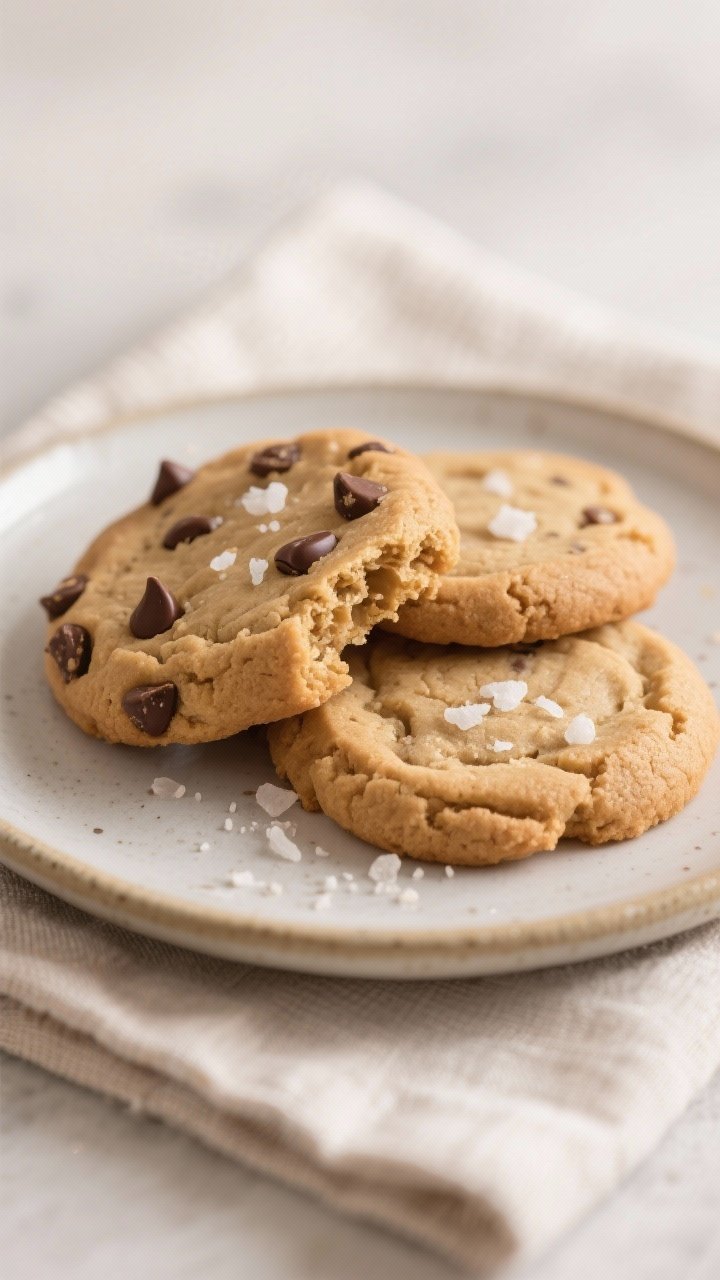
- Chocolate chip crunch: Fold in 1/3 cup mini chocolate chips. Mini > regular for even distribution.
- Salted finish: Sprinkle flaky sea salt on top right after baking.
That sweet-salty hit is elite.
- Cinnamon sugar roll: Roll dough balls in cinnamon sugar before baking for snickerdoodle energy.
- PB&J thumbprints: After pressing, indent the center and add 1/2 teaspoon jam. Bake as usual.
- Espresso upgrade: Mix in 1 teaspoon instant espresso. Coffee + PB = grown-up peanut butter cup vibes.
- Chocolate-dipped: Dip cooled cookies halfway in melted dark chocolate.
Chill 10 minutes to set.
- Keto-ish swap: Use a granular erythritol blend instead of sugar. Texture gets slightly sandy but still tasty, FYI.
FAQ
Can I use natural peanut butter?
Yes, but stir it extremely well to reincorporate the oil. If the dough seems loose, add 1–2 tablespoons extra sugar to help it hold.
Expect slightly more spread and a crisper edge.
Can I use crunchy peanut butter?
Absolutely. Crunchy adds texture and little peanut bits that toast in the oven. The bake time stays the same; just press a bit more firmly with the fork.
Do I need to chill the dough?
Need More Easy Dinner Ideas?
Get my FREE 7-Day Easy Dinner Reset and enjoy a full week of healthy dinners without the meal-planning stress.
Nope.
This recipe is designed to go straight from bowl to oven. If your kitchen is very warm, a 10-minute chill can minimize spreading, but it’s optional.
How do I make them chewier or crispier?
For chewier, bake closer to 8–9 minutes and let them cool on the sheet. For crispier, use the full 1 cup sugar and bake 10 minutes, then cool on a rack.
Can I make them without eggs?
You can try a flax egg (1 tablespoon ground flax + 2.5 tablespoons water, sit 5 minutes).
The texture will be slightly more tender and crumbly but still good.
What if I only have brown sugar?
Go for it. Brown sugar adds moisture and a caramel note, yielding a chewier cookie. Use packed 3/4 cup, same method, same timing.
Why do my cookies fall apart?
Most likely overbaking or dry peanut butter.
Pull them when edges set, cool 5 minutes on the sheet, and use fresh, well-stirred PB. Measuring loosely packed sugar also helps bind.
Can I double the recipe?
Yes. Double everything and bake in batches so the cookies have space.
Overcrowding leads to uneven edges and accidental mega-cookie fusion. Funny, but not ideal.
Are these actually gluten-free?
Yes, there’s no flour. But check your peanut butter label if you’re cooking for someone with celiac—some facilities process wheat.
Better safe than sorry.
What size scoop should I use?
A 1-tablespoon (No. 60) scoop makes about 12 cookies. For bakery-size, use 2 tablespoons and bake 10–12 minutes.
Wrapping Up
Three ingredients. One bowl.
Ten minutes. These Easy 3-Ingredient Peanut Butter Cookies You Can Make in Minutes are the dessert equivalent of a mic drop—simple, bold, and weirdly impressive. Keep the base recipe locked in your brain, then tweak with chocolate, salt, or jam when you want extra flair.
Your future self—snacking on a warm, chewy cookie—will be very grateful.
Printable Recipe Card
Want just the essential recipe details without scrolling through the article? Get our printable recipe card with just the ingredients and instructions.
Loved This Recipe?
If you're looking for more simple, healthy dinners your family will actually eat, grab my FREE 7-Day Easy Dinner Reset. You'll get 7 easy dinner recipes, simple grocery lists, and a done-for-you plan that takes the stress out of mealtime.