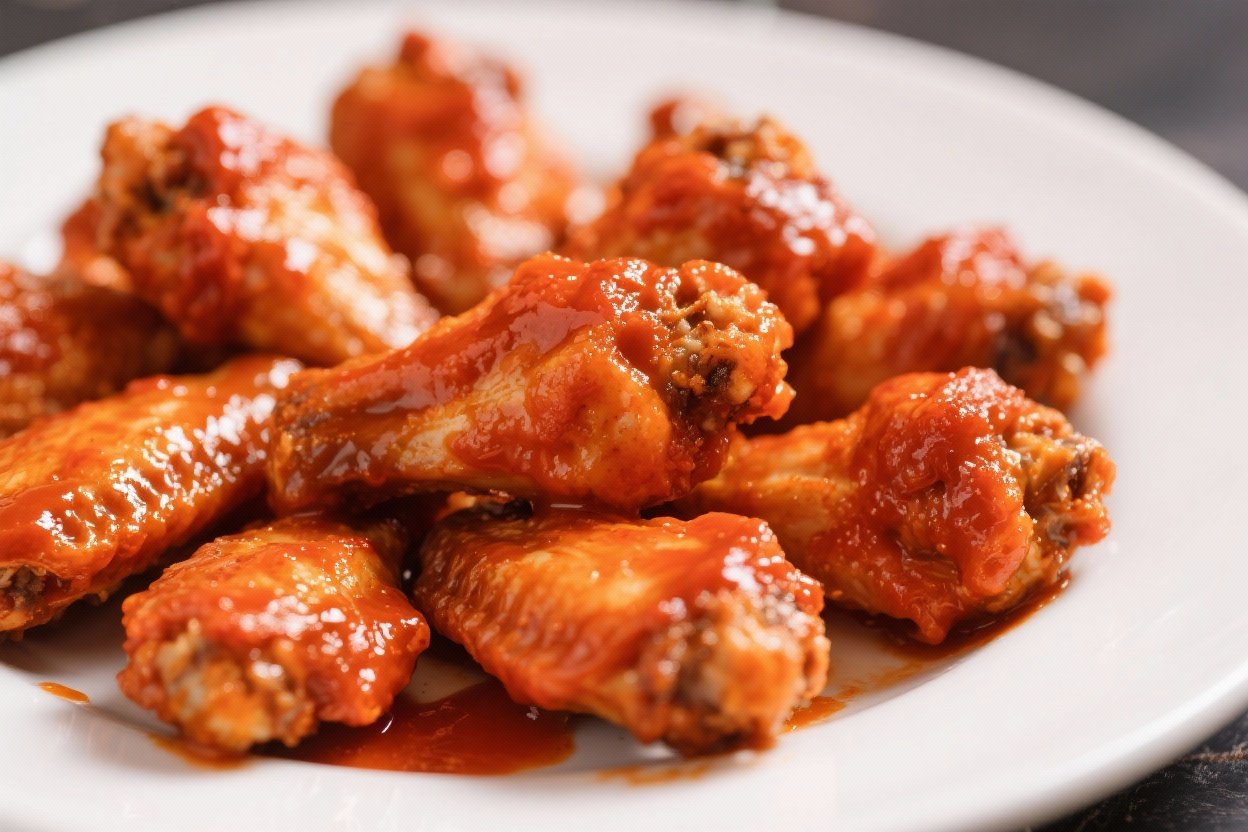
Classic Buffalo Chicken Wings That Actually Crunch: The Only Game-Day Flex You Need
You don’t need a deep fryer or a culinary diploma to make wings that slap. You just need heat, fat, and a sauce that unapologetically bites back. These Classic Buffalo Chicken Wings are engineered for maximum crunch and that glossy, neon-orange glory we all chase.
Think bar-quality wings without the sticky tables or 45-minute wait. You bring the appetite, I’ll bring the blueprint. Ready to turn your kitchen into the wing spot your friends won’t shut up about?
Overeating is a pattern. This helps you fix that problem. A quick reset for cravings, snacking, and “I’ll start tomorrow” moments.
Built for busy home cooks who want real-life structure. Simple steps that fit meal prep, family dinners, and late-night snack attacks.
What Makes This Recipe Awesome
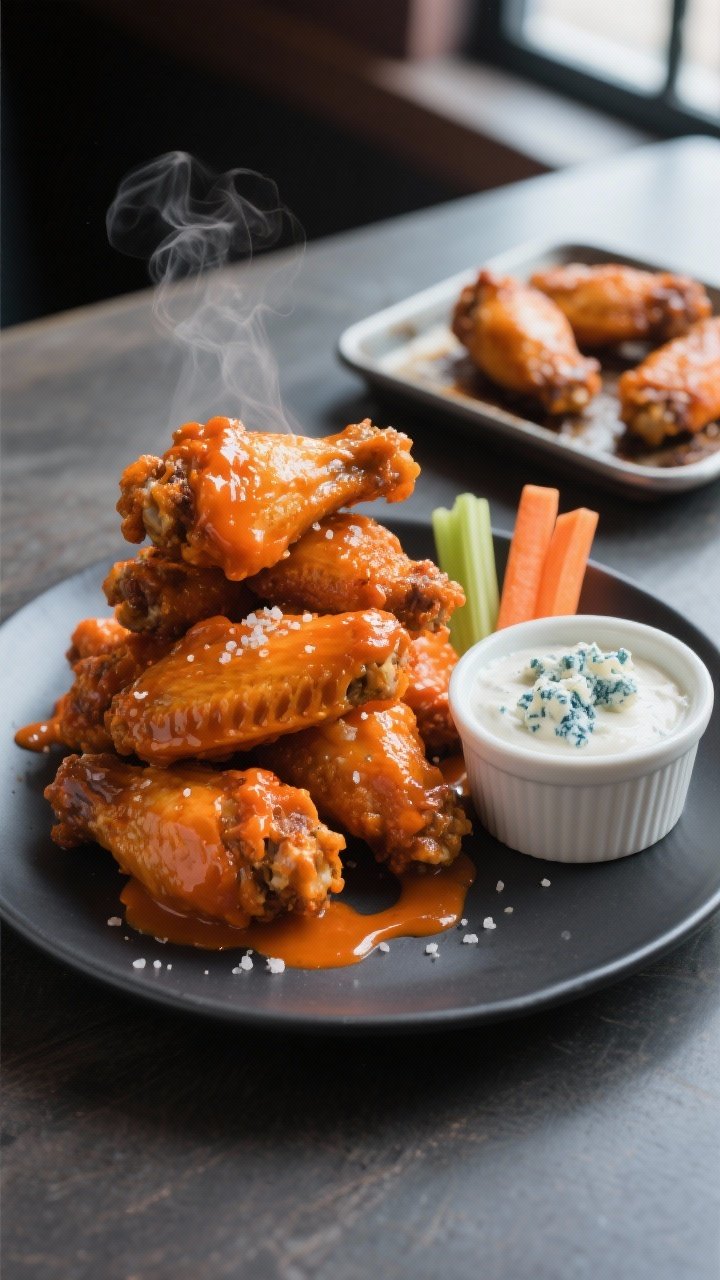
These wings hit that perfect trifecta: shatteringly crisp skin, juicy meat, and authentic Buffalo heat that lingers without punishing.
No deep-frying needed—your oven or air fryer does the heavy lifting. The secret? A smart drying technique and baking powder magic that transforms humble chicken into a crunch factory.
The sauce stays classic: butter and hot sauce, balanced with a hint of tang.
No sugar bomb, no mystery glazes—just the Buffalo profile you crave. It’s scalable, weeknight-friendly, and proudly messy. Because wings should never be tidy.
What You’ll Need (Ingredients)
- 2–3 lbs chicken wings, split into flats and drumettes, tips removed
- 1 tablespoon baking powder (aluminum-free, for best flavor)
- 1 teaspoon kosher salt
- 1 teaspoon garlic powder
- 1/2 teaspoon black pepper
- 1/2 teaspoon smoked paprika (optional, for depth)
- 1/2 cup Frank’s RedHot Original (or your favorite cayenne-style hot sauce)
- 4 tablespoons unsalted butter
- 1 tablespoon white vinegar (or apple cider vinegar)
- 1/4 teaspoon Worcestershire sauce (optional but classic)
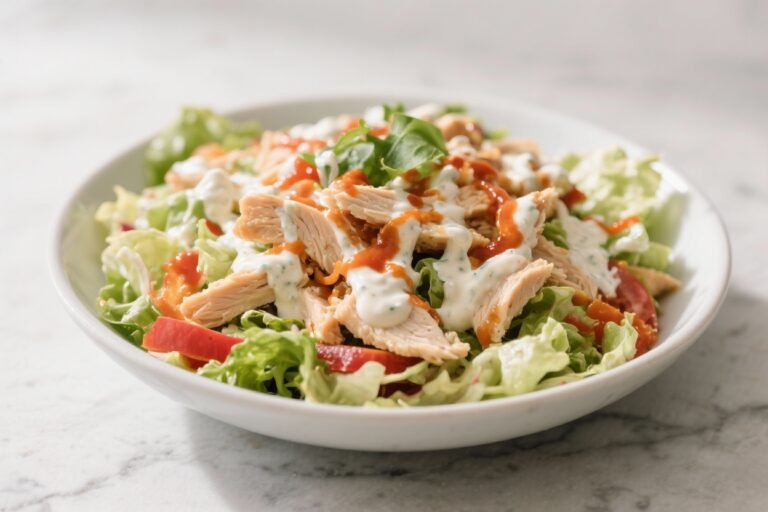
- Blue cheese dressing, for serving
- Celery and carrot sticks, for serving
Instructions
- Pat the wings bone-dry. Use paper towels and really get in there.
Drier wings mean crispier skin. If you can, let them sit uncovered in the fridge for 4–24 hours on a rack—this is like putting your wings in a spa for crunch.
- Toss with crisping mix. In a bowl, combine baking powder, salt, garlic powder, pepper, and smoked paprika. Coat wings evenly.
Don’t overdo it—light, even coverage wins.
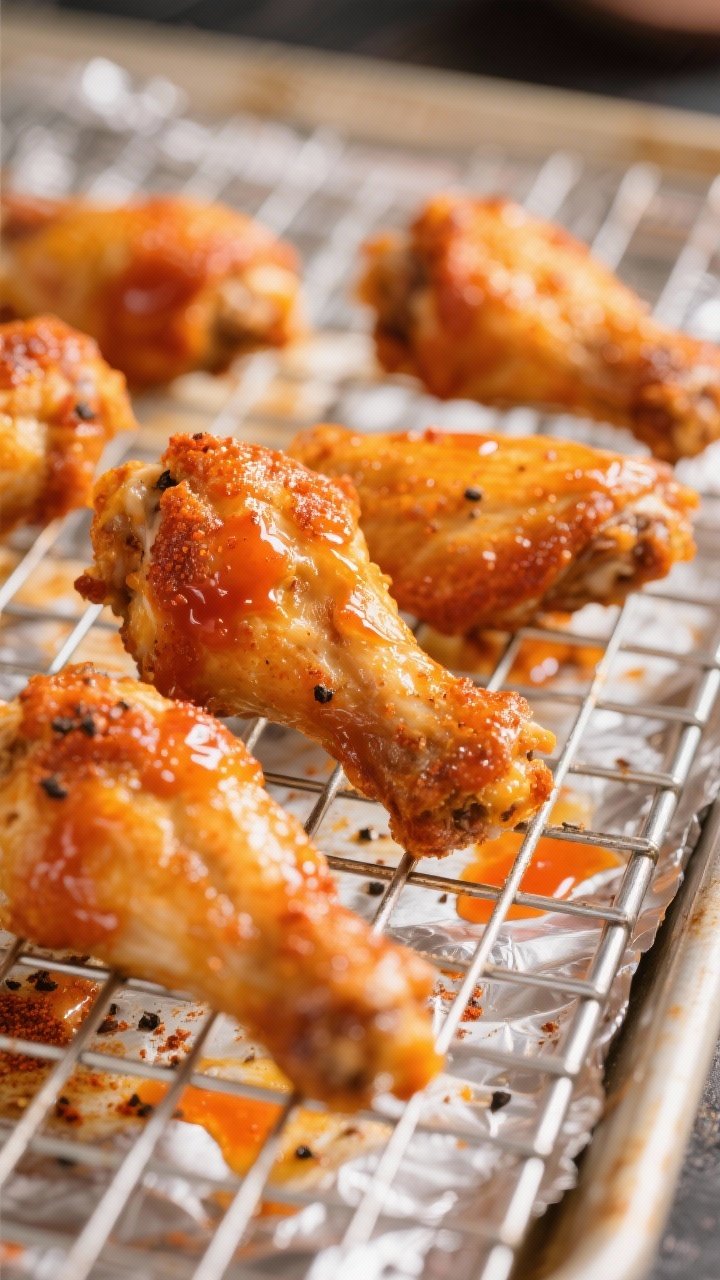
- Preheat smart. Oven: 425°F (220°C) with a wire rack over a foil-lined sheet. Air fryer: 390°F (200°C). Preheat fully so the skin gets immediate sizzle.
- Bake or air fry to golden perfection. Oven: arrange wings skin-side up, don’t crowd.
Bake 35–45 minutes, flipping at 25 minutes, until deep golden and crisp. Air fryer: 22–26 minutes, shaking or flipping halfway. Internal temp should hit 185–195°F for pull-apart tenderness.
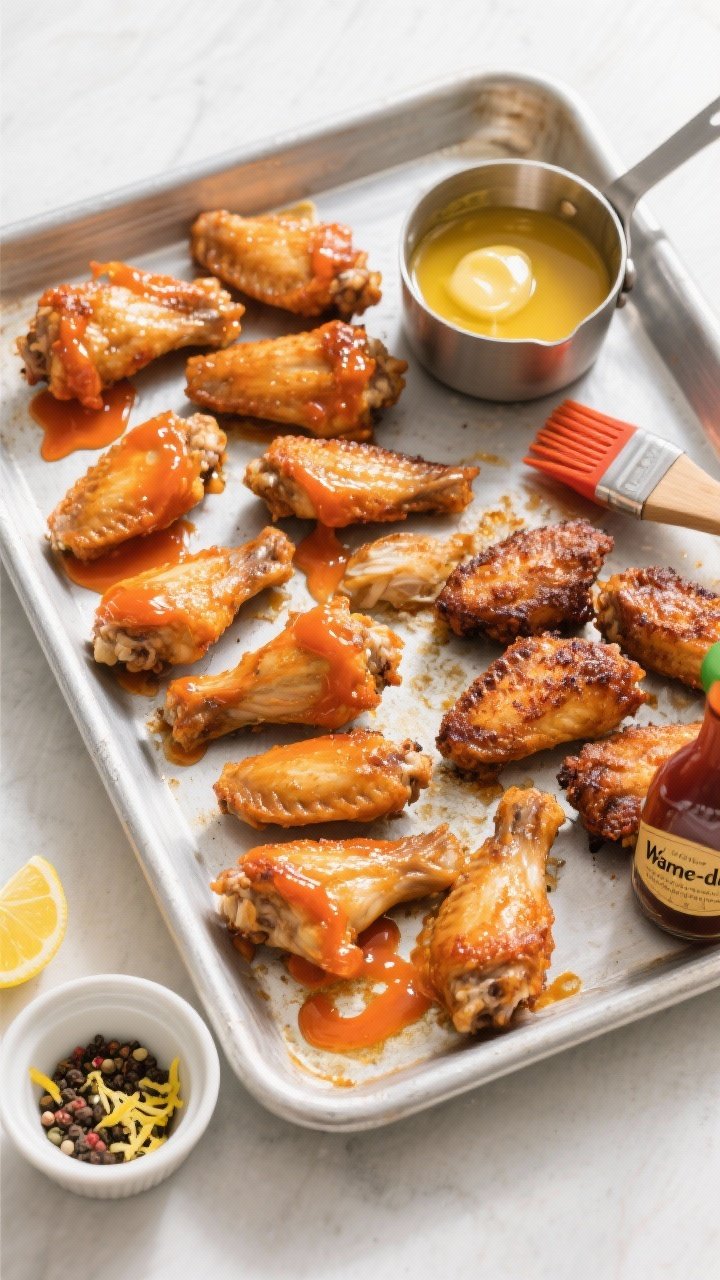
- Make the sauce. In a small saucepan on low heat, melt butter.
Stir in hot sauce, vinegar, and Worcestershire. Warm until smooth and glossy. Do not boil—boiling can split the sauce and mute the butter flavor.
- Sauce like you mean it. Toss wings in a large bowl with just enough sauce to coat—start with half, add more as needed.
You want glossy, not soupy. FYI, extra sauce can be served on the side for the dunkers.
- Serve immediately. Plate with blue cheese dressing, celery, and carrots. Optional final move: a quick 2–3 minute re-crisp in the oven after saucing if you like them extra firm.
Storage Instructions
- Fridge: Store leftover wings in an airtight container for up to 4 days.
- Reheat: Oven at 400°F for 8–12 minutes on a rack until re-crisped.
Air fryer at 360°F for 6–8 minutes. Microwave only if you like sadness.
- Freezer: Freeze plain cooked wings (unsauced) up to 2 months. Reheat from frozen at 400°F for 15–20 minutes, then toss in fresh sauce.
- Sauce: Extra Buffalo sauce keeps in the fridge for 1 week.
Warm gently before using.
Benefits of This Recipe
- Healthier crunch, no vat of oil: All the texture with less grease, fewer splatters, and easier cleanup.
- Foolproof technique: Baking powder and high heat are a replicable system, not a coin flip.
- Authentic flavor balance: Tangy heat, buttery finish, and zero sugar crash. This is Buffalo as intended.
- Flexible and scalable: Double the batch for parties; the method remains consistent.
- Wallet-friendly: Wings, pantry spices, and a hero sauce—simple inputs, big returns (Alex would approve).

Common Mistakes to Avoid
- Skipping the dry step: Moisture is the enemy of crisp. Pat dry like you mean it.
- Using too much baking powder: A little is transformative; too much tastes metallic.
Stick to the recipe and use aluminum-free.
- Crowding the pan: Wings need airflow. If they’re touching, they’re steaming, not crisping.
- Saucing too early: Don’t sauce before crisping. You’ll get soggy wings and shattered dreams.
- Boiling the sauce: Gentle heat only.
Boiling splits butter and dulls the hot sauce.
Recipe Variations
- Extra-Hot Buffalo: Add 1–2 teaspoons cayenne to the sauce or spike with a dash of ghost pepper sauce. Proceed bravely.
- Mild and Friendly: Add 1–2 tablespoons butter or a splash of cream to soften the heat without losing flavor.
- Lemon-Pepper Buffalo: Toss finished wings with lemon zest and cracked pepper, then hit with Buffalo sauce. Bright and bold.
- Garlic-Parmesan Buffalo: Add 1 grated garlic clove to melted butter, then mix with hot sauce and 2 tablespoons grated Parm.
Not traditional, but wildly addictive.
- Smoked Wings: Smoke at 250°F for 1.5–2 hours until tender, then blast at 425°F to crisp and finish with Buffalo sauce. Peak backyard energy.
- Gluten-Free Note: Most ingredients are naturally GF, but confirm your Worcestershire and hot sauce labels, IMO.
FAQ
Can I make these wings ahead of time?
Yes. Cook them until crisp, cool completely, and refrigerate.
Re-crisp in a 400°F oven for 10 minutes, then toss in fresh-warmed sauce. They’ll taste just-cooked with minimal effort.
Why baking powder and not baking soda?
Baking powder raises pH and promotes browning without the harsh, soapy taste that baking soda can bring. Also, use aluminum-free baking powder to avoid any off flavors.
What if I don’t have a wire rack?
You can bake directly on a well-oiled foil-lined sheet, flipping twice and draining any pooled fat halfway through.
Crispness won’t be identical, but it’ll still be solid.
Which hot sauce is best for Buffalo wings?
Frank’s RedHot Original is the classic for a reason: it’s tangy, balanced, and designed for wings. If you swap, stick with cayenne-based sauces for the same vibe.
How do I avoid soggy leftovers?
Store wings uncovered for the first 30 minutes in the fridge to let steam escape, then cover. Reheat using dry heat (oven or air fryer) to restore the crunch.
No saucy containers, please.
Can I fry them instead?
Absolutely. Skip the baking powder, pat dry, and deep-fry at 350°F for 10–12 minutes until golden and 185°F internally. Toss in the same Buffalo sauce.
It’s messier but elite.
The Bottom Line
Classic Buffalo Chicken Wings don’t need gimmicks—just a reliable method, real heat, and a butter-slicked finish. This recipe puts bar-level wings on your table with minimal drama and maximum crunch. Make a batch once, and your group chat will mysteriously “swing by” every game day.
Coincidence? Not even close.
Printable Recipe Card
Want just the essential recipe details without scrolling through the article? Get our printable recipe card with just the ingredients and instructions.