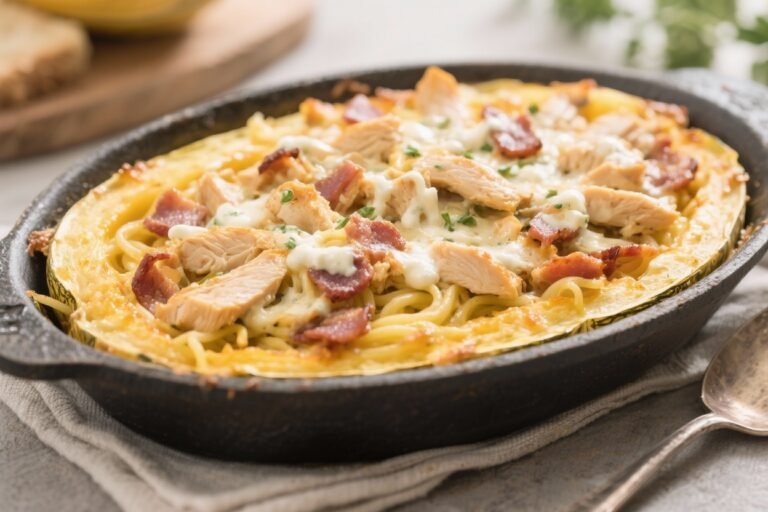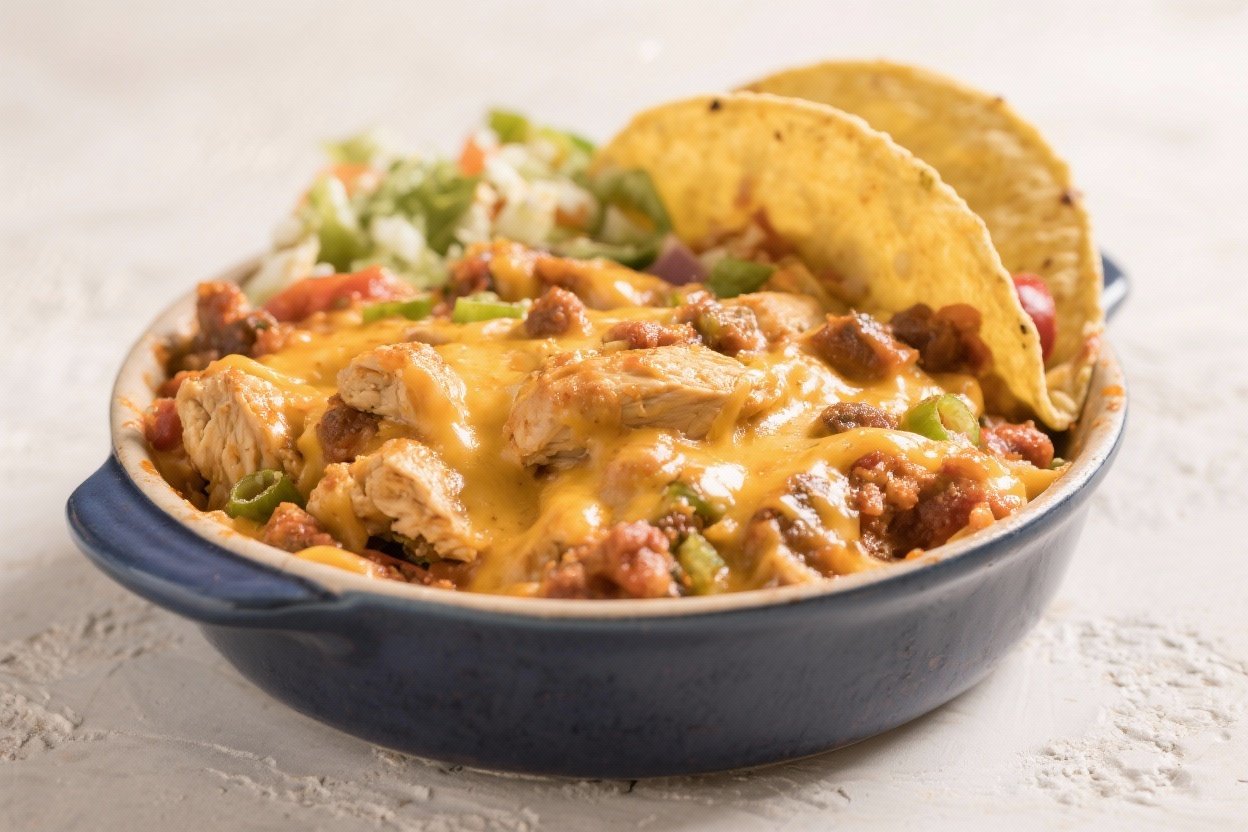
Dump and Go Cheesy Taco Chicken – Easy, Flavor-Packed Weeknight Dinner
This is the kind of dinner you can throw together in minutes and still feel like a kitchen hero. Dump and Go Cheesy Taco Chicken takes pantry staples and turns them into a bubbly, saucy, crowd-pleasing meal. No fussy prep, no babysitting the stove—just simple steps and big taco flavors.
It’s perfect for busy nights, meal prep, or when you want something comforting without the hassle.

Dump and Go Cheesy Taco Chicken - Easy, Flavor-Packed Weeknight Dinner
Ingredients
- Chicken breasts (boneless, skinless), about 2 pounds (4 medium)
- Taco seasoning (1 standard packet or 2–3 tablespoons)
- Salsa (mild, medium, or hot), 1 cup
- Chicken broth or water, 1/4 cup
- Cream cheese, 4 ounces (half a block), softened
- Shredded Mexican blend or cheddar cheese, 1–2 cups
- Canned corn, drained (optional), 1 cup
- Black beans, drained and rinsed (optional), 1 cup
- Green chiles (optional), 1 small can
- Lime, 1 (for serving)
- Fresh cilantro (optional)
- Salt and pepper
- Olive oil or nonstick spray
Instructions
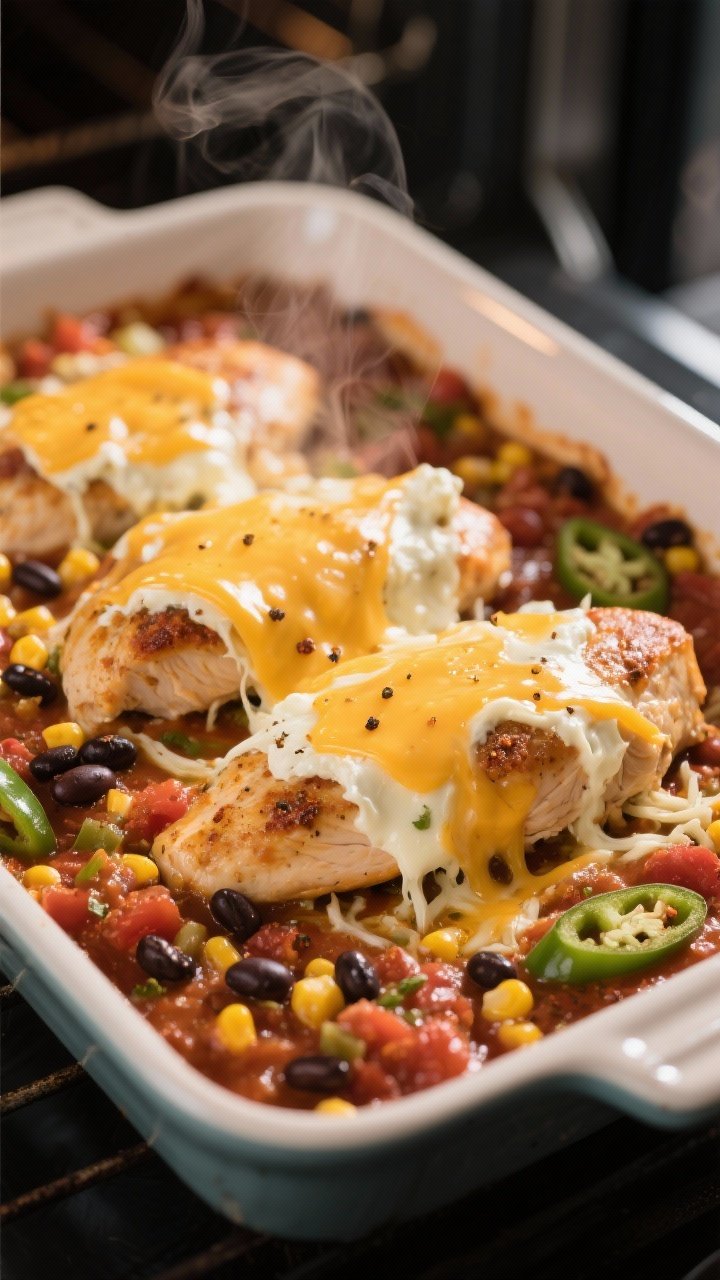
- Preheat and prep: Heat the oven to 400°F (200°C). Lightly grease a 9x13-inch baking dish with olive oil or nonstick spray.
- Season the chicken: Pat chicken breasts dry and place them in the dish. Sprinkle both sides with taco seasoning, plus a pinch of salt and pepper.
- Mix the sauce: In a bowl, stir together salsa, broth (or water), and cream cheese until mostly smooth. Small specks of cream cheese are fine.
- Dump it on: Pour the sauce over the chicken. If using, scatter corn, black beans, and green chiles around the chicken.
- Bake: Cover the dish tightly with foil and bake for 20 minutes.
- Uncover and add cheese: Remove the foil, spoon some sauce over the chicken, and top evenly with shredded cheese.
- Finish baking: Bake uncovered for another 10–15 minutes, until the chicken reaches an internal temperature of 165°F (74°C) and the cheese is melted and bubbly.
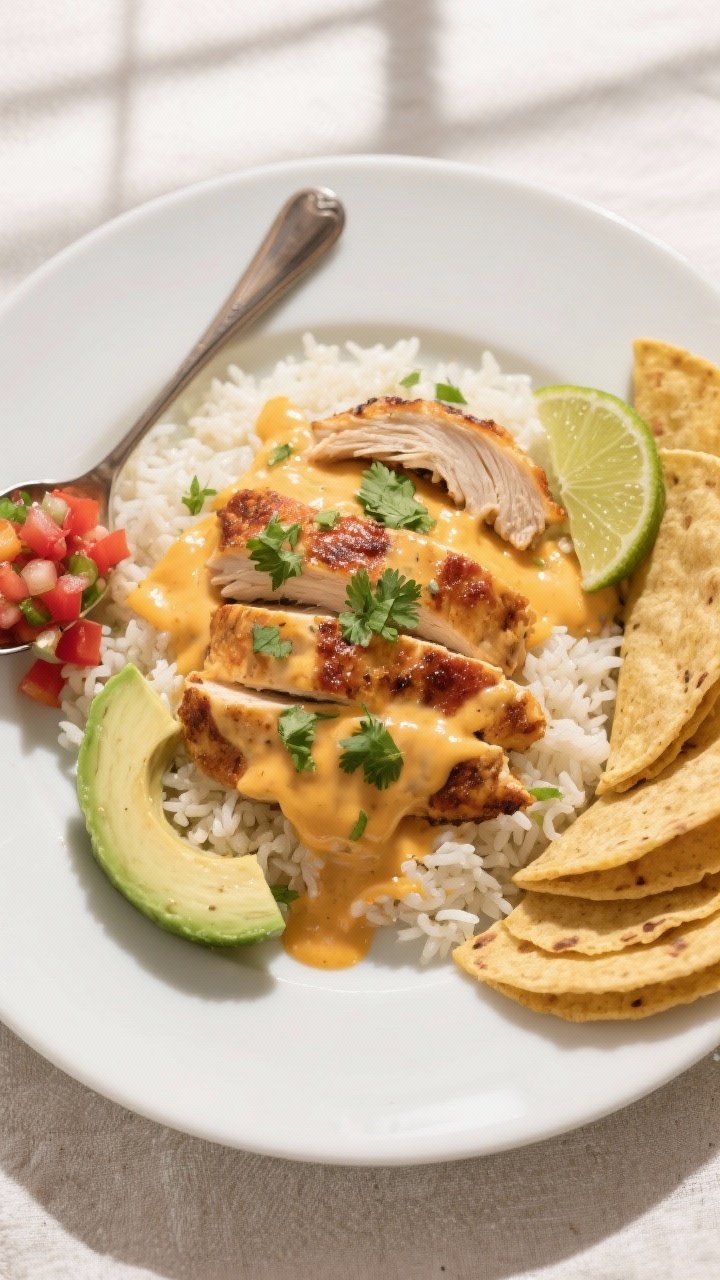
- Rest and garnish: Let it rest 5 minutes. Squeeze fresh lime over the top and sprinkle with cilantro.
- Serve: Spoon over rice or cauliflower rice, tuck into tortillas, or pile on greens for a taco-style salad.
Overeating is a pattern. This helps you fix that problem. A quick reset for cravings, snacking, and “I’ll start tomorrow” moments.
Built for busy home cooks who want real-life structure. Simple steps that fit meal prep, family dinners, and late-night snack attacks.
What Makes This Recipe So Good
- Minimal effort: Everything goes into one baking dish. No pre-searing, no complicated steps.
- Big taco flavor: Taco seasoning, salsa, and cheese build layers of flavor with almost no work.
- Family-friendly: Mild enough for kids, easy to spice up for heat lovers.
- Versatile: Serve it over rice, in tacos, on salads, or as a burrito bowl.
- Budget-friendly: Uses affordable ingredients you likely already have.
Shopping List
- Chicken breasts (boneless, skinless), about 2 pounds (4 medium)
- Taco seasoning (1 standard packet or 2–3 tablespoons)
- Salsa (mild, medium, or hot), 1 cup
- Chicken broth or water, 1/4 cup
- Cream cheese, 4 ounces (half a block), softened
- Shredded Mexican blend or cheddar cheese, 1–2 cups
- Canned corn, drained (optional), 1 cup
- Black beans, drained and rinsed (optional), 1 cup
- Green chiles (optional), 1 small can
- Lime, 1 (for serving)
- Fresh cilantro (optional)
- Salt and pepper
- Olive oil or nonstick spray
Instructions
- Preheat and prep: Heat the oven to 400°F (200°C). Lightly grease a 9×13-inch baking dish with olive oil or nonstick spray.
- Season the chicken: Pat chicken breasts dry and place them in the dish.
Sprinkle both sides with taco seasoning, plus a pinch of salt and pepper.
- Mix the sauce: In a bowl, stir together salsa, broth (or water), and cream cheese until mostly smooth. Small specks of cream cheese are fine.
- Dump it on: Pour the sauce over the chicken. If using, scatter corn, black beans, and green chiles around the chicken.
- Bake: Cover the dish tightly with foil and bake for 20 minutes.
- Uncover and add cheese: Remove the foil, spoon some sauce over the chicken, and top evenly with shredded cheese.
- Finish baking: Bake uncovered for another 10–15 minutes, until the chicken reaches an internal temperature of 165°F (74°C) and the cheese is melted and bubbly.
- Rest and garnish: Let it rest 5 minutes.
Squeeze fresh lime over the top and sprinkle with cilantro.
- Serve: Spoon over rice or cauliflower rice, tuck into tortillas, or pile on greens for a taco-style salad.
Storage Instructions
- Refrigerate: Cool completely, then store in an airtight container for up to 4 days.
- Freeze: Slice or shred chicken and freeze with sauce for up to 3 months. Thaw overnight in the fridge.
- Reheat: Microwave in 45–60 second bursts, or warm in a 300°F (150°C) oven until hot. Add a splash of broth if it looks dry.

Health Benefits
- High in protein: Chicken breasts provide lean protein to keep you satisfied and support muscle health.
- Customizable veggies: Adding corn, beans, or bell peppers boosts fiber, which supports digestion and steady energy.
- Calcium and vitamin D: Cheese and cream cheese add calcium; use light versions if you want to reduce saturated fat.
- Gluten-free friendly: Use a certified gluten-free taco seasoning and serve with corn tortillas or rice.
- Flexible calories: Serve with extra veggies or cauliflower rice for a lighter plate, or add tortillas and rice for more fuel.
What Not to Do
- Don’t overbake the chicken. Dry chicken happens fast.
Use a thermometer and pull it at 165°F (74°C).
- Don’t skip seasoning both sides. Balanced flavor comes from seasoning all surfaces.
- Don’t use watery salsa without adjusting. If your salsa is thin, reduce the broth or skip it to avoid a soupy dish.
- Don’t add the cheese too early. It can overcook and turn oily. Add it after the initial covered bake.
- Don’t crowd the dish with too many add-ins. Keep a good sauce-to-chicken ratio so flavors stay bold and the texture stays creamy.
Recipe Variations
- Slow cooker: Add all ingredients except shredded cheese to the crock. Cook on Low 3–4 hours or High 2–3 hours, until 165°F (74°C).
Top with cheese, cover 5–10 minutes to melt.
- Instant Pot: Place chicken, seasoning, salsa, and 1/4 cup broth in the pot. Pressure cook 8–10 minutes (thick breasts need 10), quick release, stir in cream cheese, then top with cheese and let melt on Warm.
- Spicy chipotle: Add 1–2 chopped chipotle peppers in adobo to the sauce and use pepper jack cheese.
- Low-carb/keto: Skip corn and beans. Use full-fat cream cheese and serve over cauliflower rice or lettuce.
- Cheesy ranch taco: Mix 1 tablespoon ranch seasoning with the taco seasoning for a tangy twist.
- Veggie boost: Add sliced bell peppers, onions, or zucchini to the pan before baking.
- Shredded version: After baking, shred the chicken in the sauce and return it to the dish.
Add extra cheese and broil briefly for melty edges—great for tacos and sliders.
FAQ
Can I use chicken thighs instead of breasts?
Yes. Boneless, skinless thighs work well and stay juicy. Add 5–10 minutes to the bake time if they’re thick, and still cook to 165°F (74°C).
What kind of salsa works best?
Use a thick, chunky salsa to avoid a runny sauce.
If your salsa is thin, reduce or skip the added broth.
Can I make it ahead?
Absolutely. Assemble the dish up to the baking step, cover, and refrigerate for up to 24 hours. Add 5–10 minutes to the bake time if going straight from the fridge.
How do I keep the cream cheese from clumping?
Soften it to room temperature and whisk it with the salsa and warm broth.
Even if it’s slightly lumpy, it melts smooth in the oven.
What should I serve with it?
It’s great with rice, cilantro-lime rice, cauliflower rice, tortillas, or a simple green salad. Add avocado, pico de gallo, or sour cream for toppings.
Can I cut the cheese?
Yes. Use 1 cup for a lighter dish, or go up to 2 cups for extra melty goodness.
The recipe still tastes great either way.
Is this freezer-friendly?
Yes. Bake, cool, then freeze in portions with the sauce. Thaw overnight and reheat gently, adding a splash of broth if needed.
Final Thoughts
Dump and Go Cheesy Taco Chicken is everything a weeknight dinner should be: simple, flavorful, and flexible.
With a few pantry staples, you get a cheesy, saucy dish that fits tacos, bowls, salads, and more. Keep this one in your rotation for nights when cooking needs to be easy and the results need to be delicious. Add your favorite toppings, make it your own, and enjoy the leftovers just as much as the first bite.
Printable Recipe Card
Want just the essential recipe details without scrolling through the article? Get our printable recipe card with just the ingredients and instructions.