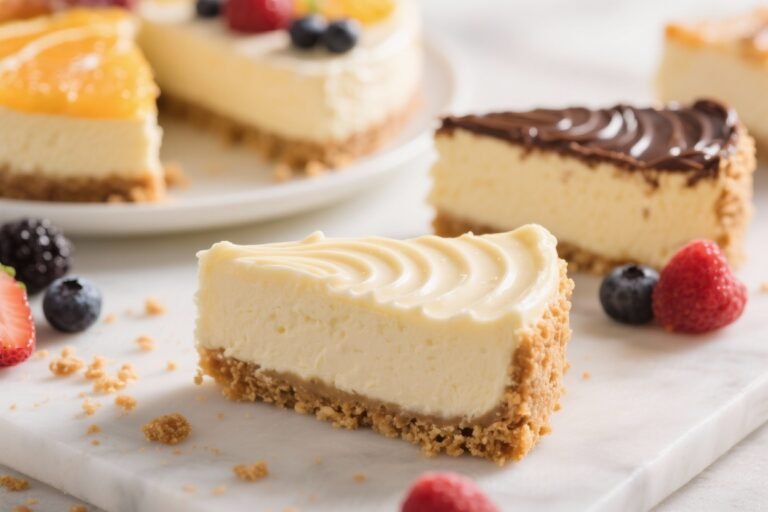
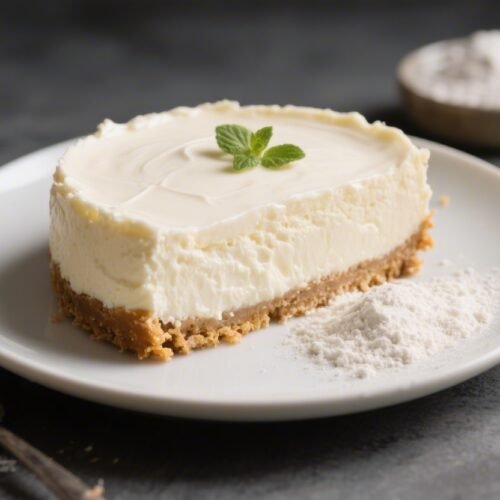
High Protein Cheesecake (Greek Yogurt + Protein Powder) – Creamy, Light, and Satisfying
If you love cheesecake but want something lighter that still hits the spot, this high protein version is a game changer. It’s creamy, tangy, and subtly sweet—without the sugar crash or heavy feeling. Greek yogurt and protein powder do the heavy lifting, so you get dessert that doubles as a macro-friendly snack.
It sets beautifully, slices clean, and tastes even better the next day. Think classic cheesecake vibes, just leaner and easier.
High Protein Cheesecake (Greek Yogurt + Protein Powder) - Creamy, Light, and Satisfying
Ingredients
- Greek yogurt: 2 cups (plain, unsweetened; 2% or nonfat both work)
- Reduced-fat cream cheese: 8 ounces, softened (full-fat is fine if you prefer)
- Protein powder: 1/2 to 3/4 cup (vanilla or unflavored; whey or a whey/casein blend works best)
- Sweetener: 1/2 to 2/3 cup sugar, maple syrup, or a zero-calorie sweetener (like monk fruit or erythritol)
- Eggs: 2 large
- Vanilla extract: 1–2 teaspoons
- Lemon zest or juice: Optional, for brightness
- Salt: A small pinch
- Cornstarch or arrowroot: 1 tablespoon (helps set, optional but recommended)
- Crust (optional):
- 1 1/2 cups graham cracker crumbs or high-protein cereal crumbs
- 2–3 tablespoons melted butter or coconut oil
- 1–2 tablespoons sweetener
- Topping (optional): Fresh berries, sugar-free jam, or a light drizzle of honey
Instructions
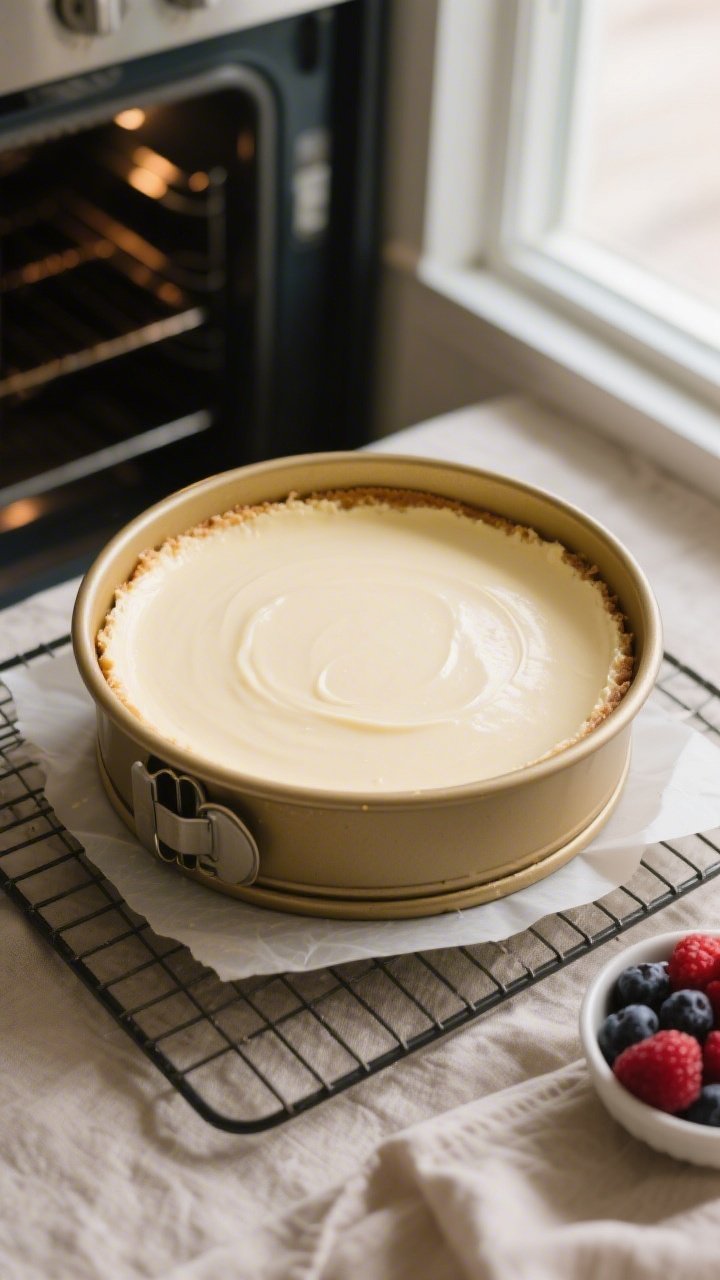
- Prep your pan and oven: Preheat the oven to 325°F (160°C). Line the bottom of a 9-inch springform pan with parchment. Lightly grease the sides.
- Make the crust (optional): Stir crumbs, melted butter, and sweetener until evenly moistened. Press firmly into the bottom of the pan. Bake for 8–10 minutes, then cool slightly.
- Soften and smooth the base: In a large bowl, beat softened cream cheese until smooth and fluffy. This prevents lumps later.
- Add yogurt and flavor: Whisk in Greek yogurt, vanilla, lemon zest/juice, and a pinch of salt until creamy.
- Sweeten and stabilize: Mix in your sweetener and cornstarch. Taste and adjust sweetness before adding eggs.
- Incorporate protein powder: Sift in the protein powder to avoid clumps. Mix on low until just combined. Avoid overmixing to keep the texture silky.
- Add eggs last: Beat in the eggs one at a time on low speed. Mix only until incorporated. The batter should be thick but pourable.
- Fill the pan: Pour batter over the crust (or directly into the lined pan if skipping the crust). Tap the pan gently to release air bubbles.
- Bake gently: Bake at 325°F (160°C) for 35–45 minutes. The edges should be set, and the center should jiggle slightly like Jell-O. Do not overbake.
- Cool slowly: Turn off the oven, crack the door, and let the cheesecake sit for 30 minutes. Then move to a rack to cool to room temperature.
- Chill to set: Cover and refrigerate for at least 4 hours, preferably overnight. This is when the texture becomes ultra-creamy.
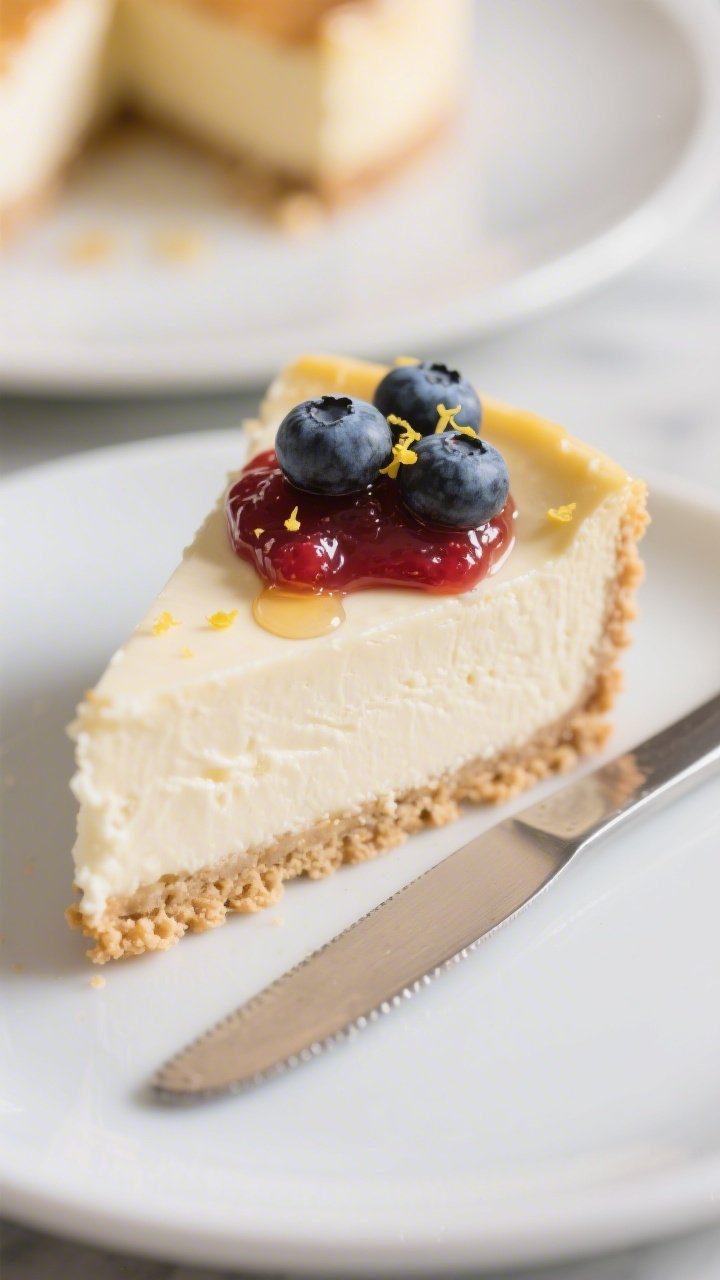
- Serve: Run a knife around the edges, release the springform, and slice with a warm, clean knife. Add berries or your favorite topping.
What Makes This Recipe So Good
- Protein-packed but still creamy: Greek yogurt and cream cheese blend for a smooth, rich texture without feeling dense.
- Simple ingredients: Everything is easy to find—yogurt, protein powder, eggs, and a few pantry staples.
- Flexible sweetness: Use sugar, honey, or your favorite zero-calorie sweetener. You control the flavor and carbs.
- No water bath required: Bakes like a standard cheesecake with minimal fuss.
- Great for meal prep: Slices keep well for days, so you can enjoy a slice when the sweet cravings hit.
Shopping List
- Greek yogurt: 2 cups (plain, unsweetened; 2% or nonfat both work)
- Reduced-fat cream cheese: 8 ounces, softened (full-fat is fine if you prefer)
- Protein powder: 1/2 to 3/4 cup (vanilla or unflavored; whey or a whey/casein blend works best)
- Sweetener: 1/2 to 2/3 cup sugar, maple syrup, or a zero-calorie sweetener (like monk fruit or erythritol)
- Eggs: 2 large
- Vanilla extract: 1–2 teaspoons
- Lemon zest or juice: Optional, for brightness
- Salt: A small pinch
- Cornstarch or arrowroot: 1 tablespoon (helps set, optional but recommended)
- Crust (optional):
- 1 1/2 cups graham cracker crumbs or high-protein cereal crumbs
- 2–3 tablespoons melted butter or coconut oil
- 1–2 tablespoons sweetener
- Topping (optional): Fresh berries, sugar-free jam, or a light drizzle of honey
Step-by-Step Instructions
- Prep your pan and oven: Preheat the oven to 325°F (160°C).
Line the bottom of a 9-inch springform pan with parchment. Lightly grease the sides.
- Make the crust (optional): Stir crumbs, melted butter, and sweetener until evenly moistened. Press firmly into the bottom of the pan.
Bake for 8–10 minutes, then cool slightly.
- Soften and smooth the base: In a large bowl, beat softened cream cheese until smooth and fluffy. This prevents lumps later.
- Add yogurt and flavor: Whisk in Greek yogurt, vanilla, lemon zest/juice, and a pinch of salt until creamy.
- Sweeten and stabilize: Mix in your sweetener and cornstarch. Taste and adjust sweetness before adding eggs.
- Incorporate protein powder: Sift in the protein powder to avoid clumps.
Mix on low until just combined. Avoid overmixing to keep the texture silky.
- Add eggs last: Beat in the eggs one at a time on low speed. Mix only until incorporated.
The batter should be thick but pourable.
- Fill the pan: Pour batter over the crust (or directly into the lined pan if skipping the crust). Tap the pan gently to release air bubbles.
- Bake gently: Bake at 325°F (160°C) for 35–45 minutes. The edges should be set, and the center should jiggle slightly like Jell-O.
Do not overbake.
- Cool slowly: Turn off the oven, crack the door, and let the cheesecake sit for 30 minutes. Then move to a rack to cool to room temperature.
- Chill to set: Cover and refrigerate for at least 4 hours, preferably overnight. This is when the texture becomes ultra-creamy.
- Serve: Run a knife around the edges, release the springform, and slice with a warm, clean knife.
Add berries or your favorite topping.
How to Store
- Refrigerate: Keep tightly covered in the fridge for up to 5 days. Store slices in airtight containers to prevent drying out.
- Freeze: Wrap slices individually in plastic, then foil, and freeze for up to 2 months. Thaw in the fridge overnight for best texture.
- No counter storage: Because of dairy and eggs, always keep it chilled when not serving.
Benefits of This Recipe
- High in protein: Each slice delivers a meaningful protein boost, making it a smarter dessert or post-workout treat.
- Lower in sugar and fat: You control the sweetener and dairy fat level without sacrificing flavor.
- Satisfying texture: The combo of yogurt and cream cheese creates a real-deal cheesecake mouthfeel.
- Customizable: Works with many protein powders, sweeteners, and flavor add-ins.
- Meal-prep friendly: Sets well, slices cleanly, and holds up in the fridge all week.
Common Mistakes to Avoid
- Overbaking: If the center is fully firm in the oven, it’s overdone.
Pull it when it still has a gentle jiggle.
- Using a gritty protein powder: Some powders turn chalky when baked. Choose a whey or whey/casein blend with a smooth finish.
- Skipping the chill: Cheesecake needs time to set. Rushing this step leads to a loose, less creamy texture.
- Overmixing after adding eggs: Too much air creates cracks.
Mix on low and stop as soon as it’s combined.
- Not tasting the batter: Sweetness varies by powder and sweetener. Adjust before baking.
Variations You Can Try
- Chocolate Swirl: Stir 2–3 tablespoons cocoa powder with a bit of milk into 1/3 of the batter and swirl it in before baking.
- Berry Burst: Fold in 1 cup of fresh raspberries or blueberries right before pouring the batter into the pan.
- Crustless: Skip the crust for fewer calories and carbs. Line the pan well and slice carefully.
- Oreo-Inspired: Use chocolate wafer crumbs for the crust and sprinkle a few crushed cookies on top after chilling.
- Lemon Protein Cheesecake: Add extra zest and 2 tablespoons lemon juice, and use unflavored whey for a bright, tart finish.
- No-Bake Shortcut: Use the same ingredients but swap eggs for 1 extra tablespoon cornstarch or 1 packet gelatin (bloomed), then chill until set.
Texture will be lighter.
FAQ
What type of protein powder works best?
Whey or a whey/casein blend delivers the creamiest texture. Plant-based powders can work, but they may taste earthier and set firmer. Start with 1/2 cup if using plant-based and adjust to taste.
Can I make it without cream cheese?
Yes, but the texture changes.
Replace cream cheese with more Greek yogurt and add 1 extra tablespoon cornstarch. It will be lighter and more tangy, less like classic cheesecake.
How do I prevent cracks on top?
Mix on low speed, don’t overbake, and cool gradually with the oven door cracked. Running a thin knife around the edge right after baking can also help release tension.
What sweetener should I use?
Use what you like.
Granulated sugar bakes predictably, while erythritol or monk fruit keeps it light on calories. Liquid sweeteners work too; just reduce slightly to account for added moisture.
Can I bake it in a different pan?
You can use an 8-inch square pan or a deep pie dish. Baking time may vary by 5–10 minutes.
For mini cheesecakes, use a muffin tin with liners and bake 15–20 minutes.
Why is my cheesecake grainy?
This can happen from a gritty protein powder or from overbaking. Sifting the powder and pulling the cheesecake when it still jiggles helps keep the texture smooth.
How much protein is in a slice?
It depends on your protein powder and dairy choices, but most versions land around 12–20 grams per slice when cut into 10 servings.
In Conclusion
This high protein cheesecake keeps the creamy, classic feel you want, with a nutrition profile that actually fits your day. It’s easy to prep, simple to customize, and great for make-ahead desserts.
Keep a chilled cheesecake in the fridge, slice as needed, and enjoy a sweet treat that supports your goals. Dessert can be both satisfying and smart—this recipe proves it.
Printable Recipe Card
Want just the essential recipe details without scrolling through the article? Get our printable recipe card with just the ingredients and instructions.