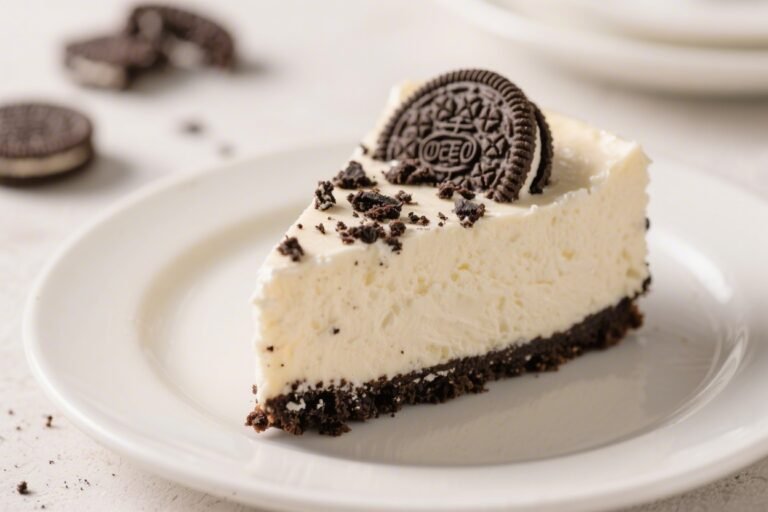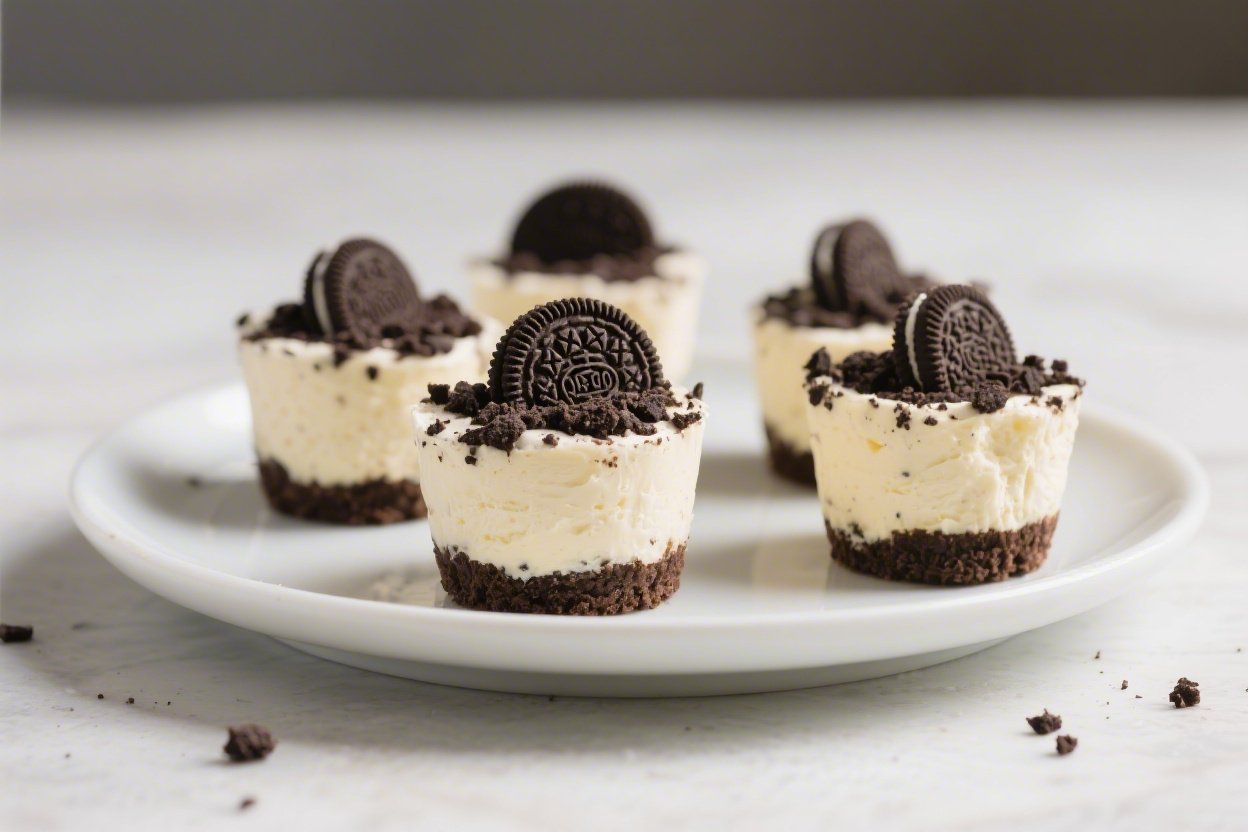
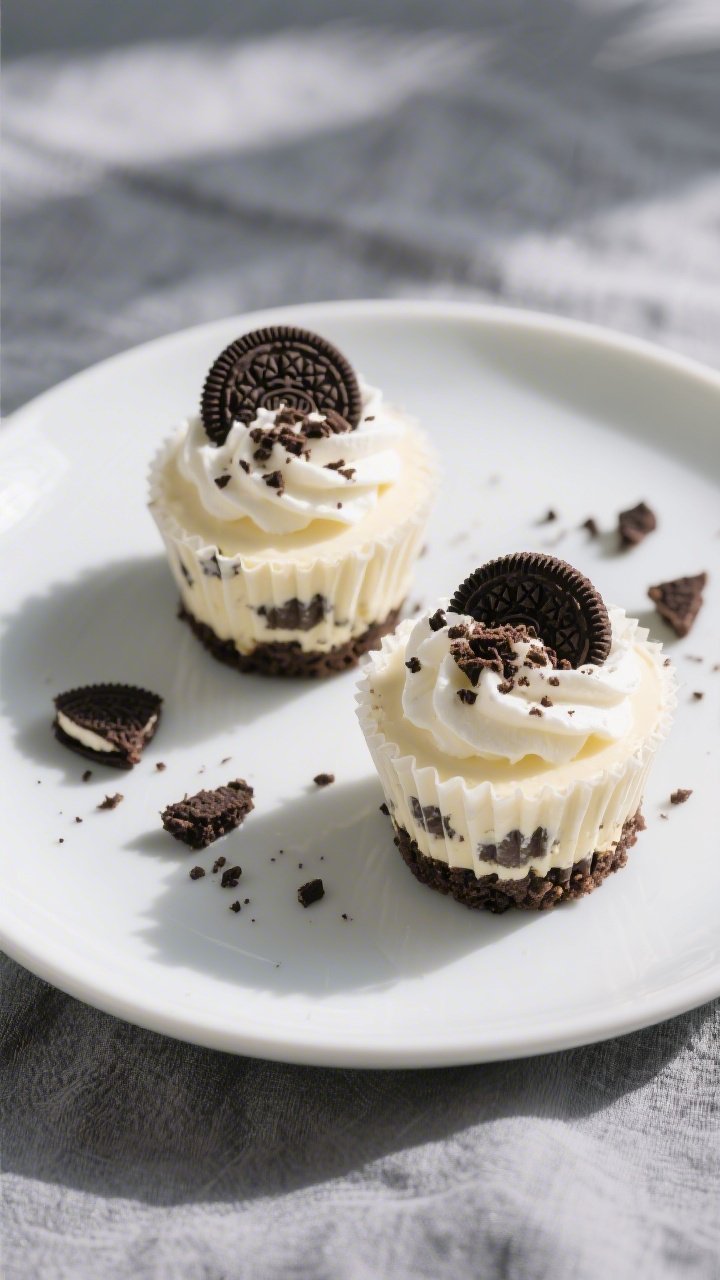
High Protein Oreo Cheesecake Cups – Creamy, Crunchy, and Easy
These cheesecake cups taste like a dessert you’d order at a bakery, but they’re secretly packed with protein. You get a rich, creamy filling, a crunchy Oreo base, and a light swirl of whipped topping if you want to dress them up. They’re simple to make, portion-controlled, and perfect for a quick treat after dinner or a grab-and-go snack.
No water bath, no fuss, just mix, bake, and chill. If you love Oreos and cheesecake, this is the sweet spot.
High Protein Oreo Cheesecake Cups - Creamy, Crunchy, and Easy
Ingredients
- For the crust:
- 12 Oreo cookies (regular, not Double Stuf)
- 2 tablespoons unsalted butter, melted
- 1 pinch fine sea salt
- For the filling:
- 12 ounces light cream cheese, softened to room temperature
- 1 cup plain nonfat Greek yogurt
- 1/3 cup vanilla whey or casein protein powder (about 30 g)
- 1/3 cup granulated sugar or a zero-calorie sweetener blend, to taste
- 2 large eggs, room temperature
- 1 teaspoon pure vanilla extract
- 1 tablespoon cornstarch
- 1/8 teaspoon fine sea salt
- 6 Oreos, roughly chopped
- Optional toppings:
- Light whipped topping or whipped cream
- Crushed Oreos for garnish
- Shaved dark chocolate
Instructions
- Prep your pan: Line a 12-cup muffin pan with paper liners. Preheat the oven to 325°F (165°C). The lower temp helps prevent overbaking.
- Make the crust: Add 12 Oreos to a food processor and pulse to fine crumbs. Pour in the melted butter and a pinch of salt, then pulse until the texture looks like wet sand.
- Pack the base: Divide the crumb mixture evenly among the liners (about 1 heaping tablespoon each). Press down with the back of a spoon or a small flat-bottomed glass to compact.
- Quick bake: Bake crusts for 5–6 minutes. Set aside to cool slightly while you make the filling.
- Beat the cream cheese: In a mixing bowl, beat the softened light cream cheese until smooth and no lumps remain, about 1 minute. Scrape the bowl.
- Add yogurt, sweetener, and flavor: Mix in the Greek yogurt, sugar (or sweetener), vanilla, salt, and cornstarch. Blend until creamy and uniform. Avoid overwhipping; you don’t want too much air.
- Boost the protein: Add the protein powder and mix on low just until incorporated. If it looks a bit thick, that’s fine—Greek yogurt keeps it silky.
- Add the eggs: Mix in the eggs one at a time on low speed until just combined. Overmixing can lead to cracks.
- Fold in Oreos: Gently fold in the chopped Oreos with a spatula. You want chunks, not dust.
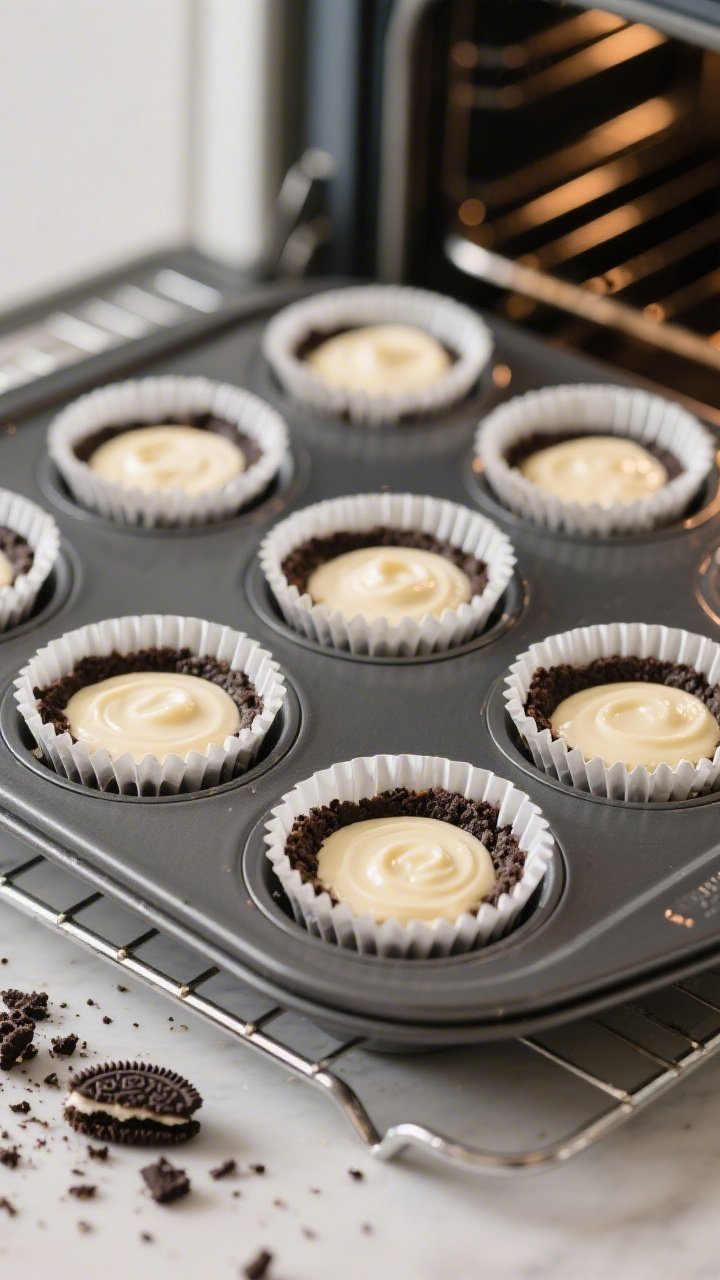
- Fill the cups: Spoon the batter evenly over the crusts, filling each liner nearly to the top. Tap the pan on the counter to pop any large air bubbles.
- Bake: Bake at 325°F for 16–20 minutes. They’re done when the edges are set and the centers still have a slight wobble.
- Cool gradually: Turn off the oven, crack the door, and let the cheesecakes sit for 10 minutes. Move the pan to a rack and cool to room temp.
- Chill to set: Cover and refrigerate at least 3 hours, preferably overnight. They firm up and develop that classic cheesecake texture.
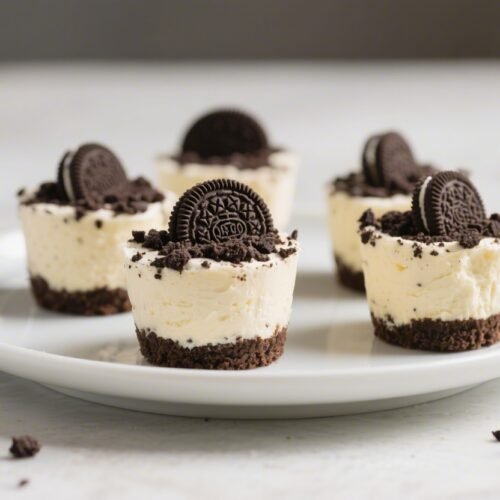
- Top and serve: Add a dollop of whipped topping and a sprinkle of crushed Oreos, if you like. Peel the liner and enjoy.
Overeating is a pattern. This helps you fix that problem. A quick reset for cravings, snacking, and “I’ll start tomorrow” moments.
Built for busy home cooks who want real-life structure. Simple steps that fit meal prep, family dinners, and late-night snack attacks.
What Makes This Recipe So Good
- High in protein, still tastes like dessert: Greek yogurt, light cream cheese, and protein powder make each cup satisfying without feeling heavy.
- Single-serve portions: Built-in portion control so you don’t have to slice a whole cheesecake.
- Foolproof: No cracking drama or complicated steps. A muffin pan handles the structure for you.
- Customizable: Swap flavors of protein powder, use different sandwich cookies, or add mix-ins like mini chocolate chips.
- Make-ahead friendly: They set up nicely in the fridge and taste even better the next day.
Ingredients
- For the crust:
- 12 Oreo cookies (regular, not Double Stuf)
- 2 tablespoons unsalted butter, melted
- 1 pinch fine sea salt
- For the filling:
- 12 ounces light cream cheese, softened to room temperature
- 1 cup plain nonfat Greek yogurt
- 1/3 cup vanilla whey or casein protein powder (about 30 g)
- 1/3 cup granulated sugar or a zero-calorie sweetener blend, to taste
- 2 large eggs, room temperature
- 1 teaspoon pure vanilla extract
- 1 tablespoon cornstarch
- 1/8 teaspoon fine sea salt
- 6 Oreos, roughly chopped
- Optional toppings:
- Light whipped topping or whipped cream
- Crushed Oreos for garnish
- Shaved dark chocolate
How to Make It
- Prep your pan: Line a 12-cup muffin pan with paper liners.
Preheat the oven to 325°F (165°C). The lower temp helps prevent overbaking.
- Make the crust: Add 12 Oreos to a food processor and pulse to fine crumbs. Pour in the melted butter and a pinch of salt, then pulse until the texture looks like wet sand.
- Pack the base: Divide the crumb mixture evenly among the liners (about 1 heaping tablespoon each).
Press down with the back of a spoon or a small flat-bottomed glass to compact.
- Quick bake: Bake crusts for 5–6 minutes. Set aside to cool slightly while you make the filling.
- Beat the cream cheese: In a mixing bowl, beat the softened light cream cheese until smooth and no lumps remain, about 1 minute. Scrape the bowl.
- Add yogurt, sweetener, and flavor: Mix in the Greek yogurt, sugar (or sweetener), vanilla, salt, and cornstarch.
Blend until creamy and uniform. Avoid overwhipping; you don’t want too much air.
- Boost the protein: Add the protein powder and mix on low just until incorporated. If it looks a bit thick, that’s fine—Greek yogurt keeps it silky.
- Add the eggs: Mix in the eggs one at a time on low speed until just combined.
Overmixing can lead to cracks.
- Fold in Oreos: Gently fold in the chopped Oreos with a spatula. You want chunks, not dust.
- Fill the cups: Spoon the batter evenly over the crusts, filling each liner nearly to the top. Tap the pan on the counter to pop any large air bubbles.
- Bake: Bake at 325°F for 16–20 minutes.
They’re done when the edges are set and the centers still have a slight wobble.
- Cool gradually: Turn off the oven, crack the door, and let the cheesecakes sit for 10 minutes. Move the pan to a rack and cool to room temp.
- Chill to set: Cover and refrigerate at least 3 hours, preferably overnight. They firm up and develop that classic cheesecake texture.
- Top and serve: Add a dollop of whipped topping and a sprinkle of crushed Oreos, if you like.
Peel the liner and enjoy.
How to Store
- Refrigerator: Store in an airtight container for up to 5 days. Keep toppings separate until serving for best texture.
- Freezer: Freeze without toppings in a single layer until solid, then transfer to a freezer bag. They keep for 2 months.
Thaw overnight in the fridge.
- Meal prep tip: Portion into individual deli cups so they’re easy to grab and go.

Health Benefits
- Higher protein, greater satiety: Greek yogurt, light cream cheese, and protein powder provide a solid boost that helps curb cravings and supports recovery after workouts.
- Lighter than classic cheesecake: Using light cream cheese and yogurt cuts saturated fat while keeping the creamy texture.
- Controlled portions: Individual cups make mindful eating easier than slicing a full cheesecake.
- Calcium and probiotics: Dairy adds bone-friendly calcium, and Greek yogurt often includes live cultures.
Pitfalls to Watch Out For
- Overmixing the batter: Too much air can cause cracks and a spongy texture. Mix on low and stop as soon as everything is incorporated.
- Overbaking: If the centers are fully set in the oven, they’ll be dry when chilled. Pull them when the middle still jiggles slightly.
- Skipping the chill time: Cheesecake needs hours in the fridge to set.
Rushing leads to soft, messy cups.
- Using cold ingredients: Cold cream cheese clumps. Let your dairy and eggs come to room temp for a smooth filling.
- Too much cookie in the batter: It’s tempting, but excess crumbs can make the filling grainy. Stick to the recipe, then add crushed cookies on top.
Alternatives
- Gluten-free: Use gluten-free chocolate sandwich cookies.
Ensure your protein powder is certified gluten-free.
- No refined sugar: Swap granulated sugar for a zero-calorie sweetener like allulose or a monk fruit blend. Taste the batter and adjust since sweetness can vary by brand.
- Dairy-free: Use dairy-free cream cheese, a thick dairy-free yogurt (coconut works well), and a plant-based protein powder. Texture may be slightly softer; add an extra teaspoon of cornstarch if needed.
- Flavor twists: Try chocolate protein powder, add 1 tablespoon cocoa to the filling, or mix in peanut butter powder for a chocolate-peanut butter version.
- Crust swap: Use chocolate graham crackers or a mixture of almond flour and cocoa with butter for a lower-sugar base.
How much protein is in each cup?
Each cup typically lands around 10–12 grams of protein, depending on the protein powder and dairy brands you use.
If protein is a priority, choose a whey-casein blend and weigh your scoop for accuracy.
Can I make these without a food processor?
Yes. Seal the cookies in a zip-top bag and crush with a rolling pin until fine. Mix in melted butter and salt in a bowl, then proceed as written.
Do I have to bake the crust?
A quick bake improves structure and prevents a crumbly base.
If you skip it, press the crumbs very firmly and expect a slightly looser crust.
Why add cornstarch to the filling?
Cornstarch helps stabilize the batter, prevents weeping, and keeps the texture creamy after chilling. It also reduces the risk of cracks.
Can I use fat-free cream cheese?
You can, but the texture can turn rubbery. Light (reduced-fat) cream cheese strikes a better balance of creaminess and calories.
How do I know they’re done?
Look for set edges and a soft wobble in the center.
If the tops start browning deeply or puffing, they’re likely overbaked.
Can I make them crustless?
Yes. Spray the liners lightly with oil and skip the crust. Bake a minute or two less since there’s no base to insulate the filling.
Wrapping Up
High Protein Oreo Cheesecake Cups check every box: creamy, crunchy, and easy to make ahead.
They’re a smart way to satisfy a sweet tooth while keeping your protein up and portions in check. Tweak the flavors, stash a batch in the fridge, and you’ve got a crowd-pleasing dessert ready whenever the craving hits.
Printable Recipe Card
Want just the essential recipe details without scrolling through the article? Get our printable recipe card with just the ingredients and instructions.