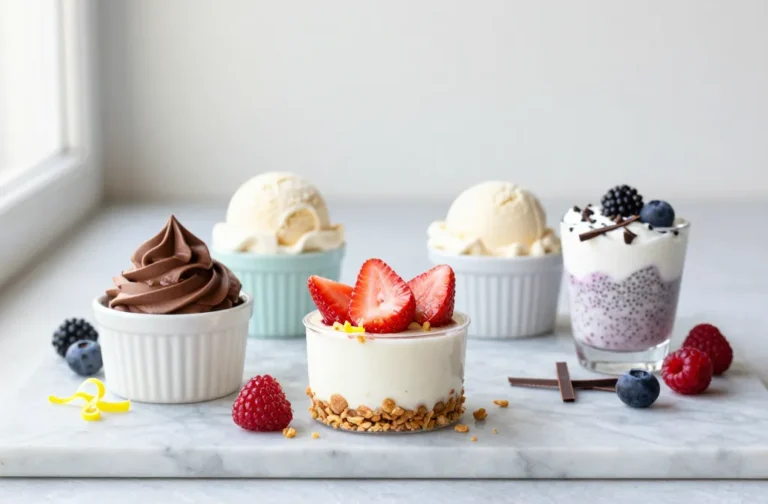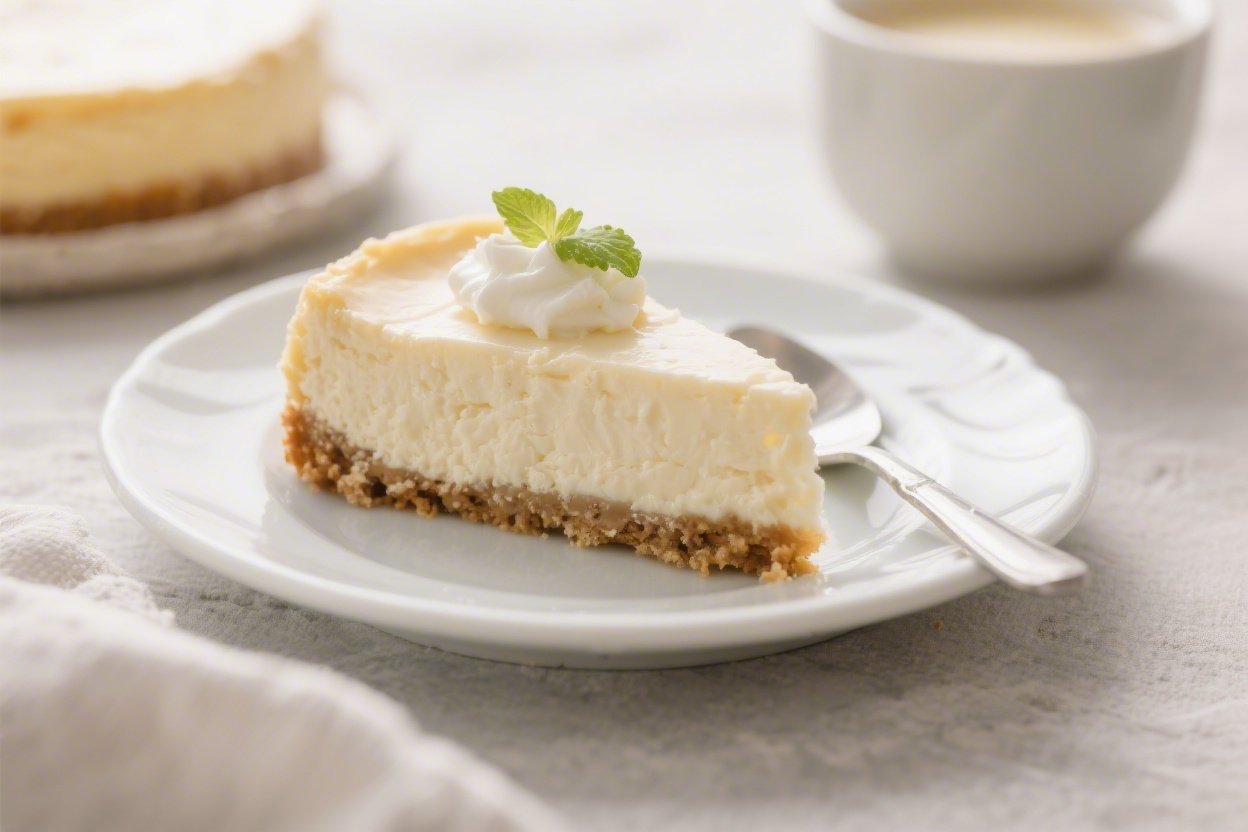
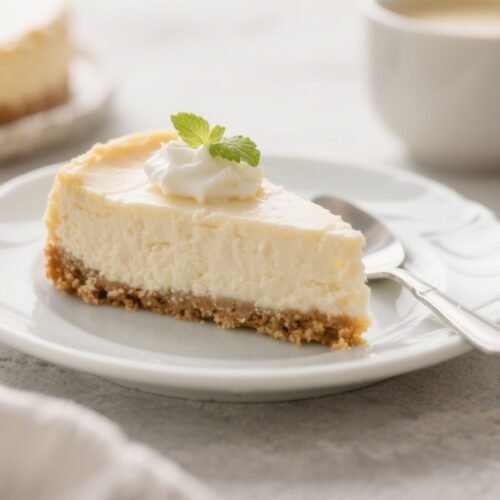
Low-Calorie 3-Ingredient Cheesecake – Light, Creamy, and Surprisingly Simple
If you’ve been craving cheesecake but don’t want a sugar bomb, this simple 3-ingredient version hits the spot. It’s creamy, lightly sweet, and baked to a smooth, custard-like finish. No fancy ingredients, no water bath, and no crust to fuss with.
You mix, pour, bake, and chill. The result is a guilt-friendly dessert that feels special without weighing you down.
Low-Calorie 3-Ingredient Cheesecake - Light, Creamy, and Surprisingly Simple
Ingredients
- 16 ounces (450 g) light cream cheese, softened to room temperature
- 1 cup (240 g) nonfat plain Greek yogurt
- 1/2 cup (100 g) zero-calorie granulated sweetener that measures like sugar (such as allulose, erythritol blend, or monk fruit blend)
Instructions
- Prep your pan and oven. Heat the oven to 325°F (165°C). Lightly spray an 8-inch round cake pan or springform pan, or line the bottom with a parchment round for easy release.
- Soften the cream cheese. Let it sit at room temperature for 30–60 minutes. This helps it blend smoothly and prevents lumps later.
- Beat the cream cheese. In a mixing bowl, beat the cream cheese with a hand mixer on medium until smooth and fluffy, about 1–2 minutes. Scrape the bowl.
- Add the sweetener. Sprinkle in the sweetener and beat until fully combined and silky. If using, add vanilla, lemon zest, and a pinch of salt here.
- Blend in the yogurt. Add the Greek yogurt and mix on low just until smooth and uniform. Don’t overmix; you want as little air as possible to keep the texture creamy.
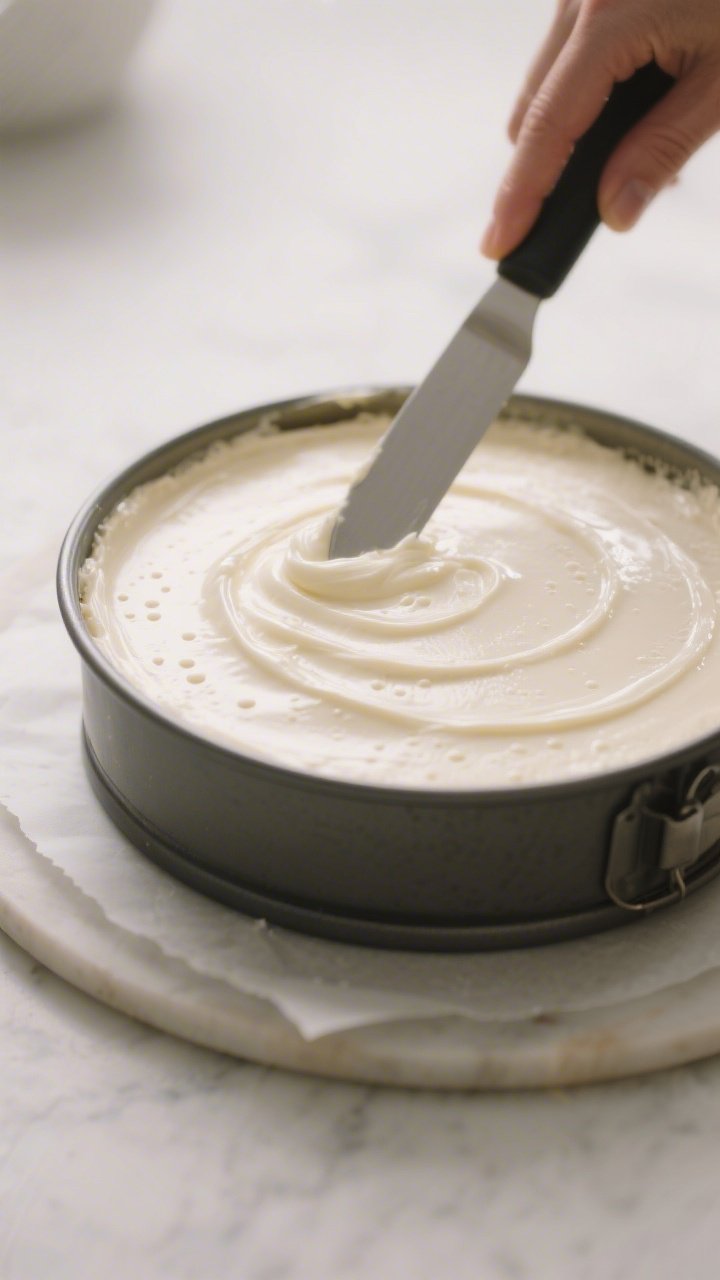
- Pour and smooth. Transfer the batter into the prepared pan. Tap the pan on the counter a few times to pop surface bubbles. Smooth the top with a spatula.
- Bake low and slow. Bake for 30–40 minutes. The edges should look set, and the center should have a slight jiggle when you gently shake the pan. If it looks wet or sloshy, give it a few more minutes.
- Cool in the oven. Turn off the oven, crack the door, and let the cheesecake rest inside for 30 minutes. This gradual cool helps prevent cracks.
- Chill to set. Remove, cool to room temperature, then cover and chill for at least 4 hours, ideally overnight. This is when the texture becomes sliceable and creamy.
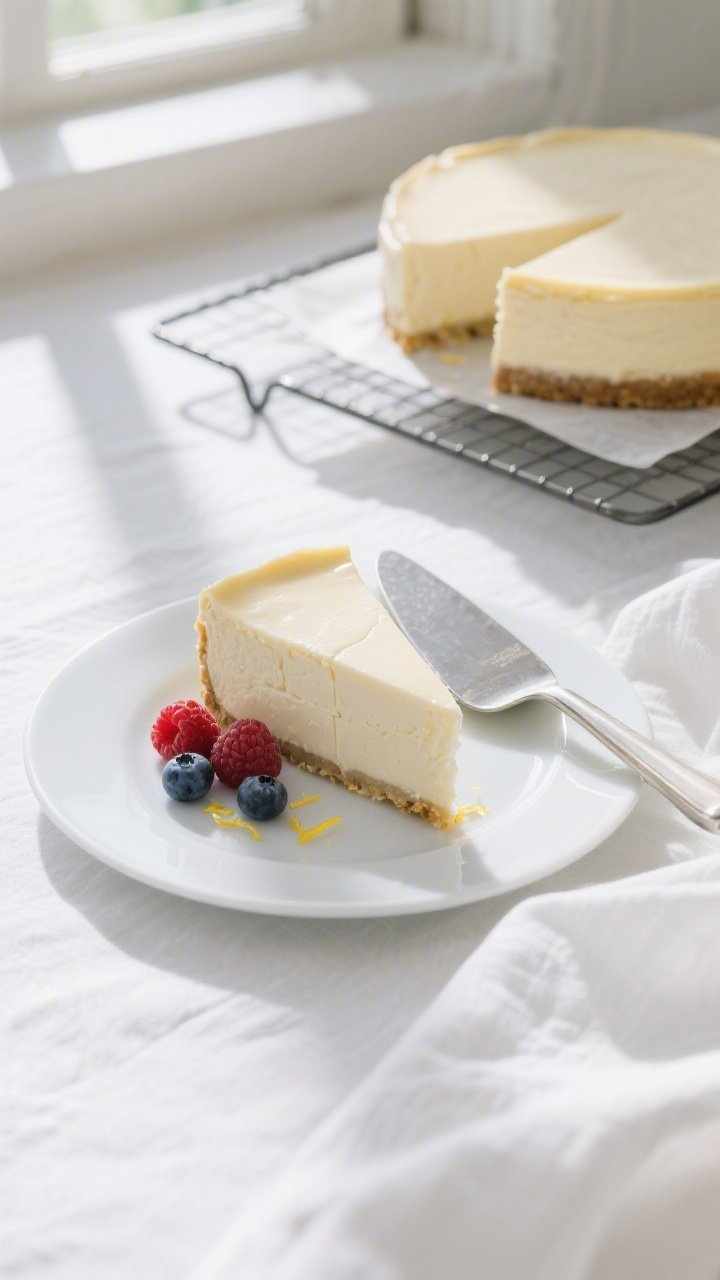
- Slice and serve. Run a thin knife around the edge to loosen. Slice with a hot, dry knife for clean cuts. Enjoy plain or with a few fresh berries.

Why This Recipe Works
This cheesecake relies on three smart ingredients that do double duty. Light cream cheese brings creaminess and structure, while nonfat Greek yogurt adds protein, tang, and extra body.
A zero-calorie sweetener brings sweetness without the added calories from sugar. Together, they create a silky texture and a flavor that’s mellow, clean, and not overly rich. Because there’s no crust, the bake time is shorter and the calorie count stays low.
The Greek yogurt also helps the cheesecake set without heavy cream or extra eggs. With a proper chill, you get neat slices and a lovely, light bite.
What You’ll Need
- 16 ounces (450 g) light cream cheese, softened to room temperature
- 1 cup (240 g) nonfat plain Greek yogurt
- 1/2 cup (100 g) zero-calorie granulated sweetener that measures like sugar (such as allulose, erythritol blend, or monk fruit blend)
Optional but helpful: 1 teaspoon vanilla extract, zest of 1 lemon, a pinch of salt, and nonstick spray or a parchment round for the pan.
Step-by-Step Instructions
- Prep your pan and oven. Heat the oven to 325°F (165°C). Lightly spray an 8-inch round cake pan or springform pan, or line the bottom with a parchment round for easy release.
- Soften the cream cheese. Let it sit at room temperature for 30–60 minutes.
This helps it blend smoothly and prevents lumps later.
- Beat the cream cheese. In a mixing bowl, beat the cream cheese with a hand mixer on medium until smooth and fluffy, about 1–2 minutes. Scrape the bowl.
- Add the sweetener. Sprinkle in the sweetener and beat until fully combined and silky. If using, add vanilla, lemon zest, and a pinch of salt here.
- Blend in the yogurt. Add the Greek yogurt and mix on low just until smooth and uniform.
Don’t overmix; you want as little air as possible to keep the texture creamy.
- Pour and smooth. Transfer the batter into the prepared pan. Tap the pan on the counter a few times to pop surface bubbles. Smooth the top with a spatula.
- Bake low and slow. Bake for 30–40 minutes.
The edges should look set, and the center should have a slight jiggle when you gently shake the pan. If it looks wet or sloshy, give it a few more minutes.
- Cool in the oven. Turn off the oven, crack the door, and let the cheesecake rest inside for 30 minutes. This gradual cool helps prevent cracks.
- Chill to set. Remove, cool to room temperature, then cover and chill for at least 4 hours, ideally overnight.
This is when the texture becomes sliceable and creamy.
- Slice and serve. Run a thin knife around the edge to loosen. Slice with a hot, dry knife for clean cuts. Enjoy plain or with a few fresh berries.
Storage Instructions
- Refrigerator: Store covered for up to 5 days.
Keep it tightly wrapped to prevent drying out or absorbing fridge odors.
- Freezer: Freeze individual slices on a tray until solid, then wrap and store in a zip-top bag for up to 2 months. Thaw overnight in the fridge.
- Make-ahead: This dessert is best made the day before serving to allow full flavor and texture development.
Benefits of This Recipe
- Lower in calories: Skips the crust and uses light ingredients to keep each slice lighter than traditional cheesecake.
- High in protein: Greek yogurt adds a protein boost that makes each serving more satisfying.
- Budget-friendly and simple: Only three core ingredients, minimal equipment, and a straightforward method.
- Customizable: Easily add vanilla, lemon zest, or toppings without complicating the base recipe.
- Great texture with minimal effort: Smooth, creamy, and not overly dense—ideal for light desserts or weeknight treats.
Pitfalls to Watch Out For
- Cold cream cheese leads to lumps: If your cream cheese isn’t soft, it won’t blend well. Give it time to warm up.
- Overmixing introduces air: Too much air can cause a puffy top that deflates or cracks.
Mix just until smooth.
- Overbaking dries it out: Pull it when the center still has a gentle wobble. It will set as it cools.
- Skipping the chill: The cheesecake needs hours in the fridge to firm up. Rushing this step leads to messy slices.
- Using the wrong sweetener: Not all sweeteners behave like sugar.
Choose one that measures cup-for-cup and is labeled for baking.
Alternatives
- Dairy-free: Use dairy-free cream cheese and a thick dairy-free yogurt (like coconut yogurt). Texture may be slightly softer, so chill longer.
- With a crust: Press 1 cup of crushed light graham crackers mixed with 1–2 tablespoons melted light butter or coconut oil into the pan. Parbake at 350°F (175°C) for 8–10 minutes, cool, then add the filling and bake as directed.
- Flavor twists: Add 1–2 teaspoons vanilla, lemon zest, or a few drops of almond extract.
Stir in a tablespoon of cocoa for a chocolate hint, or swirl in 2 tablespoons sugar-free jam before baking.
- Toppings: Fresh berries, a dusting of cocoa, a drizzle of sugar-free chocolate syrup, or a spoon of warm berry compote keep calories modest.
- Sweetener swaps: Allulose gives the softest texture and least aftertaste, erythritol blends are sweeter but can be slightly cooling, and monk fruit blends vary—adjust to taste after a small test spoonful.
FAQ
Can I use regular cream cheese instead of light?
Yes. Regular cream cheese will make the cheesecake richer and slightly denser. The recipe still works with the same measurements; calories will be higher.
What if I only have sweetener packets or liquid sweetener?
Granulated sweeteners that measure like sugar work best.
Liquids can make the batter looser and affect texture. If using packets, convert to 1/2 cup total sweetness and taste the batter before baking.
How do I prevent cracks without a water bath?
Use room-temperature ingredients, avoid overmixing, bake at 325°F, and cool gradually in the turned-off oven with the door cracked. Chilling fully also helps minimize visible cracks.
Can I double the recipe?
You can, but use a 9×13-inch pan or a 9-inch springform for thicker slices.
Increase the bake time and look for the same visual cues: set edges and a slight jiggle in the center.
How do I know it’s done?
Gently shake the pan. The center should wobble slightly like set Jell-O, not slosh. The top should look matte, not glossy.
It will firm up as it cools and chills.
Is this cheesecake very sweet?
It’s lightly sweet. If you prefer a sweeter dessert, increase the sweetener to 2/3 cup. Some sweeteners taste stronger than others, so adjust based on yours.
Can I make it in muffin tins?
Yes.
Line a muffin pan with paper liners, fill about three-quarters full, and bake 15–18 minutes. They set faster and make great portion-controlled desserts.
What’s the best way to slice cleanly?
Use a sharp knife warmed in hot water and wiped dry between cuts. This keeps edges neat and prevents tearing.
Final Thoughts
This low-calorie 3-ingredient cheesecake is proof that simple can be satisfying.
With a handful of everyday items and an easy method, you get a creamy, cool dessert that feels indulgent without the heavy aftermath. Make it as-is for a minimalist treat or dress it up with a few berries. Either way, it’s a keeper for weeknights, gatherings, or any time you want cheesecake without the fuss.
Printable Recipe Card
Want just the essential recipe details without scrolling through the article? Get our printable recipe card with just the ingredients and instructions.