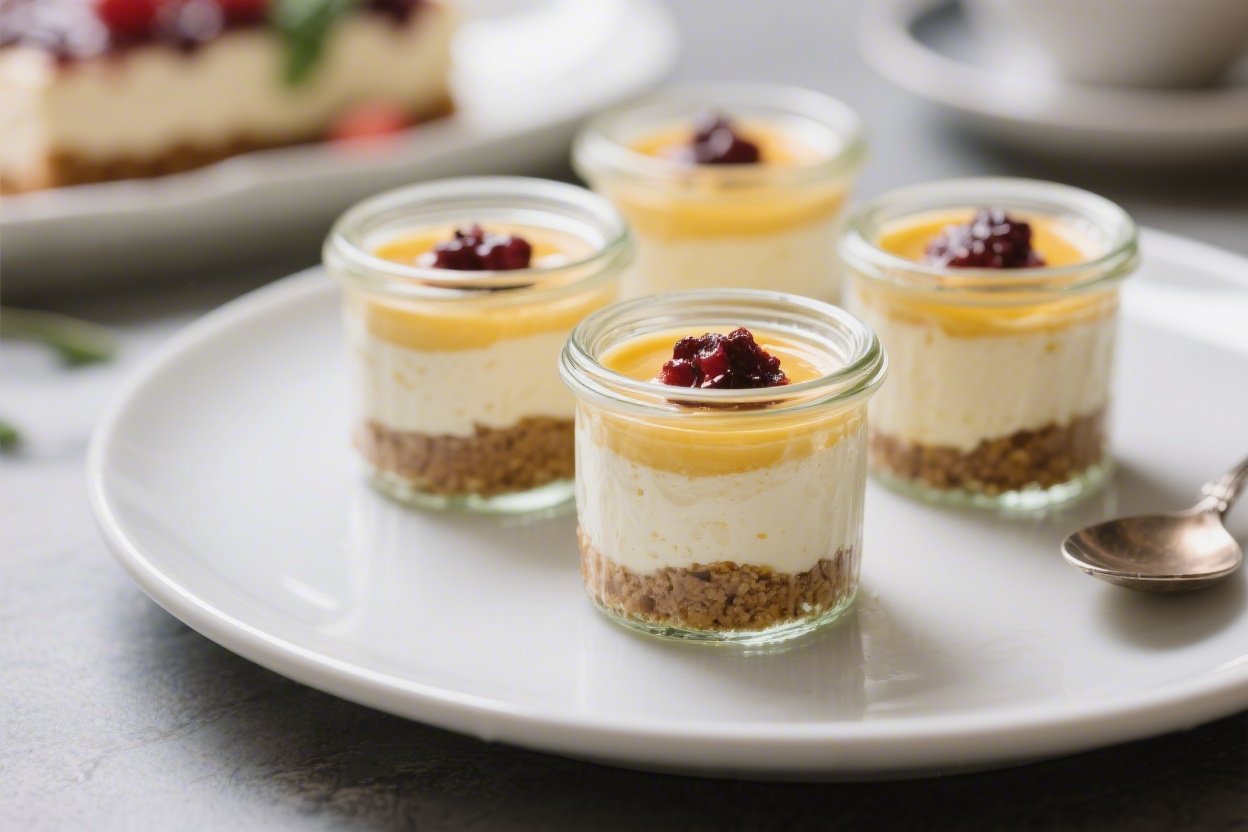
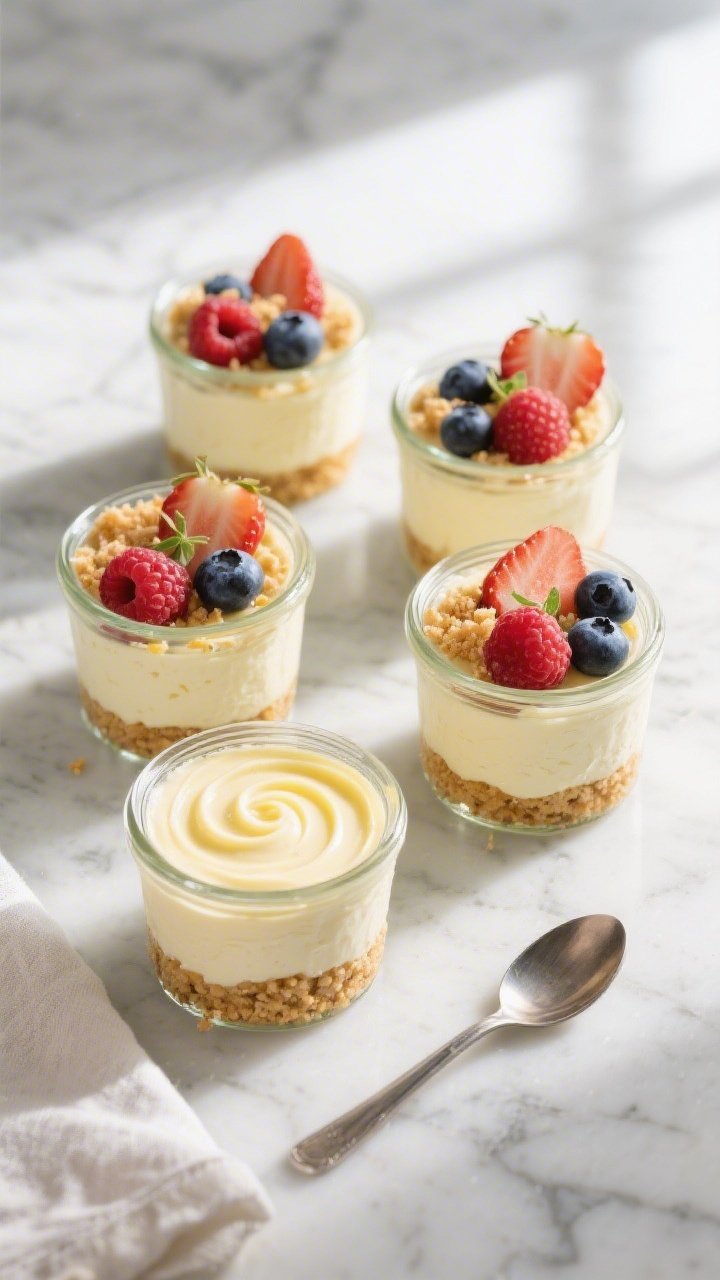
Low-Calorie Mini No-Bake Cheesecake Jars – Light, Creamy, and Ready Fast
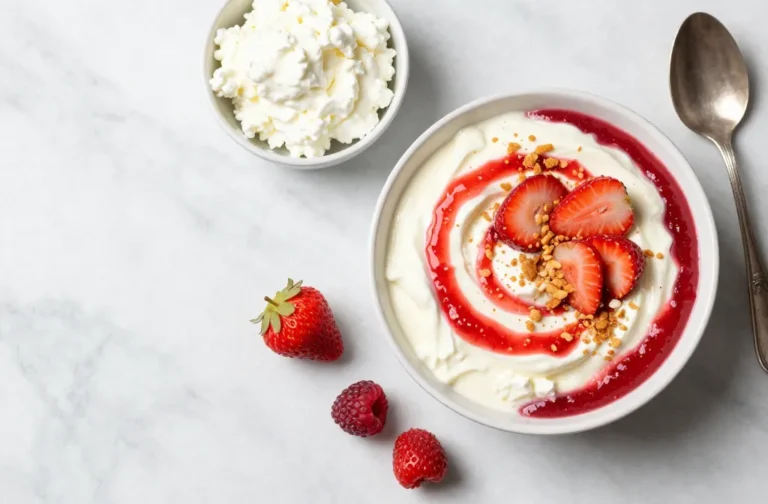
If you love cheesecake but want something lighter and easier, these mini no-bake cheesecake jars are the answer. They’re creamy, satisfying, and come together without turning on the oven. You can prep them in 15 minutes, chill, and enjoy a perfectly portioned dessert whenever the craving hits.
They’re great for weeknights, meal prep, or when you want to impress without the fuss. Plus, every layer is customizable, so you can keep it fresh and fun every time.
Low-Calorie Mini No-Bake Cheesecake Jars - Light, Creamy, and Ready Fast
Ingredients
- Reduced-fat cream cheese (8 oz / 225 g) – softened for a smooth, lump-free filling.
- Plain nonfat or low-fat Greek yogurt (3/4 cup) – adds body, tang, and protein.
- Granulated zero-calorie sweetener or powdered sugar (1/3–1/2 cup, to taste) – choose a sweetener you like; powdered blends dissolve best.
- Vanilla extract (1 teaspoon) – for warmth and classic cheesecake flavor.
- Fresh lemon juice (1–2 tablespoons) – brightens the filling and balances sweetness.
- Lemon zest (optional, 1/2 teaspoon) – amps up the citrus notes.
- Light whipped topping or whipped cream (1/2 cup, optional) – for an extra-fluffy texture; fold in at the end.
- Graham crackers or light digestive biscuits (6–8 sheets, about 1 cup crumbs) – the base of your crust.
- Melted light butter or coconut oil (2–3 tablespoons) – just enough to bind the crumbs.
- Pinch of salt – sharpens flavors.
- Toppings of choice – fresh berries, a spoon of light fruit compote, sliced peaches, or a drizzle of sugar-free jam.
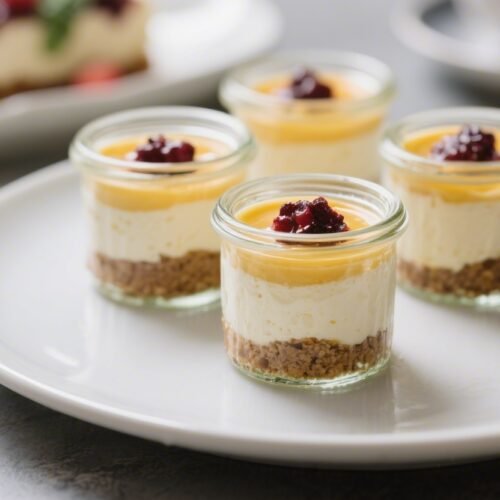
- Small jars or ramekins (6–8) – 4- to 6-ounce sizes work best.
Instructions
- Crush the crackers. Place graham crackers in a zip-top bag and crush with a rolling pin until fine, or pulse in a food processor. You want sandy crumbs with a few small bits for texture.
- Make the crust. In a bowl, combine crumbs with a pinch of salt and 2 tablespoons melted butter or oil. Stir until the mixture looks like damp sand and holds when pressed. If it’s too dry, add up to 1 more tablespoon of fat.
- Pack the base. Spoon 1–2 tablespoons of crust into each jar. Press down with the back of a spoon or your fingers to form a firm layer. Set aside.
- Beat the cream cheese. In a mixing bowl, beat softened reduced-fat cream cheese until smooth and fluffy, about 1–2 minutes. Scrape the bowl as needed to avoid lumps.
- Sweeten and flavor. Add your sweetener, vanilla, lemon juice, and optional zest. Beat again until combined and silky. Taste and adjust sweetness or lemon to your preference.
- Fold in yogurt. Mix in Greek yogurt on low speed or with a spatula until the filling is smooth and airy. If using, gently fold in whipped topping last for extra lightness.
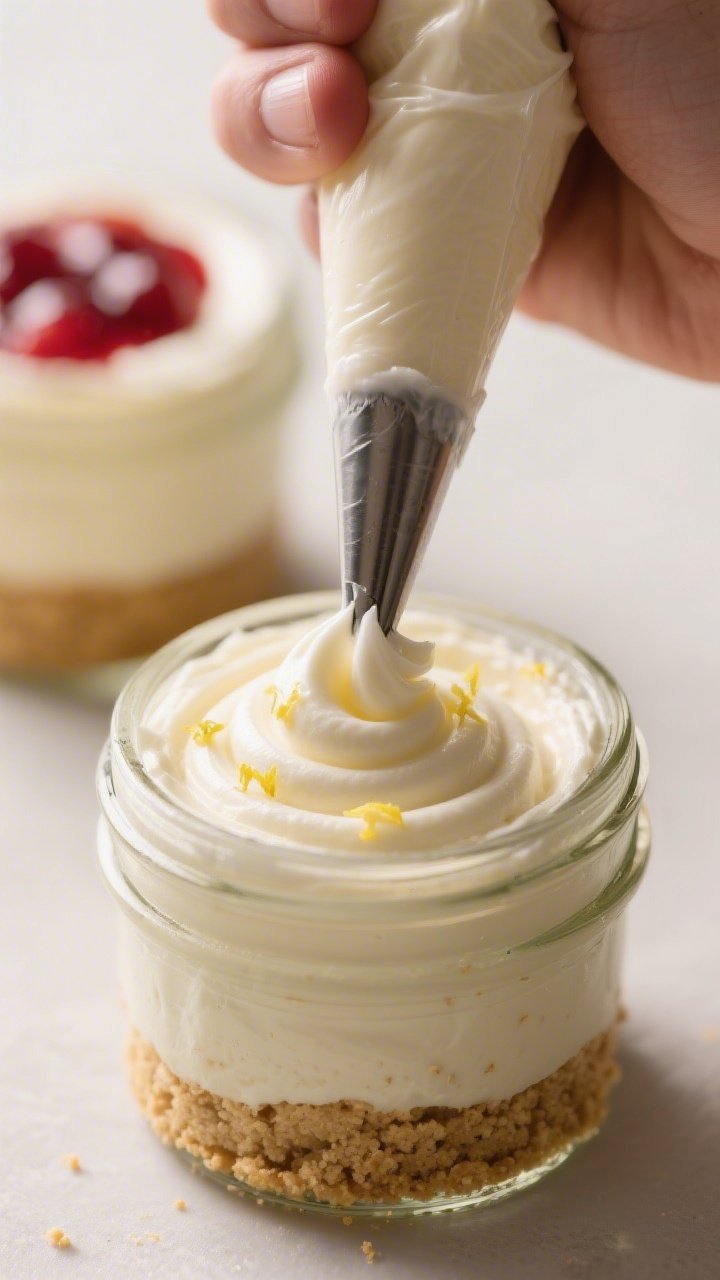
- Fill the jars. Spoon or pipe the cheesecake mixture over the crusts, dividing evenly. Smooth the tops with the back of a spoon.
- Chill to set. Cover and refrigerate for at least 2 hours, or up to overnight. This helps the texture firm up and flavors meld.
- Add toppings. Right before serving, add berries, a thin swipe of fruit compote, or a sprinkle of crumbs for crunch. Keep toppings light to stay low-calorie.
- Serve and enjoy. Eat straight from the jar. Keep extras in the fridge for a quick, portion-controlled treat.

Why This Recipe Works
This recipe keeps the rich, tangy flavor of cheesecake while trimming the calories where it counts. The crust uses light, crunchy crumbs and a small amount of butter or coconut oil for structure, so you get that classic base without overdoing it.
The filling blends reduced-fat cream cheese with Greek yogurt for creaminess, protein, and a lighter feel. A touch of lemon and vanilla boosts flavor, so you don’t need much sugar. And because they’re built in jars, portion control is automatic—no guessing, no extra slices “just because.”
What You’ll Need
- Reduced-fat cream cheese (8 oz / 225 g) – softened for a smooth, lump-free filling.
- Plain nonfat or low-fat Greek yogurt (3/4 cup) – adds body, tang, and protein.
- Granulated zero-calorie sweetener or powdered sugar (1/3–1/2 cup, to taste) – choose a sweetener you like; powdered blends dissolve best.
- Vanilla extract (1 teaspoon) – for warmth and classic cheesecake flavor.
- Fresh lemon juice (1–2 tablespoons) – brightens the filling and balances sweetness.
- Lemon zest (optional, 1/2 teaspoon) – amps up the citrus notes.
- Light whipped topping or whipped cream (1/2 cup, optional) – for an extra-fluffy texture; fold in at the end.
- Graham crackers or light digestive biscuits (6–8 sheets, about 1 cup crumbs) – the base of your crust.
- Melted light butter or coconut oil (2–3 tablespoons) – just enough to bind the crumbs.
- Pinch of salt – sharpens flavors.
- Toppings of choice – fresh berries, a spoon of light fruit compote, sliced peaches, or a drizzle of sugar-free jam.
- Small jars or ramekins (6–8) – 4- to 6-ounce sizes work best.
How to Make It
- Crush the crackers. Place graham crackers in a zip-top bag and crush with a rolling pin until fine, or pulse in a food processor.
You want sandy crumbs with a few small bits for texture.
- Make the crust. In a bowl, combine crumbs with a pinch of salt and 2 tablespoons melted butter or oil. Stir until the mixture looks like damp sand and holds when pressed. If it’s too dry, add up to 1 more tablespoon of fat.
- Pack the base. Spoon 1–2 tablespoons of crust into each jar.
Press down with the back of a spoon or your fingers to form a firm layer. Set aside.
- Beat the cream cheese. In a mixing bowl, beat softened reduced-fat cream cheese until smooth and fluffy, about 1–2 minutes. Scrape the bowl as needed to avoid lumps.
- Sweeten and flavor. Add your sweetener, vanilla, lemon juice, and optional zest.
Beat again until combined and silky. Taste and adjust sweetness or lemon to your preference.
- Fold in yogurt. Mix in Greek yogurt on low speed or with a spatula until the filling is smooth and airy. If using, gently fold in whipped topping last for extra lightness.
- Fill the jars. Spoon or pipe the cheesecake mixture over the crusts, dividing evenly.
Smooth the tops with the back of a spoon.
- Chill to set. Cover and refrigerate for at least 2 hours, or up to overnight. This helps the texture firm up and flavors meld.
- Add toppings. Right before serving, add berries, a thin swipe of fruit compote, or a sprinkle of crumbs for crunch. Keep toppings light to stay low-calorie.
- Serve and enjoy. Eat straight from the jar.
Keep extras in the fridge for a quick, portion-controlled treat.
Storage Instructions
- Refrigerator: Keep sealed jars in the fridge for 3–4 days. Add fresh fruit right before serving so it doesn’t weep onto the cheesecake.
- Freezer: Freeze without fresh fruit for up to 1 month. Thaw overnight in the fridge.
The texture will be a bit firmer but still tasty.
- Make-ahead tip: Prep crusts and filling separately up to 2 days in advance. Assemble the day you plan to serve for best texture.
Why This is Good for You
These jars deliver the creamy satisfaction of cheesecake with fewer calories and more protein. Using Greek yogurt cuts fat and boosts protein, helping you feel full and satisfied.
Reduced-fat cream cheese keeps things rich without going heavy. A lemon-forward flavor means you can use less sweetener and still get a bright, balanced bite. And the individual portions help you enjoy dessert mindfully without overdoing it.
Pitfalls to Watch Out For
- Grainy texture: This usually happens if the cream cheese isn’t fully softened.
Let it sit at room temp for 30–45 minutes before beating.
- Too loose: If the filling looks runny, you may have added too much lemon juice or not chilled long enough. Add a spoon of Greek yogurt or a bit of powdered sweetener to tighten, and chill at least 2 hours.
- Crumbly crust: If your crust won’t hold, it needs a touch more melted butter or a firmer press into the jar.
- Weeping fruit: Juicy toppings can bleed into the filling. Add fruit just before serving or use a thickened fruit compote.
- Over-sweetening: Some zero-calorie sweeteners taste sweeter than sugar.
Start small, then taste and adjust.
Alternatives
- No graham crackers? Try high-fiber cereal crumbs, almond flour with a teaspoon of sweetener, or crushed rice cakes for an ultra-light base.
- Dairy-free: Use dairy-free cream cheese and a thick dairy-free yogurt (like coconut or almond). Choose a plant-based whipped topping if you want it extra fluffy.
- Higher protein: Swap part of the sweetener for vanilla protein powder and add a splash of milk if needed to maintain creaminess.
- Flavor twists: Stir in cocoa powder and a bit more sweetener for chocolate, add instant espresso for mocha, or fold in a spoon of peanut butter powder for a nutty version.
- Lower sugar: Use a monk fruit–erythritol blend or stevia-based powdered sweetener. Powdered forms dissolve more smoothly than granulated.
- Gluten-free: Use gluten-free graham crackers or a nut-and-oat crumb mix.
FAQ
Can I make these without any added sweetener?
Yes, but the tang may be strong.
Use vanilla and extra lemon zest for aroma, and rely on naturally sweet fruit on top. You can also blend a few mashed ripe berries into the filling for gentle sweetness.
How many calories are in each jar?
It depends on jar size and toppings. For a 4-ounce jar with a light crust, reduced-fat cream cheese, Greek yogurt, and a zero-calorie sweetener, expect roughly 150–220 calories.
Add fruit and you may land closer to 200–250.
Do I need gelatin to set the filling?
No. The combination of cream cheese and Greek yogurt firms up as it chills. If you prefer an ultra-firm set, you can bloom 1 teaspoon gelatin in 1 tablespoon water, warm gently to dissolve, and mix into the filling before chilling.
What if I don’t have a mixer?
Use a sturdy whisk and a bit of patience.
Soften the cream cheese thoroughly and whisk until smooth before adding other ingredients. A rubber spatula helps you fold without deflating the mixture.
Can I reduce the fat even more?
You can use fat-free cream cheese, but the texture may be less creamy and a bit chalky. Balancing it with Greek yogurt and a small amount of whipped topping can help improve mouthfeel.
What jar size works best?
Four- to six-ounce jars hit the sweet spot for portion control.
Smaller 4-ounce jars are great for lower calories, while 6-ounce jars feel more indulgent without going overboard.
How long do they need to chill?
Two hours is the minimum for a soft set. Four hours or overnight gives the best structure and flavor.
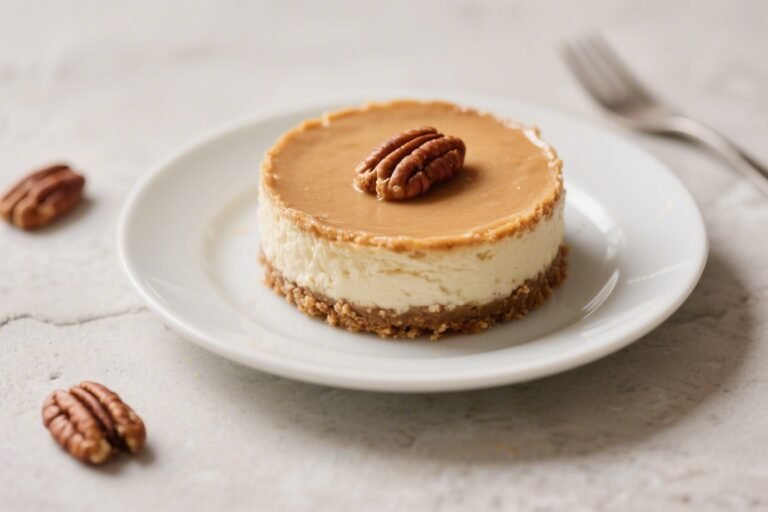
Can I make a single large cheesecake instead?
Yes. Press the crust into an 8-inch pie dish and spread in the filling.
Chill at least 4 hours before slicing. Note that a large version is harder to portion lightly.
Final Thoughts
These Low-Calorie Mini No-Bake Cheesecake Jars bring all the creamy joy of cheesecake with a lighter, fresher feel. They’re simple to make, smartly portioned, and endlessly customizable.
Whether you top them with bright berries, a whisper of jam, or a dusting of crumbs, they deliver dessert satisfaction without weighing you down. Keep a few in the fridge, and you’ll always have a sweet finish ready to go—no oven, no stress, just a smooth, chilled treat whenever you want it.
Printable Recipe Card
Want just the essential recipe details without scrolling through the article? Get our printable recipe card with just the ingredients and instructions.