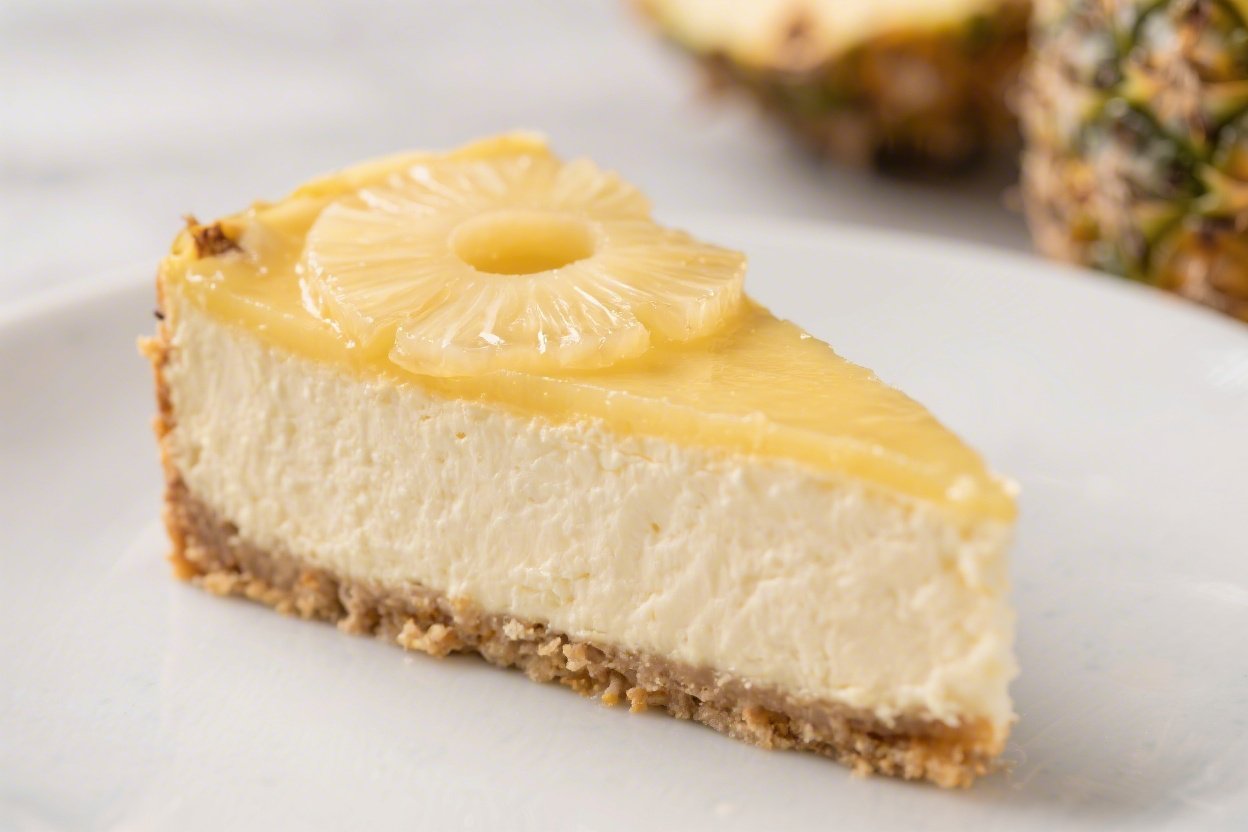
Low-Calorie Pineapple Cheesecake – Light, Fresh, and Satisfying
Sweet, creamy, and bright with tropical flavor, this low-calorie pineapple cheesecake brings dessert joy without weighing you down. It has the silky texture you want from cheesecake, a crisp crumb crust, and just enough pineapple to feel sunny and refreshing. You’ll bake it once and chill it, so it’s easy to make ahead for gatherings or a quiet night in.
Best of all, each slice stays light thanks to smart swaps that keep flavor high and calories low.
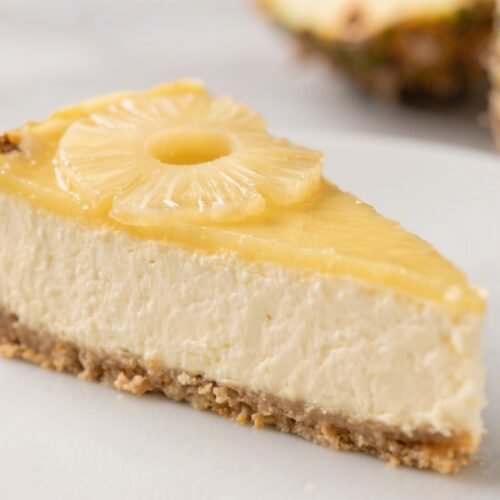
Low-Calorie Pineapple Cheesecake - Light, Fresh, and Satisfying
Ingredients
- For the crust: 1 1/2 cups graham cracker crumbs (or digestive biscuit crumbs)
- 2 tablespoons granulated sugar (or equivalent sweetener)
- 3 tablespoons melted light butter or coconut oil
- Pinch of salt
- Optional: 1–2 tablespoons unsweetened shredded coconut
- For the filling: 12 ounces reduced-fat cream cheese (Neufchâtel), softened to room temperature
- 1 cup nonfat or 2% plain Greek yogurt
- 2 large eggs, room temperature
- 1/3 cup granulated sugar
- 1/3 cup zero-calorie sweetener that measures like sugar (e.g., erythritol blend)
- 2 teaspoons vanilla extract
- 1 tablespoon lemon juice
- 1 tablespoon cornstarch (or 2 teaspoons arrowroot)
- 1 cup well-drained crushed pineapple (canned in juice, not syrup)
- Pinch of salt
- For topping (optional): Additional crushed pineapple, well-drained
- Light whipped topping or a dollop of Greek yogurt
- Toasted coconut flakes for garnish
- Equipment: 9-inch springform pan
- Mixing bowls and hand mixer (or stand mixer)
- Foil for wrapping the pan (if using a water bath)
Instructions
- Prep the pan and oven: Preheat the oven to 325°F (165°C). Lightly spray a 9-inch springform pan with nonstick spray. If you plan to use a water bath, wrap the outside of the pan with a double layer of foil.
- Make the crust: In a bowl, mix graham crumbs, sugar or sweetener, melted light butter or coconut oil, salt, and optional coconut. It should look like damp sand. Press firmly into the bottom of the pan in an even layer. Bake for 8–10 minutes, then let it cool slightly.
- Drain the pineapple: Place crushed pineapple in a fine mesh sieve or a clean kitchen towel. Press or squeeze out as much liquid as possible. Excess moisture will crack or loosen the filling, so take a minute here.
- Blend the filling base: Beat softened cream cheese on medium until smooth and fluffy, about 1–2 minutes. Add Greek yogurt and beat again until creamy, scraping the bowl as needed.
- Sweeten and stabilize: Add sugar, sweetener, vanilla, lemon juice, cornstarch, and a pinch of salt. Mix on low until combined. Don’t overbeat or you’ll whip in too much air.
- Add eggs: Beat in the eggs one at a time on low speed just until incorporated. The batter should be silky and pourable.
- Fold in pineapple: Gently fold the well-drained crushed pineapple into the batter with a spatula.
- Pour and smooth: Pour filling over the crust and smooth the top. Tap the pan gently on the counter to pop surface bubbles.
- Bake: Place the pan on a middle rack. For extra insurance against cracking, set the pan inside a larger pan and pour hot water halfway up the sides. Bake for 45–55 minutes, until the edges are set and the center still has a slight jiggle.
- Cool gradually: Turn off the oven, crack the door, and let the cheesecake rest inside for 30 minutes. Then transfer to a rack and cool to room temperature.
- Chill: Cover and refrigerate at least 6 hours, preferably overnight. Chilling firms the texture and deepens the flavor.
- Serve: Run a thin knife around the edge before releasing the springform. Add a spoonful of drained pineapple or a light swirl of whipped topping if you like. Slice with a warm, clean knife for neat edges.

What Makes This Recipe So Good
- Light but creamy: Greek yogurt and reduced-fat cream cheese deliver a smooth, classic cheesecake feel without the heft.
- Bright pineapple flavor: Crushed pineapple adds natural sweetness, gentle acidity, and juicy texture.
- Simple crust: A quick graham-style crust gives crunch and structure, with a hint of coconut as an optional tropical twist.
- Lower sugar: A blend of a little real sugar and zero-calorie sweetener keeps it balanced and not overly sweet.
- Make-ahead friendly: Bake, chill overnight, and it slices beautifully for easy serving.
What You’ll Need
- For the crust:
- 1 1/2 cups graham cracker crumbs (or digestive biscuit crumbs)
- 2 tablespoons granulated sugar (or equivalent sweetener)
- 3 tablespoons melted light butter or coconut oil
- Pinch of salt
- Optional: 1–2 tablespoons unsweetened shredded coconut
- For the filling:
- 12 ounces reduced-fat cream cheese (Neufchâtel), softened to room temperature
- 1 cup nonfat or 2% plain Greek yogurt
- 2 large eggs, room temperature
- 1/3 cup granulated sugar
- 1/3 cup zero-calorie sweetener that measures like sugar (e.g., erythritol blend)
- 2 teaspoons vanilla extract
- 1 tablespoon lemon juice
- 1 tablespoon cornstarch (or 2 teaspoons arrowroot)
- 1 cup well-drained crushed pineapple (canned in juice, not syrup)
- Pinch of salt
- For topping (optional):
- Additional crushed pineapple, well-drained
- Light whipped topping or a dollop of Greek yogurt
- Toasted coconut flakes for garnish
- Equipment:
- 9-inch springform pan
- Mixing bowls and hand mixer (or stand mixer)
- Foil for wrapping the pan (if using a water bath)
How to Make It
- Prep the pan and oven: Preheat the oven to 325°F (165°C). Lightly spray a 9-inch springform pan with nonstick spray. If you plan to use a water bath, wrap the outside of the pan with a double layer of foil.
- Make the crust: In a bowl, mix graham crumbs, sugar or sweetener, melted light butter or coconut oil, salt, and optional coconut.
It should look like damp sand. Press firmly into the bottom of the pan in an even layer. Bake for 8–10 minutes, then let it cool slightly.
- Drain the pineapple: Place crushed pineapple in a fine mesh sieve or a clean kitchen towel.
Press or squeeze out as much liquid as possible. Excess moisture will crack or loosen the filling, so take a minute here.
- Blend the filling base: Beat softened cream cheese on medium until smooth and fluffy, about 1–2 minutes. Add Greek yogurt and beat again until creamy, scraping the bowl as needed.
- Sweeten and stabilize: Add sugar, sweetener, vanilla, lemon juice, cornstarch, and a pinch of salt. Mix on low until combined. Don’t overbeat or you’ll whip in too much air.
- Add eggs: Beat in the eggs one at a time on low speed just until incorporated.
The batter should be silky and pourable.
- Fold in pineapple: Gently fold the well-drained crushed pineapple into the batter with a spatula.
- Pour and smooth: Pour filling over the crust and smooth the top. Tap the pan gently on the counter to pop surface bubbles.
- Bake: Place the pan on a middle rack. For extra insurance against cracking, set the pan inside a larger pan and pour hot water halfway up the sides.
Bake for 45–55 minutes, until the edges are set and the center still has a slight jiggle.
- Cool gradually: Turn off the oven, crack the door, and let the cheesecake rest inside for 30 minutes. Then transfer to a rack and cool to room temperature.
- Chill: Cover and refrigerate at least 6 hours, preferably overnight. Chilling firms the texture and deepens the flavor.
- Serve: Run a thin knife around the edge before releasing the springform.
Add a spoonful of drained pineapple or a light swirl of whipped topping if you like. Slice with a warm, clean knife for neat edges.
How to Store
- Refrigerate: Keep covered in the fridge for up to 5 days. Store without wet toppings to avoid soggy slices.
- Freeze: For longer storage, freeze individual slices on a sheet pan until firm, then wrap tightly.
Freeze for up to 2 months. Thaw in the refrigerator overnight.
- Meal prep tip: Cut into portions and store in airtight containers for grab-and-go desserts.
Benefits of This Recipe
- Lower calories, same satisfaction: Reduced-fat cream cheese and Greek yogurt keep it creamy with fewer calories and more protein.
- Naturally fruity: Pineapple brings sweetness and brightness, so you can use less added sugar.
- Better texture control: Cornstarch helps the filling set cleanly, making it easier to slice thin servings without crumbling.
- Flexible for diets: Easy to adapt for lower sugar or gluten-free needs with simple swaps.
Pitfalls to Watch Out For
- Not draining pineapple well: Extra juice can make the filling runny or cause cracks. Squeeze it thoroughly.
- Overmixing the batter: Too much air leads to puffing and sinking.
Mix on low and stop when combined.
- Overbaking: If the center is completely firm in the oven, it’s likely overdone. Pull it when it still wobbles slightly.
- Skipping the cool-down: Rapid temperature changes invite cracks. Let it rest in the turned-off oven first.
- Wet crust: Pack the crumbs firmly and prebake.
If using a water bath, make sure the foil seal is tight so water can’t seep in.
Alternatives
- Gluten-free crust: Use gluten-free graham crackers or almond flour. For almond flour, mix 1 1/2 cups almond flour, 2 tablespoons sweetener, 3 tablespoons melted butter or coconut oil, and a pinch of salt. Prebake the same way.
- No-bake version: Skip the eggs and cornstarch.
Use 1 teaspoon unflavored gelatin bloomed in 2 tablespoons water and dissolved gently, then fold in after the cream cheese and yogurt. Chill 8 hours or until set.
- Dairy adjustments: If you need lactose-free, use lactose-free cream cheese and yogurt. Texture stays very similar.
- Sweetener swaps: Use all sugar if you prefer (increase to 2/3 cup), or go fully sugar-free with your favorite 1:1 sweetener.
Taste the batter and adjust slightly to account for pineapple’s tartness.
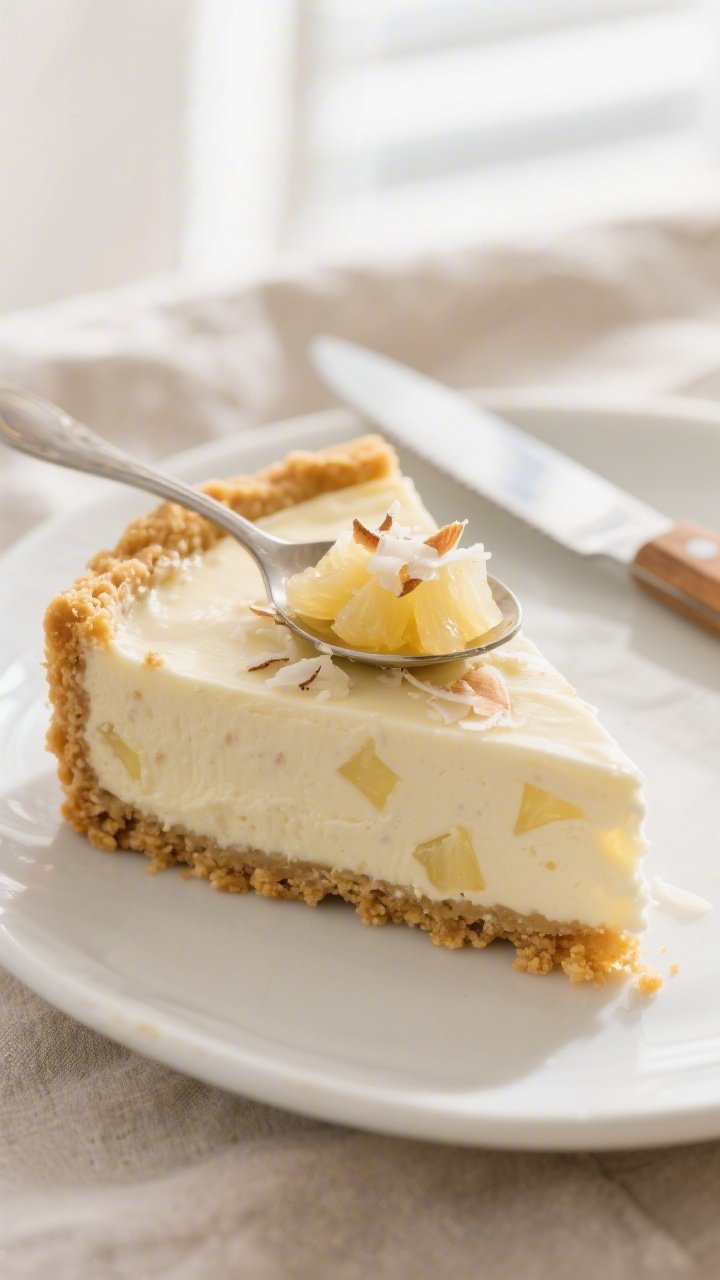
- Topping ideas: Fresh pineapple tidbits, a thin layer of pineapple jelly, or a sprinkle of toasted macadamias for crunch.
FAQ
How many calories are in a slice?
For a 9-inch cheesecake cut into 12 slices, each piece typically lands around 180–230 calories, depending on your crust and sweetener choices. Using light butter, partial zero-calorie sweetener, and reduced-fat cream cheese keeps it on the lower end.
Can I use fresh pineapple?
Yes, but chop it very fine and drain it thoroughly. Fresh pineapple holds more juice, so press it well and consider adding an extra 1/2 teaspoon cornstarch to help the filling set.
Do I need a water bath?
Not strictly, but it helps with even baking and fewer cracks.
If you skip it, bake on the middle rack and avoid overbaking. The slow cool-down step becomes even more important.
Why did my cheesecake crack?
Common causes are overbaking, too much air in the batter, or drastic temperature changes. Next time, mix on low, pull it while the center still jiggles, and let it cool slowly in the oven before chilling.
Can I make this ahead?
Absolutely.
Cheesecake tastes best the day after baking. Make it 1–2 days ahead and keep it covered in the fridge until serving.
What can I use instead of graham crackers?
Digestive biscuits, vanilla wafer crumbs, or a nut-and-oat mix work well. Just keep the same crumb-to-fat ratio so it packs and crisps properly.
Can I reduce the sweetener even more?
Yes.
Since pineapple adds natural sweetness, you can cut the sugar by a couple of tablespoons. Taste the batter and adjust to your preference before adding the eggs.
Wrapping Up
This low-calorie pineapple cheesecake proves you can have a creamy, bakery-style dessert that still feels light and fresh. Smart ingredient swaps deliver the classic texture you love, while pineapple lends sunny sweetness and a clean finish.
Make it ahead, chill it well, and serve neat slices with a simple garnish. It’s an easy, reliable treat you’ll come back to whenever you want dessert without the heavy feeling.
Printable Recipe Card
Want just the essential recipe details without scrolling through the article? Get our printable recipe card with just the ingredients and instructions.