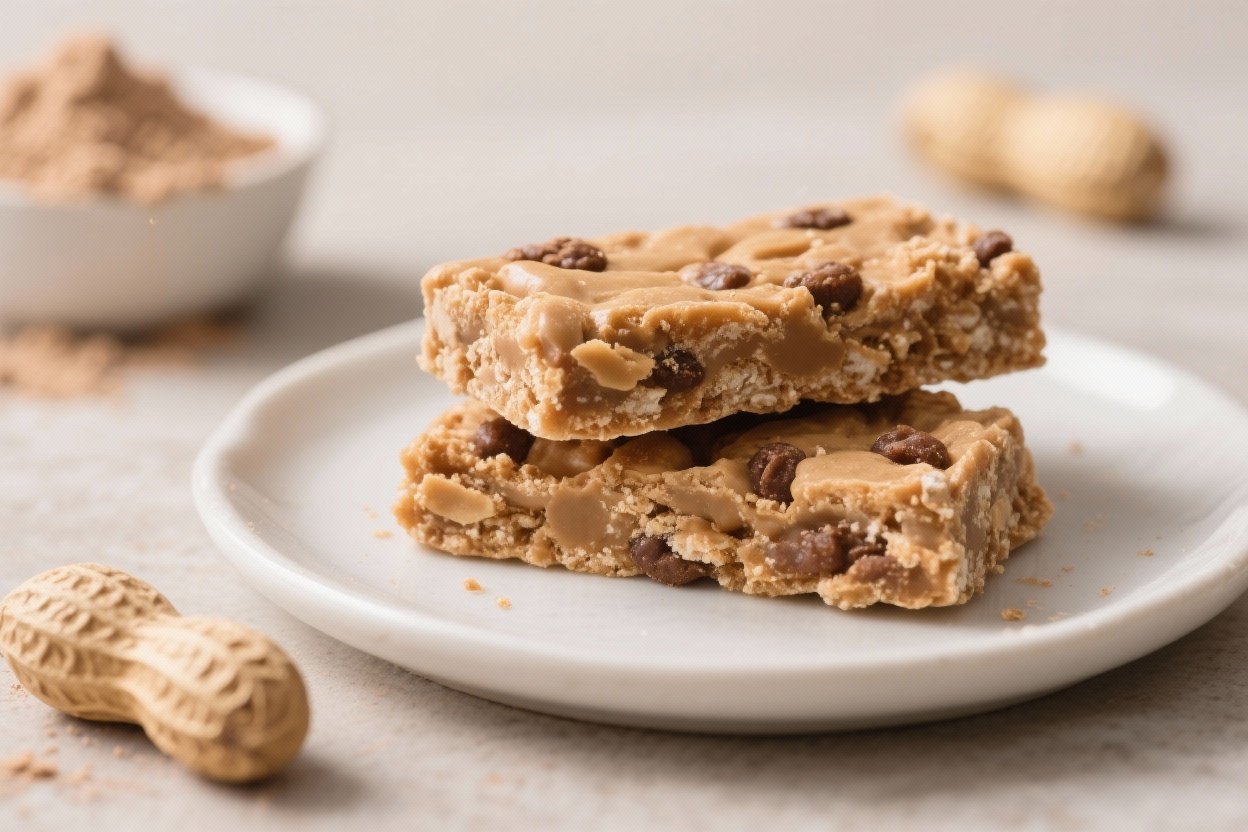
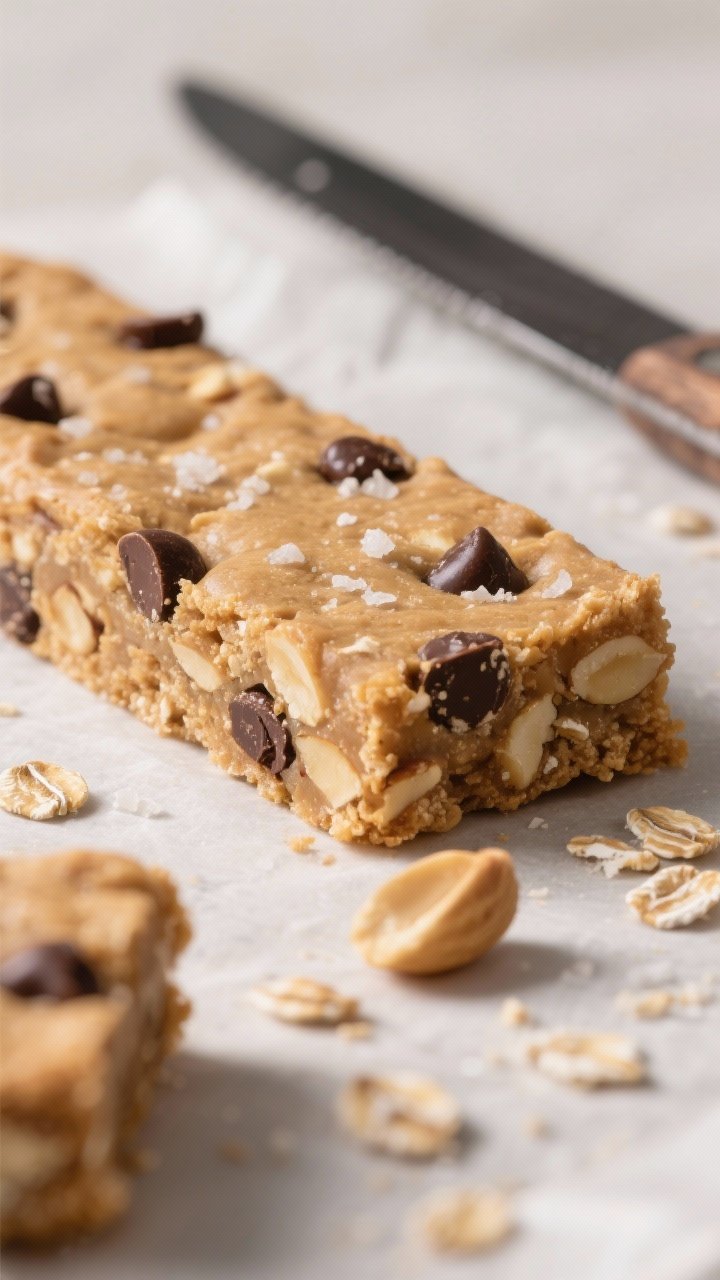
Peanut Butter Cookie Protein Powder Bars That Taste Like Dessert, Fuel Like a Workout
You want a bar that actually satisfies hunger, tastes like a cookie, and doesn’t crash your energy 30 minutes later. Here it is. These Peanut Butter Cookie Protein Powder Bars hit that sweet spot: chewy, nutty, and packed with protein you can feel good about.
No oven. No nonsense. Just real food engineered to keep you full and moving.
Overeating is a pattern. This helps you fix that problem. A quick reset for cravings, snacking, and “I’ll start tomorrow” moments.
Built for busy home cooks who want real-life structure. Simple steps that fit meal prep, family dinners, and late-night snack attacks.
Why This Recipe Works
This recipe balances protein, healthy fats, and slow-release carbs, which means steady energy instead of a sugar rollercoaster.
The peanut butter brings richness and chew, while protein powder boosts satiety without giving your bars the dreaded chalky vibe. A small hit of maple or honey glues everything together and keeps the texture soft, not dry. And because it’s no-bake, the flavors stay bright and the process stays fast.
We use rolled oats and almond flour to get that cookie-like crumb without relying on tons of sugar or butter.
A pinch of salt and vanilla? Flavor insurance. Optional chocolate chips seal the deal, because you’re human and deserve happiness.
What You’ll Need (Ingredients)
- 1 cup natural peanut butter (creamy; well-stirred)
- 1/2 cup vanilla or peanut butter protein powder (whey or plant-based)
- 1 1/2 cups old-fashioned rolled oats (quick oats also fine)
- 1/2 cup almond flour (mild flavor, cookie-like texture)
- 1/3 cup pure maple syrup or honey
- 2–4 tablespoons milk (dairy or unsweetened almond milk, as needed)
- 1 teaspoon vanilla extract
- 1/2 teaspoon fine sea salt (reduce if peanut butter is salted)
- 1/3 cup mini dark chocolate chips (optional but recommended)
- 2 tablespoons ground flaxseed or chia seeds (optional fiber boost)
- 2 tablespoons crushed peanuts (optional crunch)
Instructions
- Prep the pan: Line an 8×8-inch pan with parchment, leaving overhang for easy lifting.
Lightly mist with oil.
- Mix the wet ingredients: In a large bowl, stir peanut butter, maple/honey, vanilla, and 2 tablespoons milk until glossy and smooth.
- Add the dry base: Fold in protein powder, oats, almond flour, salt, and flax/chia (if using). If the mixture looks dry or crumbly, add more milk 1 tablespoon at a time until it holds together when pressed.
- Finish with mix-ins: Stir in chocolate chips and crushed peanuts. The dough should be thick, slightly tacky, and moldable—think cookie dough energy.
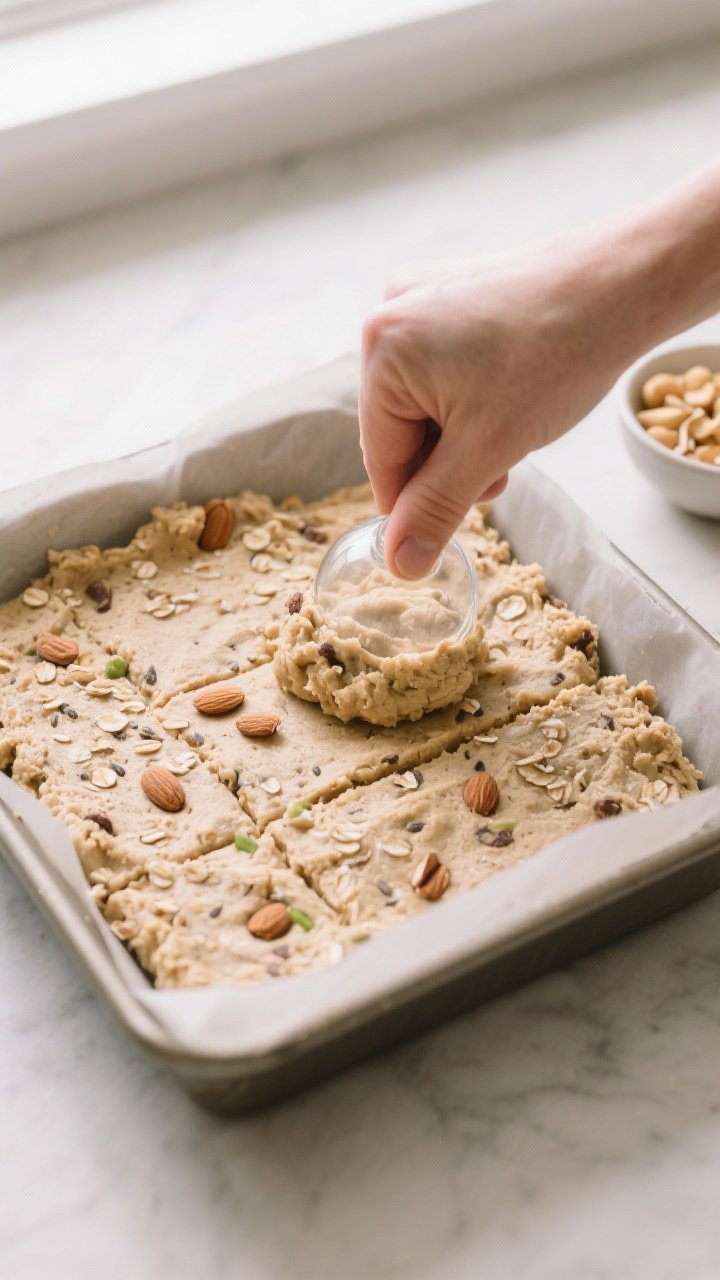
- Press and set: Transfer to the pan.
Press firmly and evenly—use a sheet of parchment on top and a flat-bottomed cup to pack it tight. This ensures clean cuts and no crumble drama.
- Chill: Refrigerate for 1–2 hours until firm. If you’re impatient (relatable), freeze for 25–30 minutes.
- Slice: Lift out using the parchment and cut into 10–12 bars.
Wipe the knife between cuts for pro-looking edges. Flex on Instagram if you must.
Storage Instructions
- Fridge: Store in an airtight container for up to 7 days. Keep parchment between layers to prevent sticking.
- Freezer: Wrap bars individually; freeze up to 3 months.
Thaw 10–15 minutes at room temp or microwave 8–10 seconds for extra tenderness.
- On-the-go: For lunch boxes or gym bags, wrap and keep cool. They’ll hold at room temp for a few hours, but the chocolate may soften. FYI, that’s not a tragedy.
What’s Great About This
- High protein without chalkiness: The peanut butter and almond flour smooth out the texture.
- Minimal equipment: Bowl, spoon, pan.
No baking. No drama.
- Customizable: Works with whey or plant-based protein and several nut/seed butters.
- Actually tastes like dessert: Cookie flavor with real-food ingredients.
- Budget-friendly meal prep: One batch = a week of snacks that don’t cost $3 per bar.

Don’t Make These Errors
- Using dry, old protein powder: It turns bars crumbly. Fresh powder mixes better and tastes better (shocking, I know).
- Skipping the chill time: Warm bars fall apart.
Cold bars slice clean—worth the wait.
- Choosing ultra-dry peanut butter: If your PB is very thick, add an extra tablespoon of milk or a splash of melted coconut oil.
- Overloading sweeteners: More syrup ≠ better. It makes bars sticky and ups calories fast.
- Not packing the mixture firmly: Loose press = crumbly edges. Pack it like you mean it.
Alternatives
- Nut-free: Swap peanut butter for sunflower seed butter; use oat flour instead of almond flour; add a pinch more vanilla to offset the earthiness.
- Lower sugar: Use sugar-free maple-style syrup or reduce to 1/4 cup and add 1–2 tablespoons more milk for texture.
- Different proteins: Whey creates softer bars; pea or brown rice protein yields firmer bars—add 1 extra tablespoon milk for plant proteins.
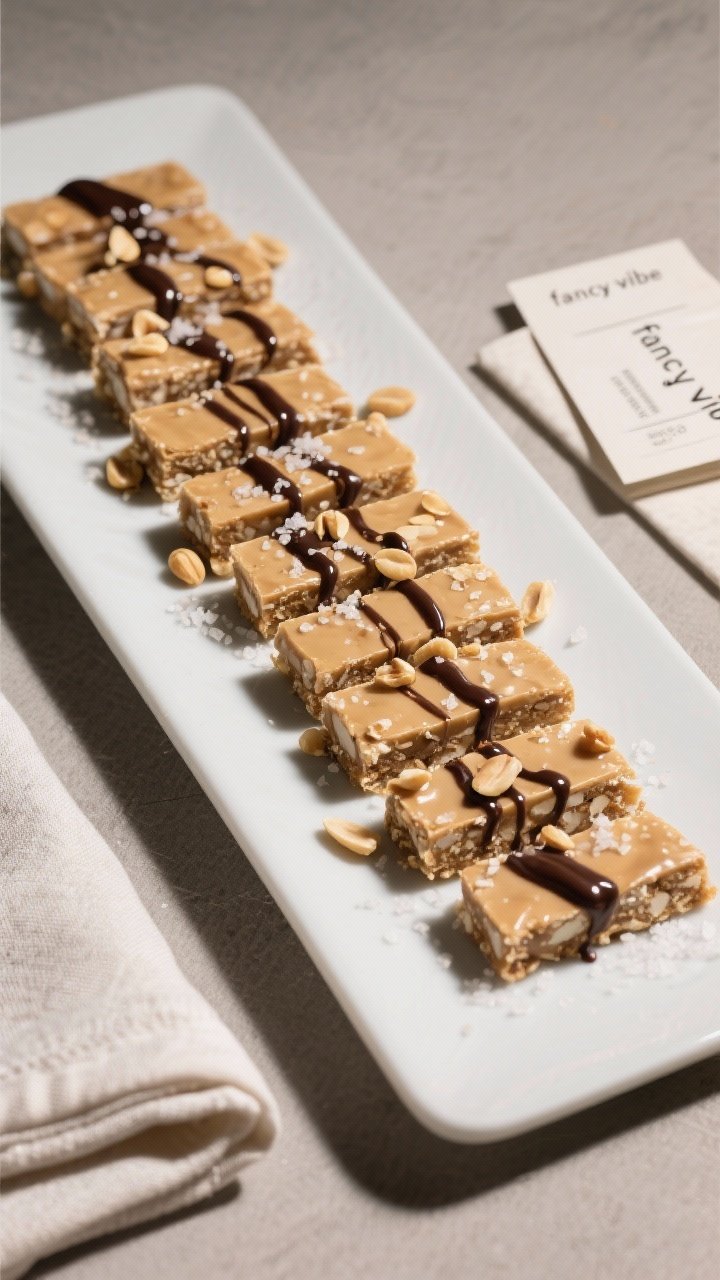
- Flavor twists: Cinnamon and a dash of nutmeg for “snickerdoodle”; add 2 tablespoons cocoa powder for “PB brownie”; swirl 1 tablespoon melted dark chocolate on top before chilling for a fancy vibe.
- Crunch factor: Fold in toasted quinoa crisps or rice cereal for a classic bar snap.
FAQ
Can I bake these bars?
You can, but you don’t need to.
If you want a firmer, cookie-like bite, bake at 325°F (165°C) for 10–12 minutes just to set. Let them cool completely before slicing.
How much protein is in each bar?
It depends on your protein powder. Typically, with 1/2 cup protein powder and 12 bars, you’ll get about 8–12 grams of protein per bar.
Check your label and do the quick math.
Can I make these vegan?
Yes. Use maple syrup instead of honey, plant-based protein, and non-dairy milk. The rest is already vegan-friendly.
What if my mixture is too sticky?
Add more oats or a tablespoon of almond flour at a time until it firms up.
Chill for 10 minutes, then press into the pan again. Easy fix.
What if my bars are too dry?
Mix in 1–2 teaspoons of oil (melted coconut or neutral) or a splash of milk until the dough softens. A little goes a long way, IMO.
Can I use powdered peanut butter (PB2)?
You can replace up to half of the peanut butter with reconstituted PB2 to lower calories, but keep at least half real PB for texture and flavor.
Are oats gluten-free?
Oats are naturally gluten-free, but cross-contamination happens.
Use certified gluten-free oats if you’re sensitive or celiac.
How do I prevent the chocolate chips from melting while mixing?
Let the mixture cool if you warmed the peanut butter, and add chips last. If it’s still warm, use chocolate chunks straight from the fridge.
The Bottom Line
These Peanut Butter Cookie Protein Powder Bars hit that rare combo of craveable and functional. They mix up fast, store well, and keep you fueled without a sugar crash.
Customize them, batch them, and consider your snack game permanently upgraded. Quick win, big payoff—exactly how it should be.
Printable Recipe Card
Want just the essential recipe details without scrolling through the article? Get our printable recipe card with just the ingredients and instructions.