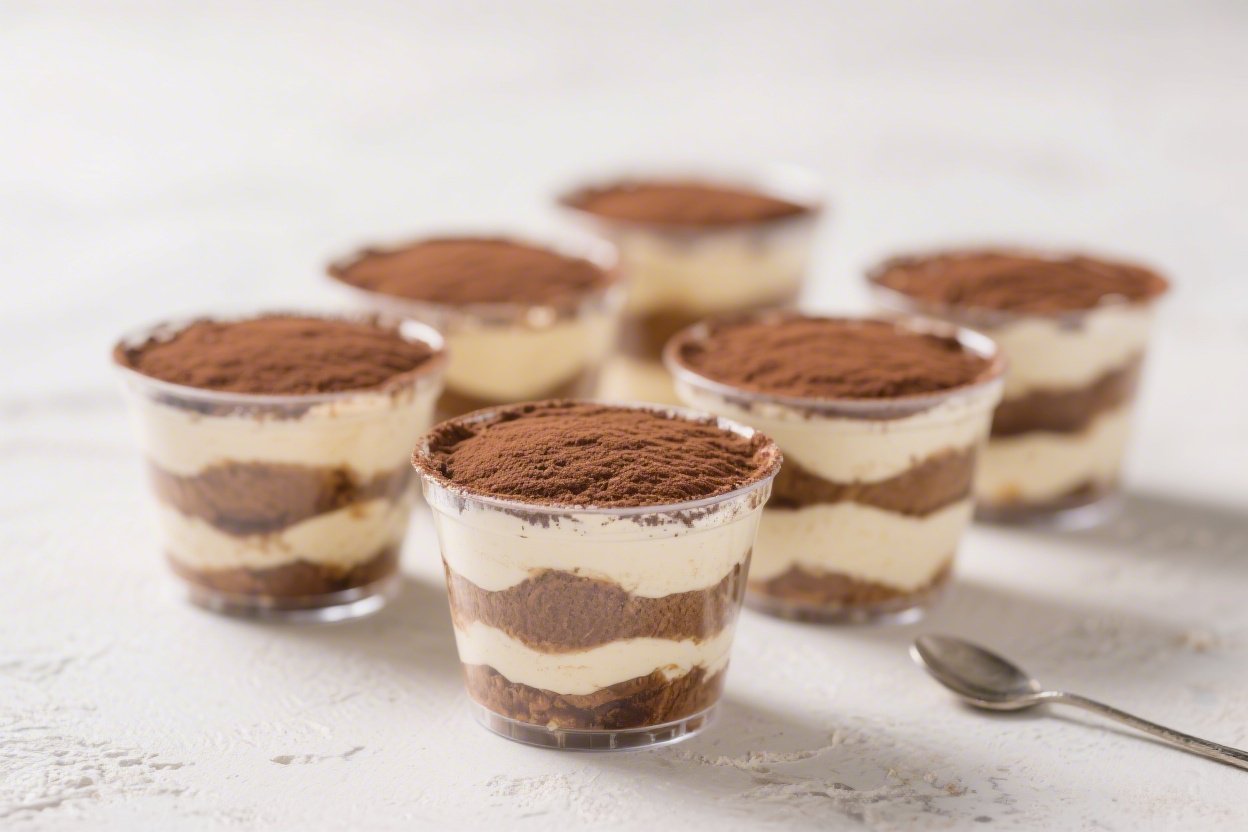
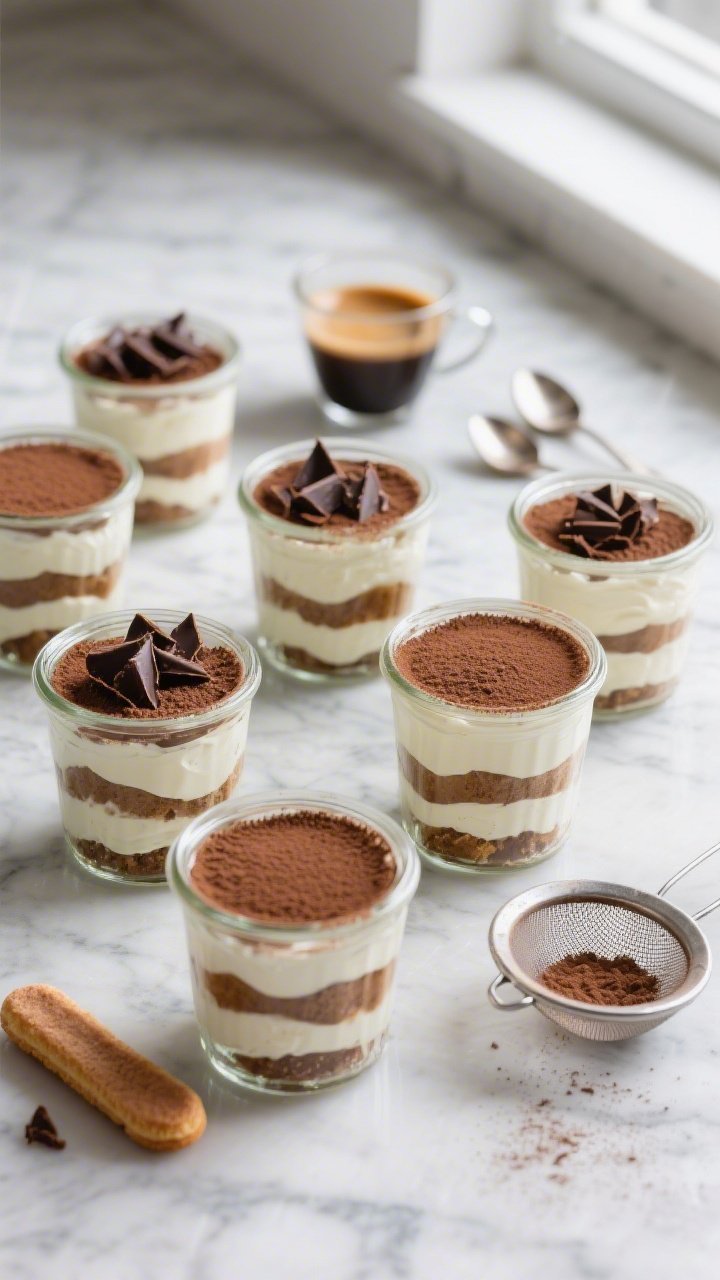
Protein Tiramisu Dessert Cups – A Lighter Take on a Classic Treat
If you love tiramisu but want something lighter and more protein-packed, these dessert cups are a happy middle ground. They deliver the creamy layers, coffee flavor, and cocoa finish you expect—just with a smarter balance of ingredients. You can make them ahead, portion them neatly, and enjoy a satisfying dessert without feeling weighed down.
They’re great for meal prep, dinner parties, or when you just want a sweet moment after lunch. Simple to assemble, no baking needed, and surprisingly filling.

Protein Tiramisu Dessert Cups - A Lighter Take on a Classic Treat
Ingredients
- Ladyfingers (about 16–20) or a simple vanilla sponge cut into strips
- Strong brewed coffee or espresso (1 cup), cooled
- Vanilla or unflavored whey/casein protein powder (2 scoops, ~50–60 g)
- Plain Greek yogurt (2% or 5%) (2 cups)
- Mascarpone or light cream cheese (4–6 oz), softened
- Maple syrup or honey (3–4 tbsp), to taste
- Pure vanilla extract (1 tsp)
- Pinch of salt
- Unsweetened cocoa powder (2–3 tbsp), for dusting
- Optional boosts: 1–2 tbsp coffee liqueur, dark chocolate shavings, a dash of cinnamon
- 8–10 small dessert cups or jars (4–6 oz each)
Instructions
- Brew and cool the coffee. Make a strong cup, then let it cool completely. If using liqueur, stir in 1–2 tablespoons. Cool coffee helps the layers set without making the base soggy.
- Mix the creamy layer. In a bowl, whisk Greek yogurt, mascarpone (or cream cheese), protein powder, maple syrup, vanilla, and a pinch of salt. Start with 3 tablespoons sweetener and adjust to taste. The mixture should be thick, smooth, and spoonable.
- Adjust texture if needed. If the cream is too thick, add 1–2 tablespoons milk. If it’s too loose, add a teaspoon more protein powder and whisk again.
- Cut the base to fit. Break ladyfingers in halves or thirds to fit the bottom of your cups. You want a snug layer without forcing the pieces in.
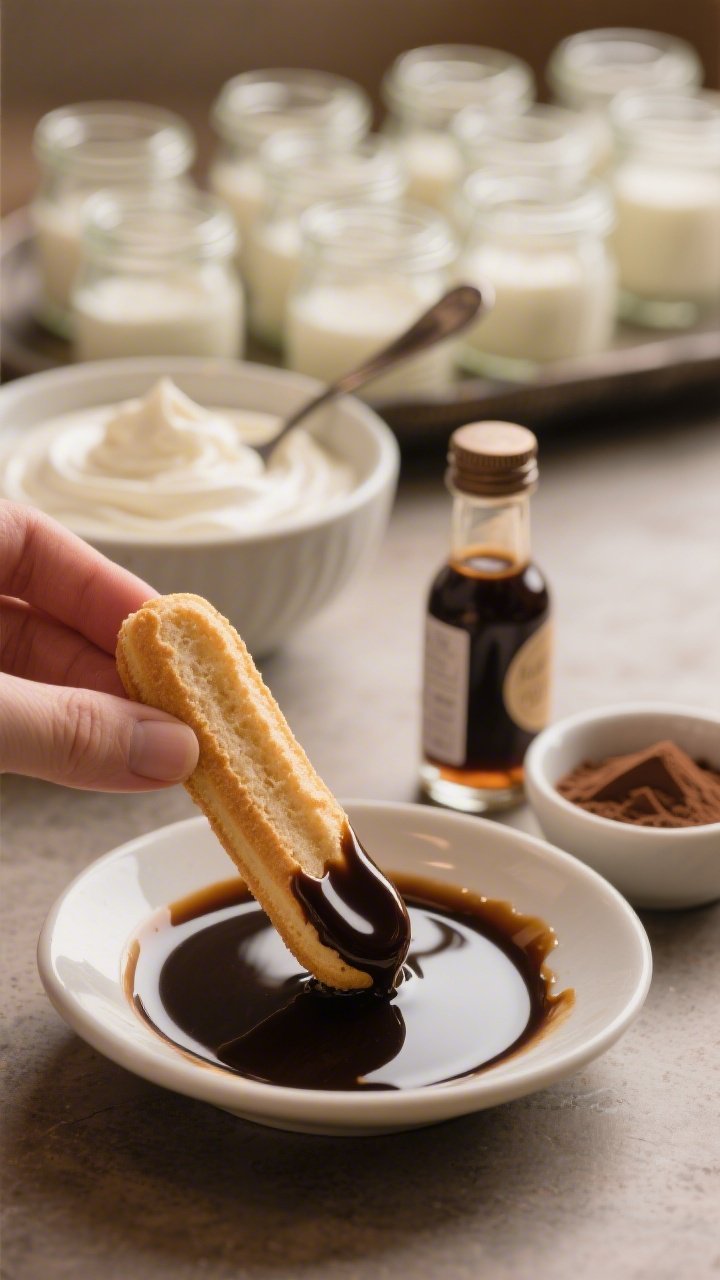
- Quick-dip the ladyfingers. Lightly dip each piece in the cooled coffee for 1–2 seconds per side. Don’t soak. Place a single layer in each cup.
- Add the first cream layer. Spoon 2–3 tablespoons of the cream over the coffee-soaked base. Smooth the top with the back of a spoon.
- Repeat layers. Add another quick-dipped ladyfinger layer, then more cream. You’ll usually get two layers per cup. Leave a little headspace for cocoa.
- Chill. Cover and refrigerate at least 2–4 hours, ideally overnight. Chilling lets the flavors blend and the cream set.
- Finish with cocoa. Just before serving, dust the tops with unsweetened cocoa powder. Add chocolate shavings if you like.
- Serve cold. Enjoy straight from the cup with a small spoon. Rich taste, lighter twist.

What Makes This Special
These Protein Tiramisu Dessert Cups borrow all the best parts of the Italian classic but swap in high-protein ingredients that still taste indulgent. The creamy layer is rich and smooth, thanks to Greek yogurt and a touch of mascarpone or light cream cheese.
Maple syrup keeps it gently sweet without going overboard. And because they’re portioned in cups, it’s easy to enjoy a treat that fits your goals.
- High in protein from Greek yogurt and protein powder.
- No baking, just layering and chilling.
- Flexible—use ladyfingers, sponge cake, or even protein cookies.
- Make-ahead friendly for gatherings or weekly treats.
- Familiar tiramisu flavor with a lighter feel.
What You’ll Need
- Ladyfingers (about 16–20) or a simple vanilla sponge cut into strips
- Strong brewed coffee or espresso (1 cup), cooled
- Vanilla or unflavored whey/casein protein powder (2 scoops, ~50–60 g)
- Plain Greek yogurt (2% or 5%) (2 cups)
- Mascarpone or light cream cheese (4–6 oz), softened
- Maple syrup or honey (3–4 tbsp), to taste
- Pure vanilla extract (1 tsp)
- Pinch of salt
- Unsweetened cocoa powder (2–3 tbsp), for dusting
- Optional boosts: 1–2 tbsp coffee liqueur, dark chocolate shavings, a dash of cinnamon
- 8–10 small dessert cups or jars (4–6 oz each)
How to Make It
- Brew and cool the coffee. Make a strong cup, then let it cool completely. If using liqueur, stir in 1–2 tablespoons.
Cool coffee helps the layers set without making the base soggy.
- Mix the creamy layer. In a bowl, whisk Greek yogurt, mascarpone (or cream cheese), protein powder, maple syrup, vanilla, and a pinch of salt. Start with 3 tablespoons sweetener and adjust to taste. The mixture should be thick, smooth, and spoonable.
- Adjust texture if needed. If the cream is too thick, add 1–2 tablespoons milk.
If it’s too loose, add a teaspoon more protein powder and whisk again.
- Cut the base to fit. Break ladyfingers in halves or thirds to fit the bottom of your cups. You want a snug layer without forcing the pieces in.
- Quick-dip the ladyfingers. Lightly dip each piece in the cooled coffee for 1–2 seconds per side. Don’t soak.
Place a single layer in each cup.
- Add the first cream layer. Spoon 2–3 tablespoons of the cream over the coffee-soaked base. Smooth the top with the back of a spoon.
- Repeat layers. Add another quick-dipped ladyfinger layer, then more cream. You’ll usually get two layers per cup.
Leave a little headspace for cocoa.
- Chill. Cover and refrigerate at least 2–4 hours, ideally overnight. Chilling lets the flavors blend and the cream set.
- Finish with cocoa. Just before serving, dust the tops with unsweetened cocoa powder. Add chocolate shavings if you like.
- Serve cold. Enjoy straight from the cup with a small spoon.
Rich taste, lighter twist.
How to Store
- Refrigerate covered for up to 3–4 days. The flavor improves by day two.
- Avoid freezing—the dairy can separate, and the texture turns grainy.
- Add cocoa before serving rather than before storage to keep it from dissolving into the cream.
Benefits of This Recipe
- Protein-forward: The Greek yogurt and protein powder make each cup more satisfying and supportive of your goals.
- Balanced sweetness: Maple or honey keeps the taste gentle and clean without being cloying.
- Portion control: Individual cups help you enjoy dessert mindfully.
- Customizable: Easy to adapt for gluten-free, lower sugar, or dairy-light versions.
- Make-ahead convenience: Prep a batch and chill for a stress-free finish to a meal.
Common Mistakes to Avoid
- Over-soaking the ladyfingers: A fast dip is enough. Too much coffee turns the base mushy.
- Skipping the chill time: Without a few hours in the fridge, the cream won’t set and the flavors won’t meld.
- Using hot coffee: Warm liquid melts the cream and ruins the layers.
Cool it fully.
- Over-sweetening early: Protein powders vary. Taste the cream before adding extra sweetener.
- Dusting too soon: Cocoa can clump or dissolve if added before chilling is complete. Dust right before serving.
Alternatives
- Gluten-free: Use gluten-free ladyfingers or a gluten-free vanilla sponge.
- Lower sugar: Swap maple syrup for a preferred zero-calorie sweetener; start small and adjust.
- Dairy-light: Use lactose-free Greek yogurt and a dairy-free cream cheese alternative.
Opt for a plant-based protein powder.
- Flavor twists: Add a pinch of cinnamon to the cocoa, or mix a teaspoon of cocoa into the cream for a mocha vibe.
- No mascarpone: Use all Greek yogurt and a little extra protein powder. Add 1–2 teaspoons lemon juice for tang to mimic mascarpone’s richness.
- Caffeine-free: Use decaf espresso or strong decaf coffee.
- Crunch factor: Layer in a few cacao nibs or finely chopped dark chocolate between cream layers.
FAQ
Can I make these without protein powder?
Yes. Skip the protein powder and use a bit more Greek yogurt and mascarpone to keep the cream thick.
You may need less sweetener, since some powders add sweetness.
What size cups work best?
Smaller jars or cups in the 4–6 ounce range are ideal. They hold two layers nicely and make a balanced single serving.
Do I have to use mascarpone?
No. Mascarpone gives the most classic flavor, but light cream cheese or all-Greek-yogurt works.
If using only yogurt, add a small squeeze of lemon and a pinch of salt for depth.
How long should they chill?
At least 2 hours, but overnight gives the best texture and flavor. The ladyfingers soften just enough without falling apart.
Can I use flavored yogurt?
You can, but it may make the dessert too sweet or overly tangy. Plain Greek yogurt gives you better control.
If you use flavored, reduce the added sweetener.
What protein powder works best?
Whey-casein blends or casein alone make the creamiest texture. Whey works too but can be looser; start with less liquid. Plant proteins can be used, but add gradually to avoid grit.
How do I prevent a gritty texture?
Whisk the cream thoroughly and let it rest 5–10 minutes, then whisk again.
This helps the protein powder hydrate. Avoid over-chilling before layering, which can stiffen the mix too much.
Can I add fruit?
Yes—thin slices of strawberries or raspberries pair well. Keep it light so the coffee flavor still shines.
Is there an alcohol-free option?
Absolutely.
Skip the liqueur and rely on strong coffee or espresso. A drop of almond extract can add warmth without alcohol.
How far in advance can I make them?
Up to 24 hours before serving is perfect. They’ll still be good for 3–4 days, but the layers may soften more over time.
Final Thoughts
Protein Tiramisu Dessert Cups bring the comfort of a classic dessert into everyday life with a smarter, high-protein twist.
They’re easy to assemble, look great on a table, and feel special without a lot of effort. Keep the layers simple, don’t rush the chill, and finish with a generous cocoa dusting. You’ll get that bold coffee aroma, velvety cream, and just enough sweetness in every spoonful—no compromise needed.
Printable Recipe Card
Want just the essential recipe details without scrolling through the article? Get our printable recipe card with just the ingredients and instructions.