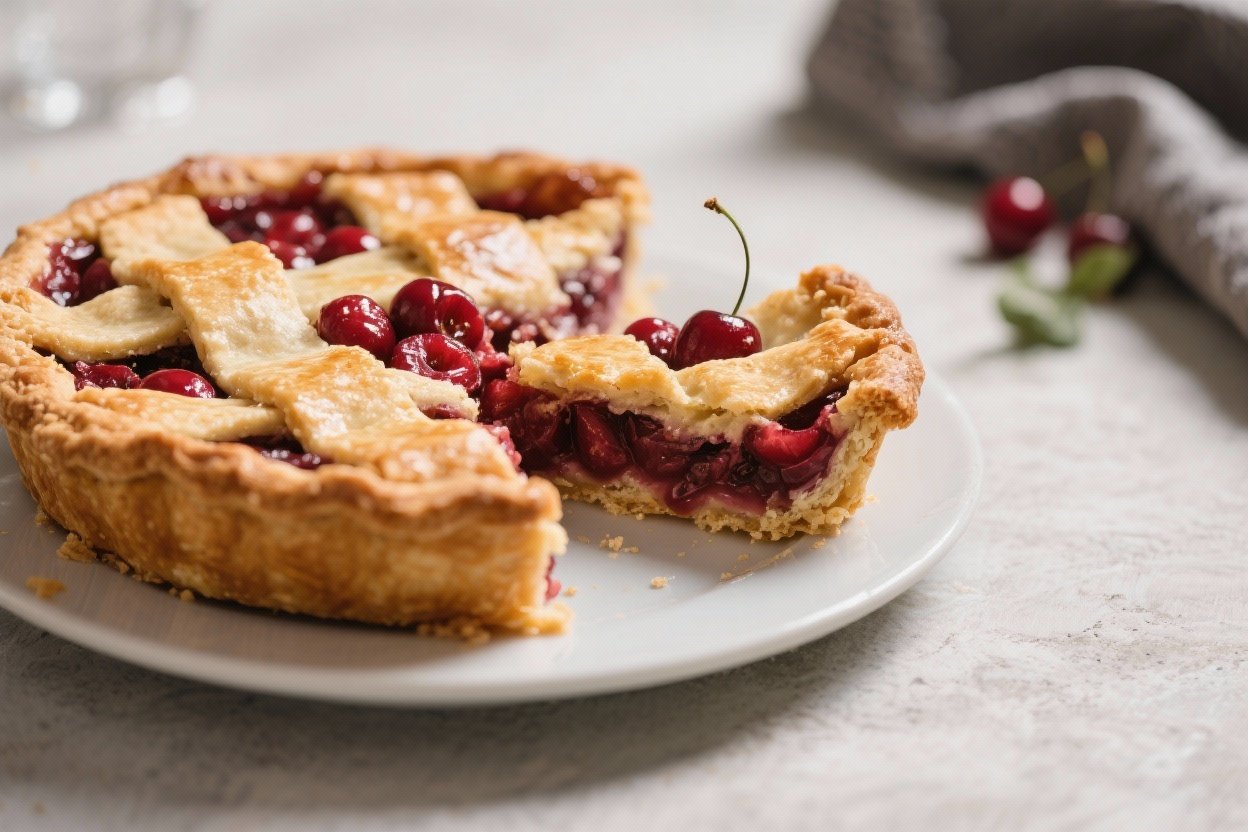
The Best Cherry Pie You’ll Ever Taste: The Crispy, Juicy, Summer-Defying Showstopper You’ll Brag About
You want a cherry pie that makes people go silent mid-bite, right? Not a soggy-bottomed sugar bomb, but a crisp, ruby-red masterpiece that tastes like July and wins every family gathering. This isn’t nostalgia in a tin; it’s precision disguised as comfort.
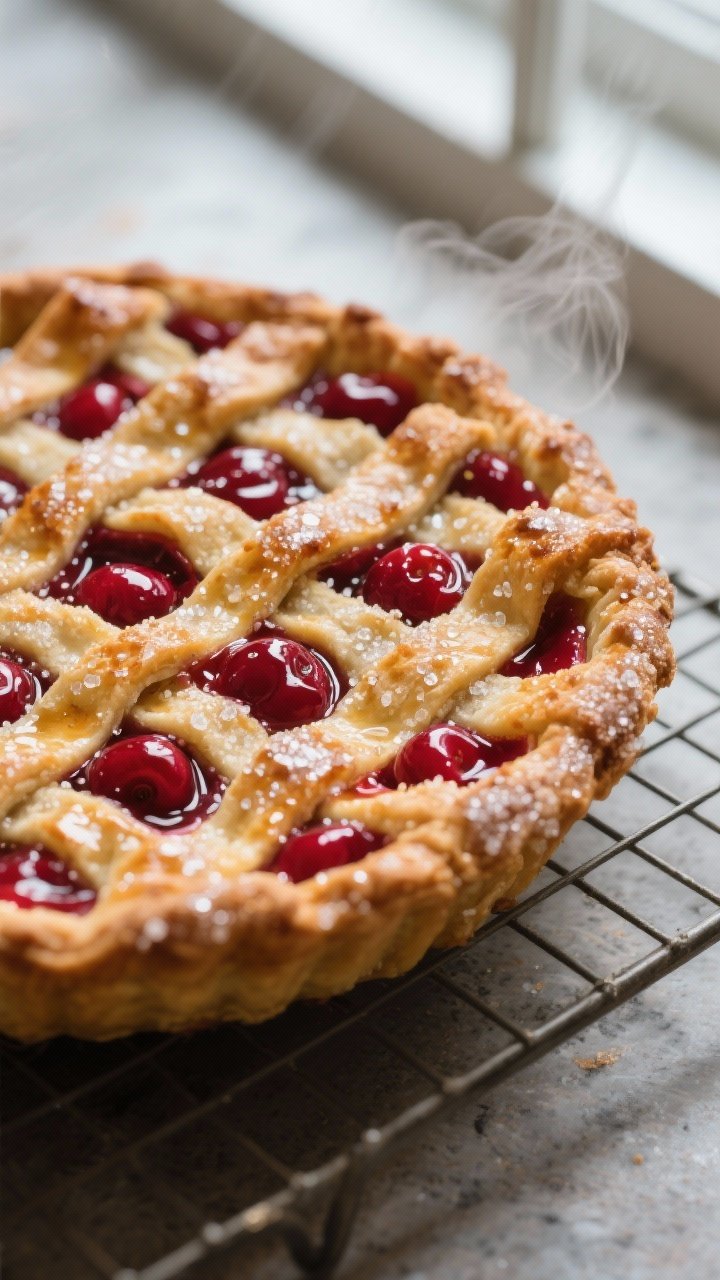
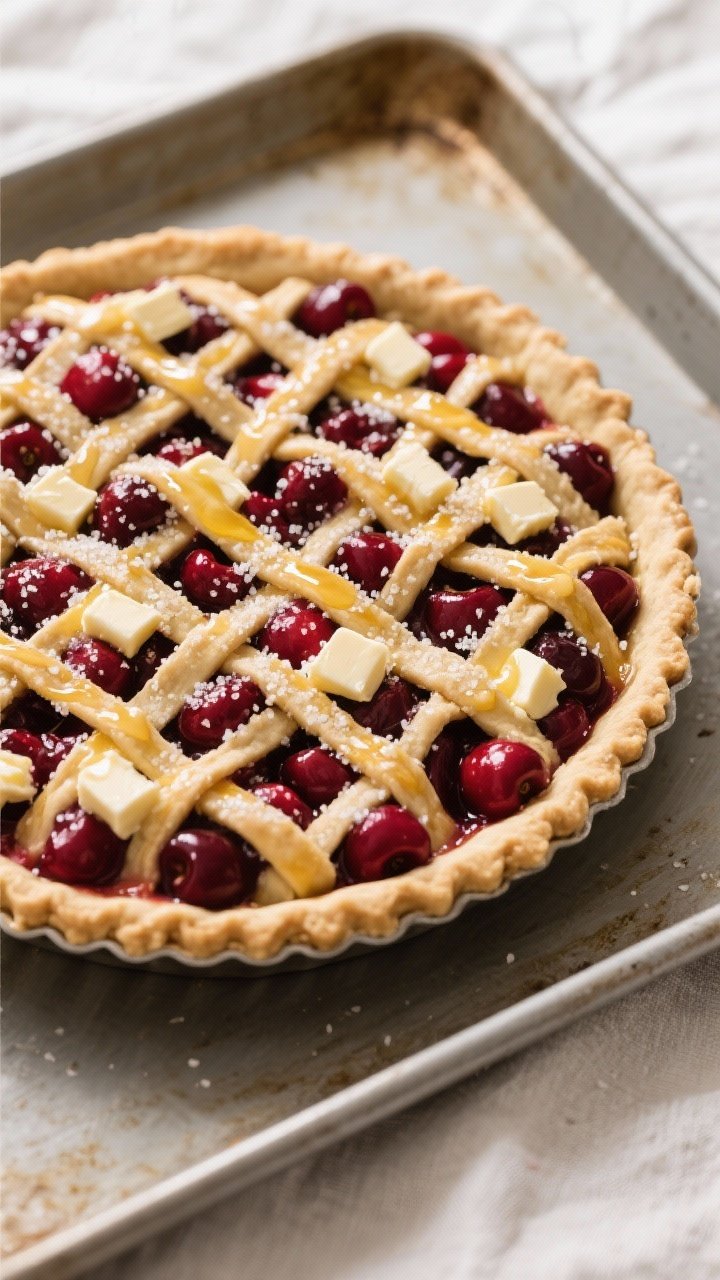
We’re talking flaky crust, tart-sweet filling, and a glossy finish that screams pro baker. If you can stir a spoon and turn on an oven, you can pull this off. Let’s get you a pie that actually lives up to the hype.
Overeating is a pattern. This helps you fix that problem. A quick reset for cravings, snacking, and “I’ll start tomorrow” moments.
Built for busy home cooks who want real-life structure. Simple steps that fit meal prep, family dinners, and late-night snack attacks.
The Secret Behind This Recipe
The magic lies in balancing tartness, texture, and moisture control.
We combine fresh (or thawed frozen) sour cherries with just enough sugar and lemon to make the fruit sing instead of shout. Thickening with a smart blend of cornstarch and quick-cooking tapioca delivers a luscious, sliceable filling that doesn’t gush like a broken dam. Then there’s the crust.
We use a butter-forward dough for flavor and a small boost of shortening for structure, plus a splash of vinegar to keep gluten in check. The final power move? A high-heat start to set the crust, then a lower bake to finish the filling.
It’s not complicated—just disciplined.
Ingredients Breakdown
- Cherries: 6 cups pitted sour cherries (fresh or frozen, thawed and drained). Sweet cherries also work with slight tweaks.
- Sugar: 3/4 to 1 cup granulated sugar (start with 3/4 if using sour cherries; go to 1 cup for extra sweetness).
- Lemon juice + zest: 1 tablespoon juice and 1 teaspoon zest for bright, clean flavor.
- Almond extract: 1/2 teaspoon—quiet but essential; it makes cherries taste “cherrier.”
- Vanilla extract: 1/2 teaspoon for warmth and roundness.
- Cornstarch: 3 tablespoons for quick thickening.
- Quick-cooking tapioca: 2 tablespoons for a glossy, stable set (optional but clutch).
- Salt: Pinch, to heighten flavor.
- Butter: 2 tablespoons, diced, to dot over the filling.
- Egg wash: 1 egg beaten with 1 tablespoon milk or cream, for shine.
- Sparkling sugar: 1–2 tablespoons for crunch (optional but highly recommended).
For the Pie Crust (Double Crust)
- All-purpose flour: 2 1/2 cups (300 g).
- Unsalted butter (cold, cubed): 1 cup (226 g).
- Vegetable shortening (cold): 1/4 cup (50 g) for tenderness and structure.
- Salt: 1 teaspoon.
- Sugar: 1 tablespoon (helps browning).
- Apple cider vinegar: 1 teaspoon to keep the dough relaxed.
- Ice water: 6–8 tablespoons, as needed.
Let’s Get Cooking – Instructions
- Make the dough: In a large bowl, whisk flour, salt, and sugar. Cut in butter and shortening until pea-sized bits remain.
Stir in vinegar and add ice water 1 tablespoon at a time until the dough just holds together when pressed.
- Chill: Divide into two disks, wrap, and refrigerate 1–2 hours (or up to 24 hours). Cold dough = flaky layers. Science.
- Prep the filling: In a bowl, combine cherries, sugar, lemon juice and zest, almond extract, vanilla, cornstarch, tapioca, and salt.
Toss gently. Let sit 10 minutes so the thickener hydrates.
- Roll bottom crust: On a lightly floured surface, roll one disk to about 12 inches. Fit into a 9-inch pie plate, letting excess hang over the edges.
- Preheat: Heat oven to 425°F (220°C).
Place a rimmed baking sheet on the middle rack to preheat (catching drips and boosting bottom heat).
- Fill: Spoon cherry mixture into the crust. Dot with the diced butter.
- Top crust: Roll the second disk. Either lay it over for a classic double crust (cut vents) or make a lattice.
Trim overhangs to about 1 inch.
- Crimp: Fold edges under and crimp firmly. Brush with egg wash. Sprinkle with sparkling sugar.
- Bake hot then steady: Bake at 425°F for 20 minutes.
Reduce to 375°F (190°C) and bake 35–45 minutes more, until the filling is bubbling thickly in the center and the crust is deeply golden.
- Shield if needed: If edges brown too fast, tent with foil or use a pie shield for the last 20 minutes.
- Cool completely: Let the pie cool on a rack for at least 3 hours. Yes, really. It sets as it cools; patience beats soup pie.
- Serve: Slice with a sharp knife.
Vanilla ice cream? Obviously.

Keeping It Fresh
At room temp, your pie keeps 24 hours loosely covered. After that, refrigerate it for up to 4 days.
Reheat slices at 350°F (175°C) for 10 minutes to revive the crust—microwaves make it soggy, so don’t do your pie dirty.
Want to freeze? Bake, cool fully, then wrap tightly and freeze for up to 3 months. Reheat from frozen at 350°F until the center is warm and the crust re-crisps, about 25–35 minutes.
Health Benefits
- Antioxidants galore: Cherries contain anthocyanins that support recovery and may reduce inflammation.
Your taste buds and joints can be friends.
- Sleep support: Tart cherries naturally contain melatonin. Not a substitute for good habits, but it doesn’t hurt.
- Real fruit fiber: You’ll get some fiber from the cherries and, if using, a whole-grain crust tweak (see Alternatives). Better than a candy bar, IMO.
- Mindful sweetness: This recipe uses enough sugar to balance tartness without turning your pie into syrup.
Flavor > overload.

Common Mistakes to Avoid
- Warm dough: If your butter melts before baking, you lose the flaky layers. Keep everything cold and move with purpose.
- Under-thickening: Skimping on cornstarch/tapioca equals cherry soup. Measure accurately and wait for the bubble in the center.
- Cutting too soon: Slicing a hot pie feels heroic but ruins structure.
Give it time to set—your patience will be deliciously rewarded.
- Skipping vents: No slits in a solid top crust? Steam builds, crust cracks, tears happen. Vent like you mean it.
- Wet bottom crust: Preheated sheet pan, proper thickener, and that initial high heat are your anti-soggy trifecta.
Alternatives
- All-butter crust: Skip shortening and use 100% butter.
Slightly less sturdy but unbeatable flavor; chill well.
- Whole-wheat swap: Replace 1/2 cup AP flour with white whole wheat for a nuttier crust. Add an extra tablespoon of ice water if needed.
- No tapioca? Use 4 tablespoons cornstarch total. The set will be slightly less glossy but still great.
- Sweet cherries: Use 1/2 cup sugar to start; add 1 tablespoon lemon juice extra and 1 tablespoon cornstarch extra to balance sweetness and juice.
- Gluten-free crust: Use a 1:1 gluten-free flour blend with xanthan gum.
Keep the dough colder and handle gently.
- Flavor boosts: Add 1–2 tablespoons kirsch or brandy to the filling, or a pinch of cinnamon or cardamom. Small changes, big “whoa.”
FAQ
Can I use canned cherry pie filling?
You can, but you’ll miss the bright flavor and texture that make this pie special. If you must, add a squeeze of lemon and a touch of almond extract to wake it up.
How do I pit cherries without a pitter?
Use a sturdy straw, chopstick, or pastry tip to push pits out.
Work over a bowl and wear an apron—cherries don’t care about your outfit.
Why is my filling runny?
Common culprits: not enough thickener, baking too short (center must bubble), or slicing while warm. Also, frozen cherries need to be thawed and well-drained.
Can I make the pie ahead?
Yes. Bake the day before and keep at room temp, loosely covered.
Reheat briefly for a crisp crust. You can also prep the dough and freeze it for up to 2 months.
What if I don’t like almond extract?
Skip it and increase vanilla to 1 teaspoon. Different vibe, still fantastic.
Final Thoughts
This cherry pie nails the trifecta: flaky crust, jewel-toned filling, and a clean, bright finish that tastes like summer on purpose.
It’s not fancy for fancy’s sake; it just works. Make it once and you’ll wonder why you ever settled for mediocre. Your future self—holding a perfect slice—says thanks, FYI.
Printable Recipe Card
Want just the essential recipe details without scrolling through the article? Get our printable recipe card with just the ingredients and instructions.