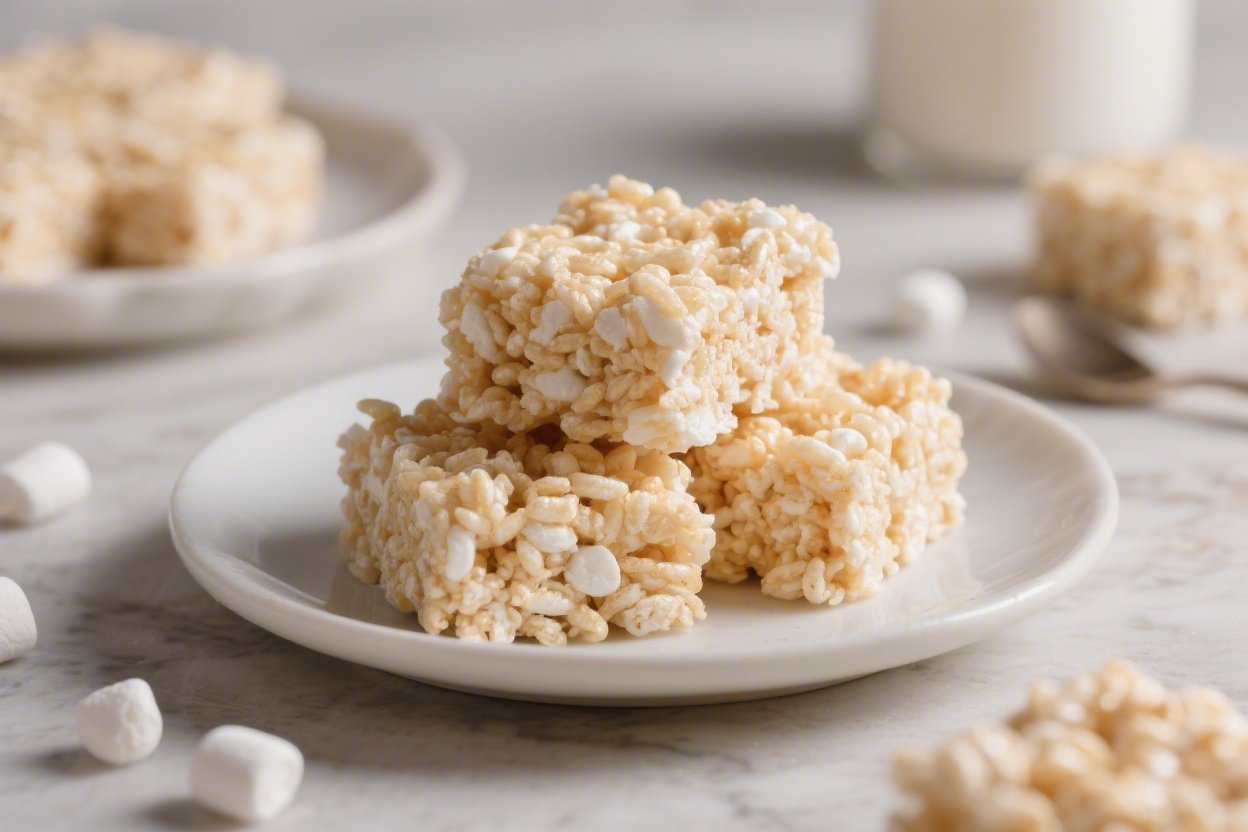
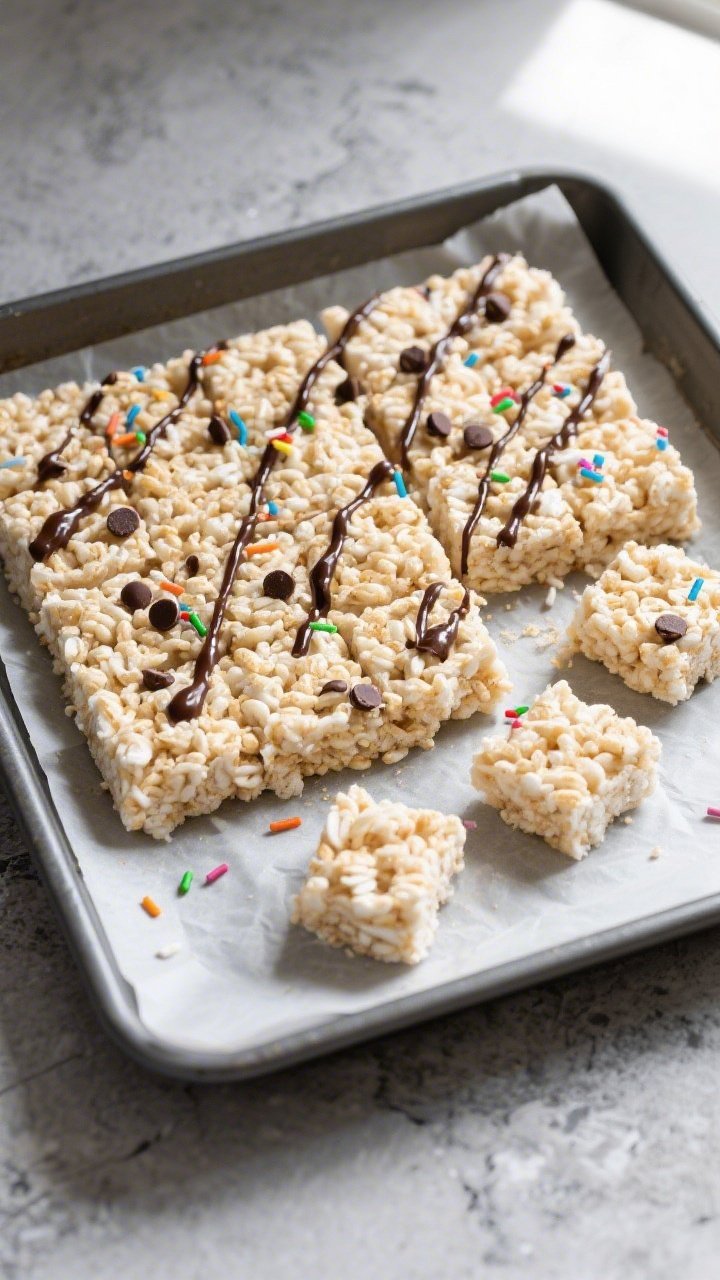
Protein Marshmallow Rice Krispie Treats – A Classic Sweet With a Protein Boost
If you love the nostalgic snap of Rice Krispie treats but want something a little more balanced, these Protein Marshmallow Rice Krispie Treats hit the spot. They’re chewy, sweet, and ridiculously easy to make, with a subtle vanilla flavor that pairs perfectly with a soft protein lift. No baking, no fancy steps—just a quick stovetop mix and a pan.
Never wonder what's for dinner again.
Get 7 healthy, family-friendly dinners complete with recipes, grocery lists, and simple meal plans delivered straight to your inbox.
You can keep them classic or add chocolate chips, nut butter, or a drizzle on top. They’re great for lunchboxes, post-workout snacks, or a not-so-guilty dessert.
Protein Marshmallow Rice Krispie Treats - A Classic Sweet With a Protein Boost
Ingredients
- 6 cups crispy rice cereal (regular or brown rice)
- 10 ounces mini marshmallows (about 1 standard bag)
- 3 tablespoons unsalted butter (or coconut oil for dairy-free)
- 1/4 cup creamy nut butter (peanut, almond, or cashew; optional but recommended)
- 1/2 cup vanilla protein powder (whey or plant-based; see notes below)
- 1 teaspoon vanilla extract
- 1/8 teaspoon fine sea salt (or a pinch; enhances flavor)
- Optional mix-ins: 1/4 cup mini chocolate chips, 2 tablespoons sprinkles, 1/4 cup chopped nuts
- Optional drizzle: 2 ounces melted dark chocolate
- Nonstick spray or parchment (for the pan)
Instructions
- Prep the pan: Line a 9x9-inch pan with parchment or lightly coat with nonstick spray. Set aside.
- Measure ahead: Pour the crispy rice cereal into a large mixing bowl. Have your protein powder and optional mix-ins ready.
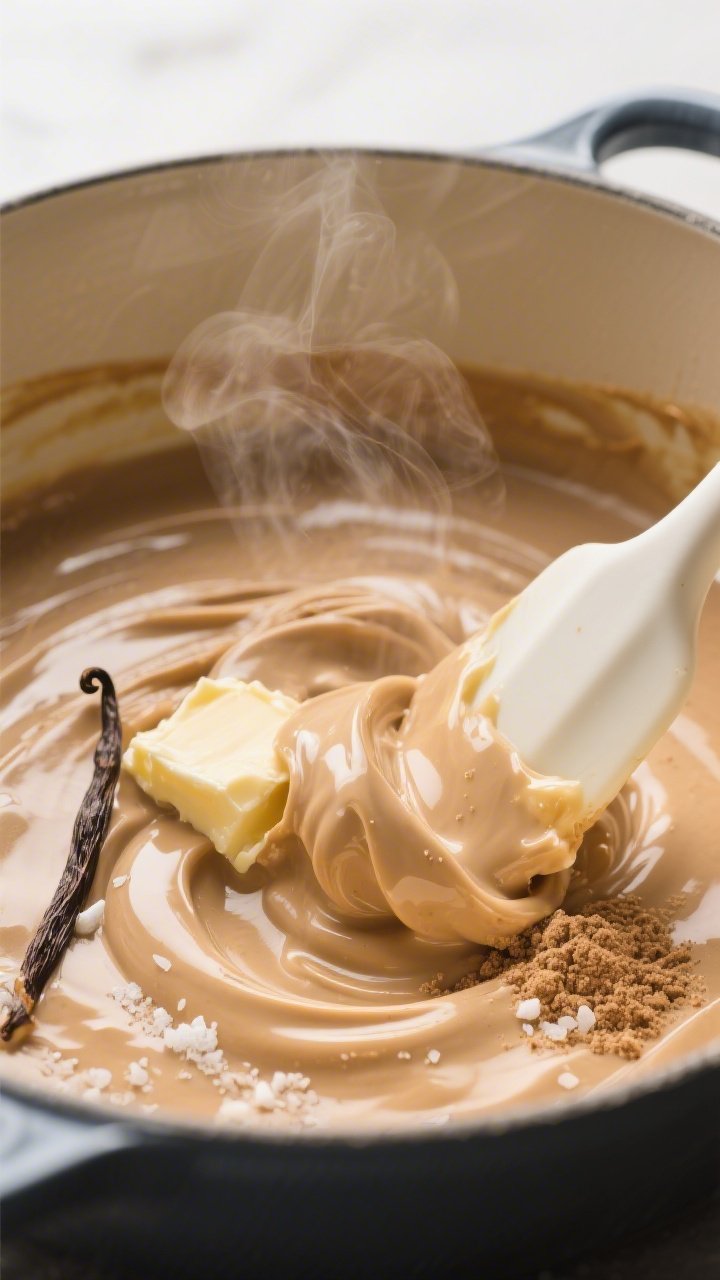
- Melt the base: In a large pot over low heat, melt the butter. Add the nut butter and stir until smooth.
- Add marshmallows: Stir in the marshmallows and cook on low, stirring often, until just melted and glossy. Don’t crank the heat—high heat makes the treats tough.
- Flavor boost: Remove from heat. Stir in vanilla and salt.
- Incorporate protein: Sprinkle the protein powder over the melted mixture and stir gently until fully incorporated. If it seems too thick, add 1–2 teaspoons of warm water to loosen.
- Combine with cereal: Pour the marshmallow mixture over the cereal and toss with a silicone spatula until every piece is coated. Work quickly. If using chocolate chips, let the mixture cool 1–2 minutes first so they don’t fully melt.
- Press into pan: Transfer to the prepared pan. Lightly grease your hands or a spatula and press the mixture evenly without smashing it too hard. Gentle pressure keeps them soft.
- Finish and set: Add a chocolate drizzle or sprinkles if you like. Let the pan sit at room temperature for 30–60 minutes to set.
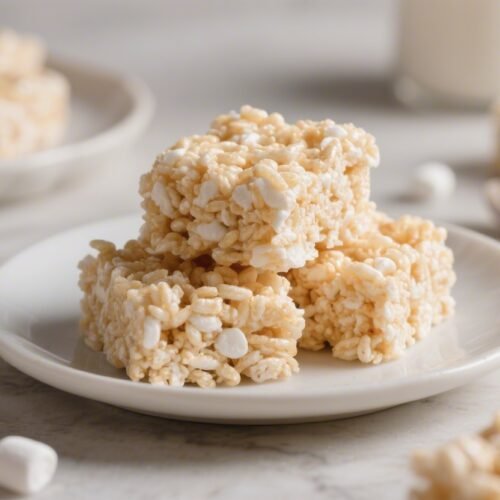
- Slice and serve: Cut into 12 squares for snack-size portions, or 9 for larger bars.
What Makes This Special
These treats keep everything you love about the original—soft, gooey bites with a gentle crunch—while sneaking in extra protein to help you stay fuller longer. The key is using a protein powder that blends well for a smooth texture instead of turning the bars chalky.
A touch of nut butter and a little coconut oil helps the mixture hold together and taste rich without being heavy. They’re also endlessly customizable, so you can tweak sweetness, texture, and flavor to your liking.
What You’ll Need
- 6 cups crispy rice cereal (regular or brown rice)
- 10 ounces mini marshmallows (about 1 standard bag)
- 3 tablespoons unsalted butter (or coconut oil for dairy-free)
- 1/4 cup creamy nut butter (peanut, almond, or cashew; optional but recommended)
- 1/2 cup vanilla protein powder (whey or plant-based; see notes below)
- 1 teaspoon vanilla extract
- 1/8 teaspoon fine sea salt (or a pinch; enhances flavor)
- Optional mix-ins: 1/4 cup mini chocolate chips, 2 tablespoons sprinkles, 1/4 cup chopped nuts
- Optional drizzle: 2 ounces melted dark chocolate
- Nonstick spray or parchment (for the pan)
Instructions
- Prep the pan: Line a 9×9-inch pan with parchment or lightly coat with nonstick spray. Set aside.
- Measure ahead: Pour the crispy rice cereal into a large mixing bowl.
Have your protein powder and optional mix-ins ready.
- Melt the base: In a large pot over low heat, melt the butter. Add the nut butter and stir until smooth.
- Add marshmallows: Stir in the marshmallows and cook on low, stirring often, until just melted and glossy. Don’t crank the heat—high heat makes the treats tough.
- Flavor boost: Remove from heat.
Stir in vanilla and salt.
- Incorporate protein: Sprinkle the protein powder over the melted mixture and stir gently until fully incorporated. If it seems too thick, add 1–2 teaspoons of warm water to loosen.
- Combine with cereal: Pour the marshmallow mixture over the cereal and toss with a silicone spatula until every piece is coated. Work quickly.
If using chocolate chips, let the mixture cool 1–2 minutes first so they don’t fully melt.
- Press into pan: Transfer to the prepared pan. Lightly grease your hands or a spatula and press the mixture evenly without smashing it too hard. Gentle pressure keeps them soft.
- Finish and set: Add a chocolate drizzle or sprinkles if you like.
Let the pan sit at room temperature for 30–60 minutes to set.
- Slice and serve: Cut into 12 squares for snack-size portions, or 9 for larger bars.
How to Store
- Room temperature: Store in an airtight container for up to 3 days for the best texture. Add a piece of parchment between layers to prevent sticking.
- Refrigerator: Keeps up to 1 week, but they’ll firm up. Let sit at room temperature for 10–15 minutes before eating to soften.
- Freezer: Wrap bars individually and freeze for up to 2 months.
Thaw at room temperature for 30–45 minutes.
Health Benefits
- Protein support: Adding whey or plant-based protein helps support muscle repair and satiety. Each bar can offer around 8–12 grams of protein depending on your powder and serving size.
- Better balance: The nut butter introduces healthy fats that slow digestion slightly, so you avoid a fast sugar spike.
- Portion-friendly treat: These strike a middle ground between dessert and functional snack, which makes it easier to enjoy without overdoing it.
- Customizable nutrition: You control the sweetness and add-ins. Go lighter on marshmallows, use dark chocolate, or add chia or hemp seeds for extra fiber and minerals.
Pitfalls to Watch Out For
- Overheating the marshmallows: High heat makes the sugars harden as they cool, leading to stiff, tough treats.
Keep it low and slow.
- Chalky texture: Some protein powders don’t dissolve smoothly. Start with 1/3 cup and increase to 1/2 cup if the texture stays silky.
- Overmixing with cereal: Stir just until coated. Aggressive mixing crushes the cereal and makes the bars dense.
- Packing too tightly: Pressing hard compacts the treats.
Use light, even pressure for soft, chewy squares.
- Adding chips too soon: If the mixture is piping hot, chocolate chips will melt and streak. Let it cool briefly before folding them in.
Alternatives
- Dairy-free: Use coconut oil instead of butter and a dairy-free protein powder. Many plant proteins (pea, brown rice blends) work well here.
- Lower sugar: Swap half the marshmallows for 1/3 cup honey or brown rice syrup.
The texture will be slightly softer but still chewy.
- Peanut-free: Choose almond butter, cashew butter, sunflower seed butter, or tahini. Sunflower seed butter gives a mild, toasty flavor.
- Chocolate version: Use chocolate protein powder and drizzle with dark chocolate. Add a tablespoon of cocoa powder to the melted mixture to deepen the flavor.
- Crunch boosters: Fold in chopped roasted peanuts, toasted coconut, or pumpkin seeds for texture and minerals.
- Gluten-free: Most crispy rice cereals are gluten-free, but check labels.
Some brands use malt flavoring, which contains barley.
FAQ
What kind of protein powder works best?
Whey isolate or a smooth plant-based blend (pea with rice) usually mixes cleanly without grit. Avoid chalky, very fibrous powders or ones with strong sweeteners that can overpower the flavor. Start with vanilla or unflavored for versatility.
Can I make these without nut butter?
Need More Easy Dinner Ideas?
Get my FREE 7-Day Easy Dinner Reset and enjoy a full week of healthy dinners without the meal-planning stress.
Yes.
They’ll still hold together with just butter and marshmallows. If you skip nut butter, consider adding 1 extra tablespoon of butter or coconut oil to keep the mixture pliable and rich.
How do I prevent the mixture from sticking to my hands?
Lightly oil your hands or a silicone spatula with nonstick spray or a dab of coconut oil. You can also lay a piece of parchment on top and press gently with your palms.
Why did my treats turn out hard?
Most likely the marshmallows overheated, or the mixture was packed too tightly.
Next time, melt on low heat and press lightly. Also, avoid storing them uncovered, which can dry them out.
Can I add collagen instead of protein powder?
Yes. Collagen peptides dissolve easily and won’t change the flavor.
Use 1/3 to 1/2 cup. The protein content will increase, but collagen doesn’t behave like a complete protein, so you may want to keep some whey or plant protein for balance.
How many bars does this make?
In a 9×9-inch pan, you’ll get 9 large or 12 smaller bars. For bite-size pieces, use a 9×13-inch pan and press more thinly, then cut into small squares.
Can I use jumbo marshmallows?
Yes.
Chop or tear them into smaller pieces for faster melting. Measure by weight (10 ounces) for accuracy.
Will plant-based marshmallows work?
They can, but they sometimes melt slower and set a bit firmer. Keep the heat low, and add a teaspoon or two of water if the mixture seems too thick.
Can I reduce the sweetness?
Use unflavored protein, a slightly salty nut butter, and add a pinch more salt.
You can also replace 1–2 cups of cereal with unsweetened puffed grains to dilute the sweetness while keeping volume.
How can I make them more chocolaty?
Use chocolate protein powder, mix in 1 tablespoon cocoa powder with the marshmallows, and finish with a dark chocolate drizzle. Mini chocolate chips folded in after slight cooling add pockets of chocolate without overwhelming the texture.
Final Thoughts
Protein Marshmallow Rice Krispie Treats bring together comfort and function in a simple, fun bar. They’re quick to make, easy to customize, and a smart way to get a little more protein without losing that classic chewy bite.
Keep a batch on the counter for after-school snacks, pack them for hikes, or stash a few in the freezer for busy days. Once you dial in your favorite protein powder and mix-ins, this will be a go-to treat you’ll make again and again.
Printable Recipe Card
Want just the essential recipe details without scrolling through the article? Get our printable recipe card with just the ingredients and instructions.
Loved This Recipe?
If you're looking for more simple, healthy dinners your family will actually eat, grab my FREE 7-Day Easy Dinner Reset. You'll get 7 easy dinner recipes, simple grocery lists, and a done-for-you plan that takes the stress out of mealtime.