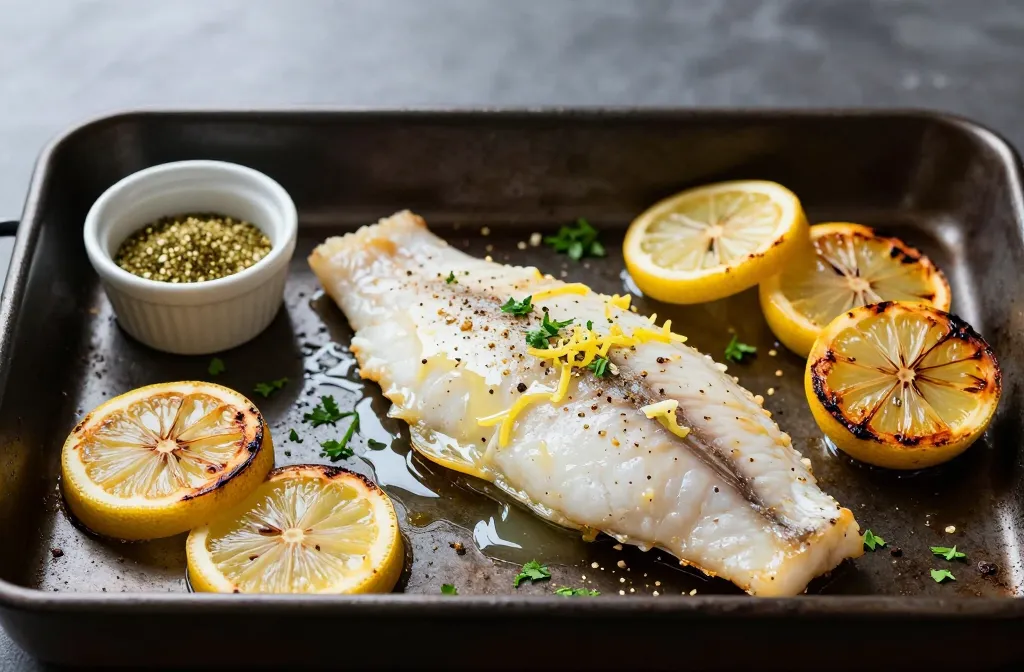
Baked Lemon Pepper Tilapia That Practically Cooks Itself
You want dinner that tastes fancy but cooks itself while you find the remote? Same. Baked lemon pepper tilapia hits that sweet spot: zesty, buttery, and flaky with almost zero effort. We’re talking weeknight hero vibes with company-worthy flavor. Grab a lemon, a pan, and let’s make your oven do the heavy lifting.
Never wonder what's for dinner again.
Get 7 healthy, family-friendly dinners complete with recipes, grocery lists, and simple meal plans delivered straight to your inbox.
Why Lemon Pepper Tilapia Wins Every Time
Tilapia plays super chill with bold flavors, which makes lemon pepper its soulmate. You get citrusy brightness, a peppery kick, and tender fish that flakes like a dream. Plus, it bakes fast, so you won’t wait around hangry. IMO, it’s the perfect “I didn’t plan dinner but still crushed it” recipe.
The Short Ingredient List (That Still Slaps)
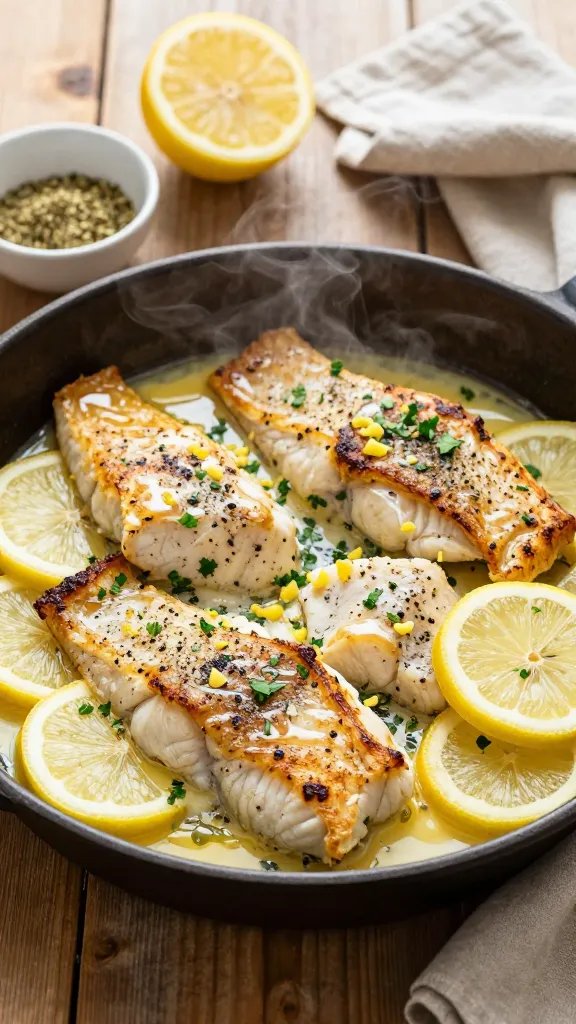
You only need a few pantry staples to nail this.
- Tilapia fillets (fresh or thawed): Mild, lean, and speedy to cook.
- Lemon zest + juice: Zest for aroma, juice for tang.
- Butter (or olive oil): For richness and those glossy, irresistible bites.
- Lemon pepper seasoning: Store-bought or DIY.
- Garlic: Because when did garlic ever make dinner worse?
- Parsley (optional): Fresh finish, Instagram bonus.
- Salt: Only if your lemon pepper blend isn’t already salty.
Quick DIY Lemon Pepper (If Yours Tastes Meh)
Mix:
- 1 tablespoon fresh lemon zest (air-dried a bit if you can)
- 1 teaspoon cracked black pepper
- 1/2 teaspoon kosher salt
- Pinch of garlic powder
FYI: Fresh zest makes it pop more than the dusty jar stuff.
How To Bake It Like You Mean It
Follow these steps and you’re golden (literally).
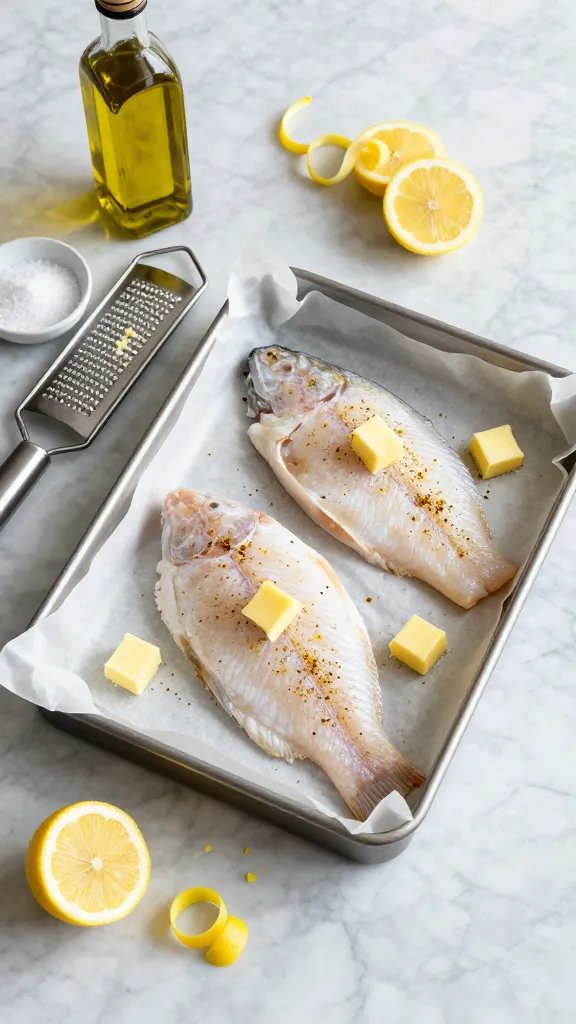
- Preheat your oven to 400°F (205°C). Line a sheet pan with parchment for easy cleanup.
- Pat the tilapia dry so seasonings actually stick and the fish roasts, not steams.
- Whisk the sauce: Melt 2 tablespoons butter (or use 1.5 tablespoons olive oil), then stir in 1 tablespoon lemon juice, 1 teaspoon lemon zest, 1 minced garlic clove, and 1 to 1.5 teaspoons lemon pepper.
- Brush and season: Lay fillets on the pan. Brush with the sauce. Sprinkle a tiny pinch of salt only if your lemon pepper blend isn’t salty.
- Bake 8–12 minutes, depending on thickness. It’s done when it flakes easily and hits 145°F internally. Don’t overbake—tilapia turns dramatic and dries out fast.
- Finish with extra lemon juice and chopped parsley. Serve immediately.
Pro Tips So You Don’t Overthink It
- Thin fillets? Start checking at 7 minutes.
- Want some char? Broil for 1 minute at the end. Watch closely—blink and it scorches.
- No butter? Olive oil gives a lighter vibe and still tastes dreamy.
Smart Sides That Don’t Steal The Spotlight
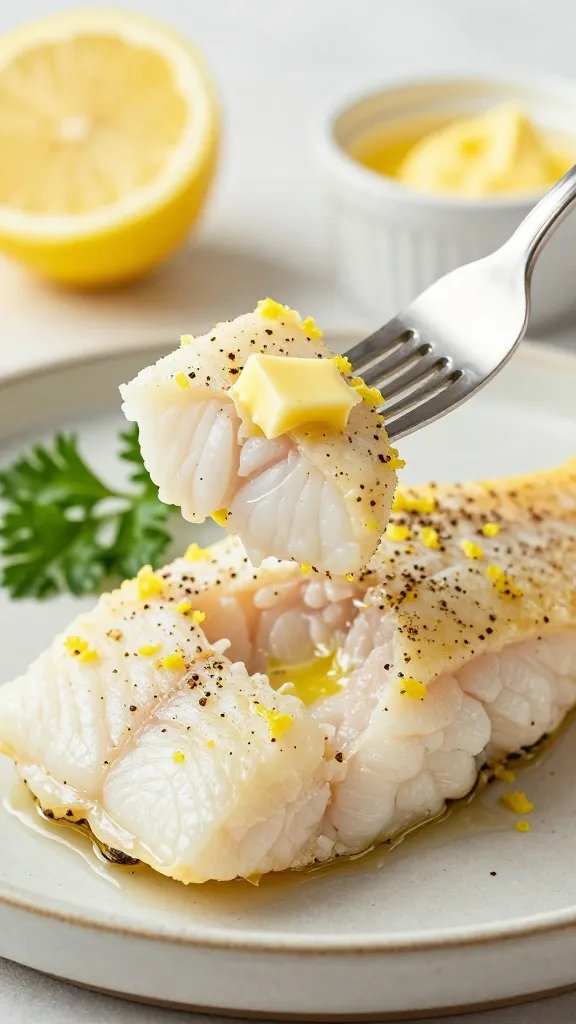
Keep it simple and citrus-friendly:
- Roasted asparagus with a squeeze of lemon
- Garlic butter green beans (basically a 10-minute side)
- Lemony couscous or rice pilaf for soaking up the juices
- Simple arugula salad with olive oil, lemon, and shaved Parmesan
- Roasted baby potatoes if you want cozy
IMO, a crisp salad + a carb to catch the sauce = elite combo.
Make-Ahead, Storage, And Leftovers (Yes, They’re Good)
Tilapia tastes best fresh, but leftovers still slap in a pinch.
- Prep ahead: Mix the lemon butter and zest earlier in the day. Keep fish dry and season right before baking.
- Store: Refrigerate cooked tilapia in an airtight container up to 2 days.
- Reheat: 275°F oven for 8–10 minutes or gently in a skillet with a splash of water and covered. Microwave only if you enjoy rubbery fish (you don’t).
- Use leftovers: Flake into fish tacos, lemony rice bowls, or a bright Caesar-ish salad.
Flavor Twists If You’re Feeling Extra
You can riff without wrecking the core magic.
Need More Easy Dinner Ideas?
Get my FREE 7-Day Easy Dinner Reset and enjoy a full week of healthy dinners without the meal-planning stress.
- Herb upgrade: Add dill or chives to the lemon butter.
- Spicy kick: Red pepper flakes or a swirl of chili crisp.
- Capers: Briny pops make it taste restaurant-level.
- Parmesan dust: Light sprinkle in the last 2 minutes for a savory edge.
Pan-Seared Detour (If The Oven’s Busy)
Season fillets, then sear in 1 tablespoon oil over medium-high for 2–3 minutes per side. Spoon on the lemon butter at the end and let it bubble for 20 seconds. Done. Crispy edges, still flaky. Chefs kiss.
Estimated Nutrition Facts
Serving size used for calculations: 1 fillet (approximately 4 ounces/113 g raw tilapia) with 1/2 tablespoon butter, 1/2 tablespoon lemon juice, 1/4 teaspoon lemon zest, 1/4 teaspoon lemon pepper seasoning, and 1/4 garlic clove. This represents one serving from a typical 1-pound (4-fillet) batch. If your fillets are larger, adjust accordingly.
Per serving (estimated using standard USDA ingredient data):
- Calories: 200
- Total Fat: 9 g
- Total Carbohydrates: 2 g
- Dietary Fiber: 0 g
- Net Carbs: 2 g
- Protein: 28 g
Notes on the estimate:
- 4 oz raw tilapia: ~110 kcal, 23 g protein, ~2 g fat.
- Butter (1/2 tbsp): ~51 kcal, ~6 g fat.
- Olive oil swap (1/2 tbsp) would be ~60 kcal, ~7 g fat; totals shift slightly upward.
- Lemon juice, zest, garlic, seasoning add minimal calories and carbs (mostly from spices).
Disclaimer: Nutrition values are estimates based on standard data and typical seasoning amounts. Actual results vary with brand, fillet size, and exact ingredient quantities.
FAQ
Can I use frozen tilapia?
Absolutely—just thaw it first in the fridge overnight or under cold running water for 30–45 minutes. Pat it bone-dry so the seasoning sticks and the fish roasts instead of steaming. Wet fish = sad texture.
What if I don’t have lemon pepper seasoning?
Use fresh lemon zest, black pepper, kosher salt, and a pinch of garlic powder. You’ll get brighter flavor than most premade blends. IMO, fresh zest > anything in a shaker.
How do I keep tilapia from tasting “fishy”?
Buy it fresh or from a high-turnover freezer section. Rinse, pat dry, and use plenty of lemon and fresh garlic. Fishy flavors usually mean age or poor storage, not the recipe.
Can I make this dairy-free?
Yes—use olive oil instead of butter. You still get luscious flavor, just a little lighter. Finish with extra lemon for that gloss and zing.
How do I know it’s done without overcooking?
Check at 8 minutes, then every minute. It should flake easily with a fork and look opaque. A thermometer at 145°F means you nailed it.
What other fish can I swap in?
Cod, haddock, or swai all play nice. Go 10–14 minutes depending on thickness. If you use salmon, keep the lemon pepper and switch to olive oil; bake 12–15 minutes for medium.
Conclusion
Baked lemon pepper tilapia gives you big flavor with tiny effort—zest, butter, pepper, done. It’s weeknight-friendly, dinner-party-ready, and endlessly riffable. Keep a bag of fillets in the freezer and a lemon in the crisper, and you basically own dinner. Now go make your oven earn its keep.
Loved This Recipe?
If you're looking for more simple, healthy dinners your family will actually eat, grab my FREE 7-Day Easy Dinner Reset. You'll get 7 easy dinner recipes, simple grocery lists, and a done-for-you plan that takes the stress out of mealtime.