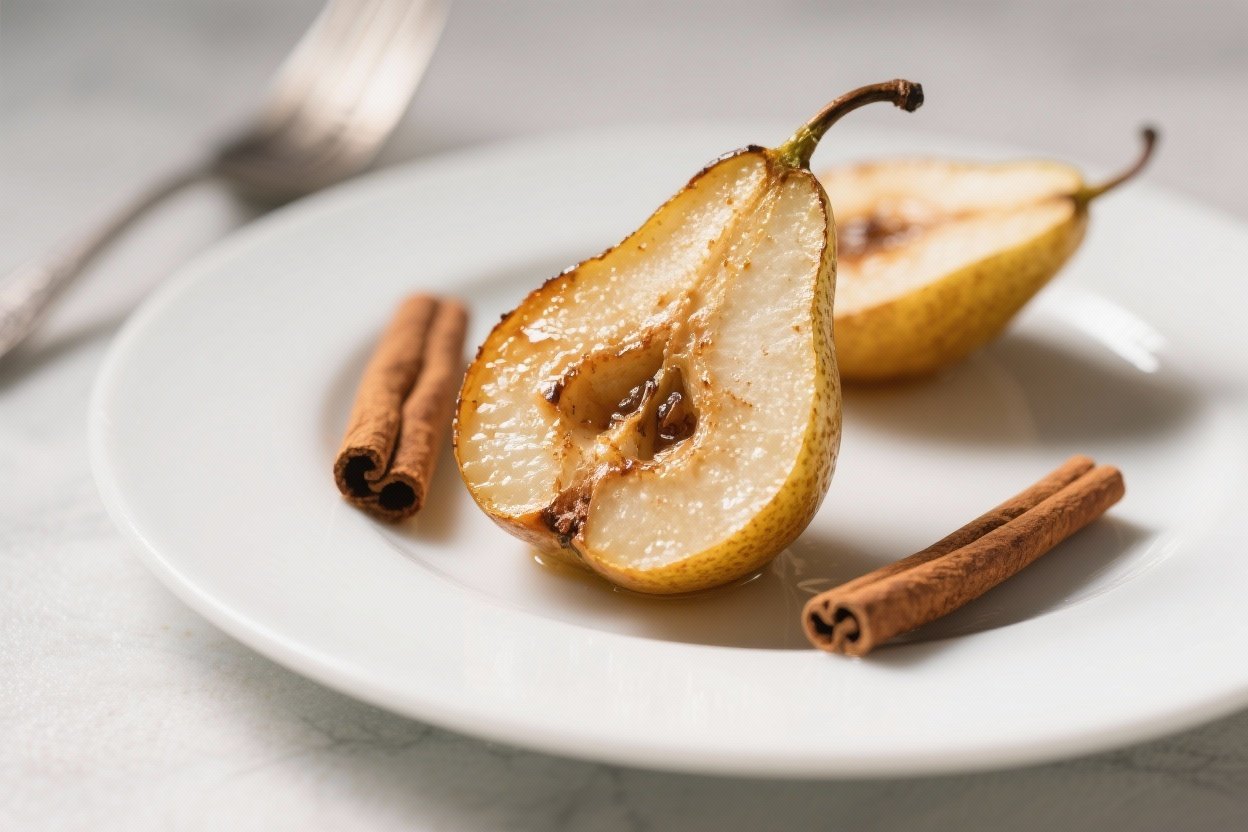
Baked Pears With Cinnamon – A Cozy, Simple Dessert
Baked pears with cinnamon are the kind of dessert that makes your kitchen smell like a warm hug. They’re easy to make, naturally sweet, and feel special without a lot of effort. You don’t need fancy tools or hard-to-find ingredients—just ripe pears, a few pantry staples, and an oven.
This is the kind of recipe you can pull together on a quiet weeknight or serve to guests after dinner. It’s simple, satisfying, and tastes like nostalgia in the best way.
Baked Pears With Cinnamon - A Cozy, Simple Dessert
Ingredients
- 4 ripe but firm pears (Bosc, Anjou, or Bartlett)
- 2 tablespoons melted butter (or coconut oil for dairy-free)
- 2–3 tablespoons maple syrup or honey (adjust to taste)
- 1–1.5 teaspoons ground cinnamon
- 1/4 teaspoon ground nutmeg (optional but nice)
- 1 teaspoon vanilla extract
- Pinch of salt
- 2–3 tablespoons water or apple cider (for the baking dish)
- Optional toppings: chopped walnuts or pecans, granola, Greek yogurt, whipped cream, or vanilla ice cream
Instructions
- Preheat the oven. Set to 375°F (190°C). Lightly butter a baking dish or line it with parchment for easy cleanup.
- Prep the pears. Wash, halve lengthwise, and use a spoon or melon baller to remove the core and stem fibers. Keep the peel on for texture and to help the pears hold their shape.
- Arrange in the dish. Place the pears cut-side up. Add water or apple cider to the dish to create steam and keep the pears moist.
- Mix the drizzle. In a small bowl, stir together melted butter, maple syrup (or honey), cinnamon, nutmeg, vanilla, and a pinch of salt.
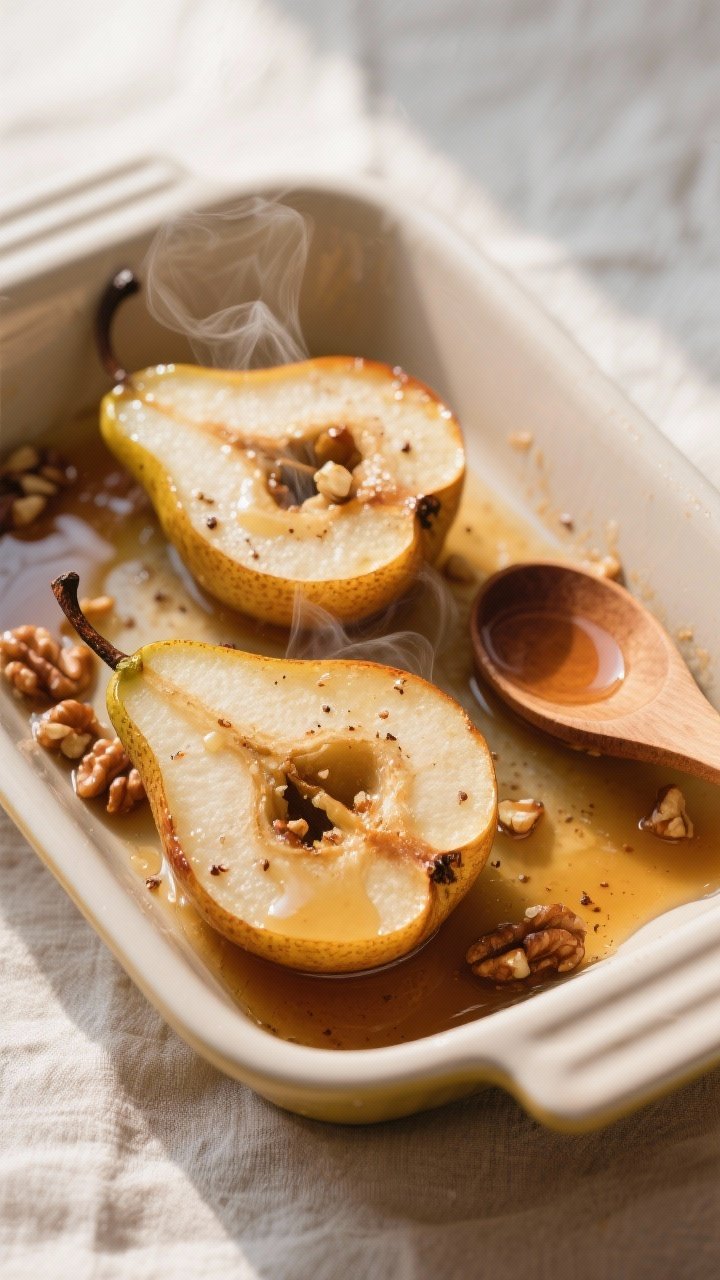
- Brush and fill. Spoon the mixture over the pears, letting some pool in the cored centers. If using nuts, sprinkle them into the centers so they toast as the pears bake.
- Bake. Cook for 25–35 minutes, depending on the size and firmness of your pears. They’re done when a knife slides in easily and the edges are lightly caramelized.
- Baste once or twice. Halfway through, spoon pan juices over the pears for extra flavor and shine.
- Serve warm. Add a dollop of Greek yogurt or a scoop of vanilla ice cream, and drizzle any remaining pan syrup over the top.
Overeating is a pattern. This helps you fix that problem. A quick reset for cravings, snacking, and “I’ll start tomorrow” moments.
Built for busy home cooks who want real-life structure. Simple steps that fit meal prep, family dinners, and late-night snack attacks.
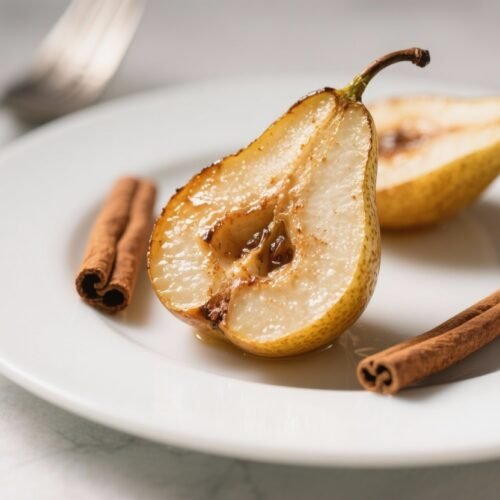
What Makes This Special
This dessert showcases the pear’s natural sweetness, enhanced with a touch of spice and warmth. It’s not heavy or overly sugary, so you can enjoy it without feeling weighed down.
It’s also very flexible: you can scale it up or down, dress it up with toppings, or keep it minimal and wholesome. Best of all, it’s ready with about 10 minutes of prep and the oven does the rest.
Ingredients
- 4 ripe but firm pears (Bosc, Anjou, or Bartlett)
- 2 tablespoons melted butter (or coconut oil for dairy-free)
- 2–3 tablespoons maple syrup or honey (adjust to taste)
- 1–1.5 teaspoons ground cinnamon
- 1/4 teaspoon ground nutmeg (optional but nice)
- 1 teaspoon vanilla extract
- Pinch of salt
- 2–3 tablespoons water or apple cider (for the baking dish)
- Optional toppings: chopped walnuts or pecans, granola, Greek yogurt, whipped cream, or vanilla ice cream
How to Make It

- Preheat the oven. Set to 375°F (190°C). Lightly butter a baking dish or line it with parchment for easy cleanup.
- Prep the pears. Wash, halve lengthwise, and use a spoon or melon baller to remove the core and stem fibers.
Keep the peel on for texture and to help the pears hold their shape.
- Arrange in the dish. Place the pears cut-side up. Add water or apple cider to the dish to create steam and keep the pears moist.
- Mix the drizzle. In a small bowl, stir together melted butter, maple syrup (or honey), cinnamon, nutmeg, vanilla, and a pinch of salt.
- Brush and fill. Spoon the mixture over the pears, letting some pool in the cored centers. If using nuts, sprinkle them into the centers so they toast as the pears bake.
- Bake. Cook for 25–35 minutes, depending on the size and firmness of your pears.
They’re done when a knife slides in easily and the edges are lightly caramelized.
- Baste once or twice. Halfway through, spoon pan juices over the pears for extra flavor and shine.
- Serve warm. Add a dollop of Greek yogurt or a scoop of vanilla ice cream, and drizzle any remaining pan syrup over the top.
Storage Instructions
- Refrigerate: Cool completely, then store in an airtight container for up to 4 days.
- Reheat: Warm in a 300°F (150°C) oven for 10–12 minutes or microwave gently in 20–30 second bursts until heated through.
- Freeze: Not ideal. Pears can turn mushy after freezing, but if needed, freeze in a single layer, then transfer to a bag. Thaw overnight and reheat gently.
- Make-ahead: You can prep and assemble the pears a few hours ahead.
Cover and refrigerate, then bake just before serving.

Why This is Good for You
Pears are rich in fiber, especially in the skin, which supports digestion and helps you feel satisfied. They naturally contain vitamins and antioxidants, and baking them brings out sweetness without needing tons of added sugar. Cinnamon adds warmth and pairs beautifully with fruit while offering its own antioxidant benefits.
If you top your pears with nuts or yogurt, you’ll add healthy fats and protein for a more balanced dessert.
Common Mistakes to Avoid
- Using overripe pears: They’ll collapse in the oven. Choose pears that give slightly when pressed but still feel firm.
- Skipping the liquid in the pan: Without water or cider, the pears can dry out and the syrup may burn.
- Overbaking: The goal is tender, not mushy. Start checking at 25 minutes.
- Not seasoning with a pinch of salt: A little salt sharpens the sweetness and deepens flavor.
- Forgetting to baste: A quick spoon of pan juices makes the pears glossy and more flavorful.
Alternatives
- Sweetener swaps: Use brown sugar, coconut sugar, date syrup, or agave instead of maple or honey.
- Dairy-free: Use coconut oil or a neutral oil instead of butter.
- Spice variations: Try cardamom, ginger, or pumpkin spice.
A tiny pinch of clove goes a long way.
- Citrus lift: Add orange zest to the drizzle, or a squeeze of lemon over the pears before baking.
- Crunch factor: Top with toasted almonds, pistachios, or granola just before serving.
- Savory twist: Drizzle with a little aged balsamic and add a crumble of goat cheese for a cheese-course vibe.
- Alcohol accent: A tablespoon of brandy, bourbon, or rum in the sauce adds depth for adult gatherings.
FAQ
What kind of pears work best?
Bosc and Anjou hold their shape well and have great flavor when baked. Bartletts work too—just reduce the baking time a bit since they soften faster.
Do I need to peel the pears?
No. The skin helps them keep their structure and adds fiber.
If you prefer a softer, more delicate texture, you can peel them, but handle gently.
Can I make this without added sugar?
Yes. Skip the maple or honey and rely on the pears’ sweetness. You can add a splash of apple cider for a little extra natural sweetness.
How do I know when the pears are done?
They’re done when a paring knife slides in with little resistance and the tops look glossy and lightly browned.
They should be tender but not collapsing.
What can I serve with baked pears?
Greek yogurt for a lighter finish, whipped cream or vanilla ice cream for something indulgent, or a sprinkle of toasted nuts for crunch.
Can I bake them whole?
You can, but halving speeds up baking and gives a nice well for toppings. If baking whole, core from the bottom and extend the baking time.
Can I use apples instead?
Absolutely. Use firm apples like Honeycrisp or Granny Smith, and slice thick or halve them.
Baking time will be similar.
How do I make it more caramelized?
Use a little brown sugar in the drizzle and finish the pears under the broiler for 1–2 minutes, watching closely to prevent burning.
Is this good for breakfast?
Yes. Serve warm pears with yogurt, a handful of granola, and a drizzle of nut butter. It’s cozy, filling, and not overly sweet.
Can I cook these in an air fryer?
Yes.
Air fry at 350°F (175°C) for 12–18 minutes, depending on pear size. Check early, and line the basket or use a small baking dish to catch juices.
In Conclusion
Baked pears with cinnamon deliver comfort and elegance with very little effort. They’re adaptable, naturally sweet, and easy to make ahead.
Whether you serve them plain and warm or dressed up with toppings, they bring a cozy, satisfying finish to any meal. Keep this recipe in your back pocket for weeknights, holidays, and everything in between.
Printable Recipe Card
Want just the essential recipe details without scrolling through the article? Get our printable recipe card with just the ingredients and instructions.