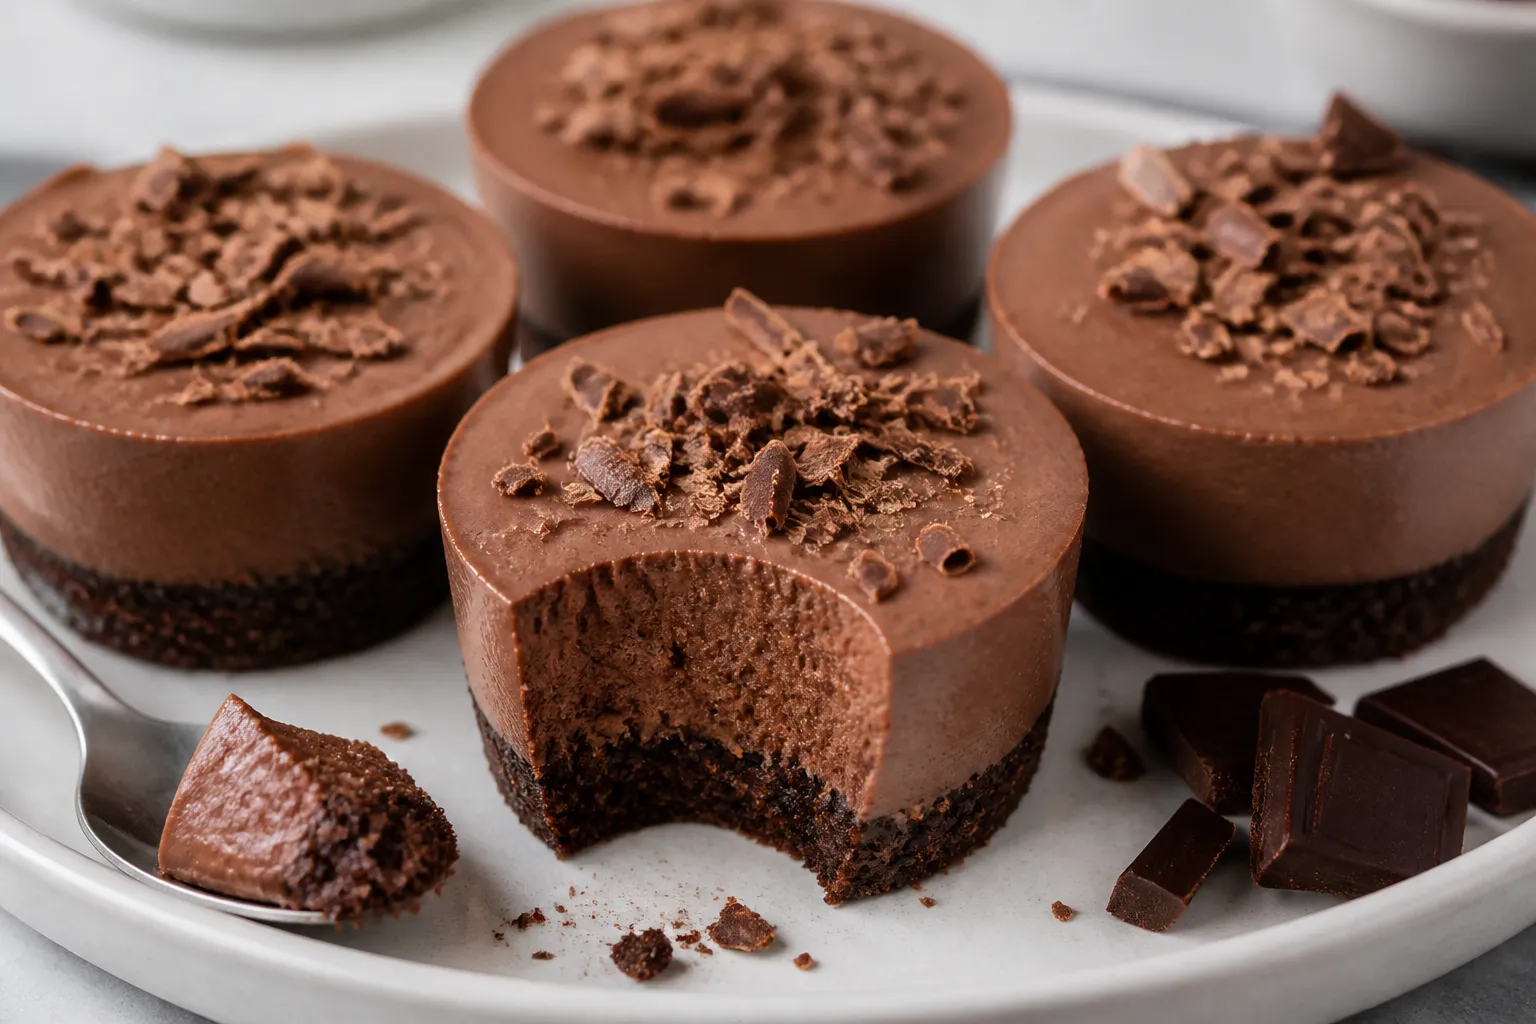
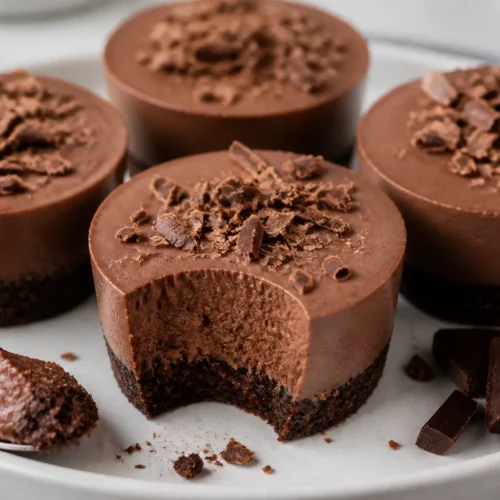
High Protein Chocolate Cheesecake Cups – Rich, Creamy, and Easy
Craving something chocolatey and satisfying that won’t derail your goals? These High Protein Chocolate Cheesecake Cups bring all the creamy, rich flavor of classic cheesecake in a lighter, easier format. They set up in a muffin tin, so portion control is built in, and there’s no need for a springform pan.
Never wonder what's for dinner again.
Get 7 healthy, family-friendly dinners complete with recipes, grocery lists, and simple meal plans delivered straight to your inbox.
The texture is smooth, the chocolate is bold, and the protein keeps you full longer. They’re perfect for meal prep, sharing, or keeping on hand for a smart dessert all week.
High Protein Chocolate Cheesecake Cups - Rich, Creamy, and Easy
Ingredients
- Crust 1 cup chocolate graham cracker crumbs or chocolate cookie crumbs
- 2 tablespoons unsweetened cocoa powder
- 2 tablespoons granulated sweetener (sugar, coconut sugar, or zero-calorie blend)
- 3 tablespoons melted coconut oil or unsalted butter
- Pinch of salt
- Filling 8 ounces light cream cheese, softened to room temperature
- 1 cup plain nonfat or 2% Greek yogurt
- 1/2 cup chocolate whey or casein protein powder (or a blend)
- 1/3 cup cocoa powder (Dutch-processed if you like deeper flavor)
- 1/3–1/2 cup granulated sweetener to taste (sugar, allulose, erythritol blend)
- 2 large eggs, room temperature
- 2 teaspoons vanilla extract
- 1/4 teaspoon fine salt
- 1–2 tablespoons milk of choice, only if needed to thin
- Optional Toppings Greek yogurt whipped topping or light whipped cream
- Fresh berries or sliced strawberries
- Shaved dark chocolate or mini chocolate chips
- A sprinkle of flaky sea salt
- Tools 12-cup muffin tin and paper liners
- Mixing bowls, electric hand mixer or whisk
- Rubber spatula
- Measuring cups and spoons
Instructions
- Prep the pan. Line a 12-cup muffin tin with paper liners. Preheat your oven to 325°F (165°C). This slightly lower heat helps the cups bake gently and stay creamy.
- Make the crust. In a bowl, combine chocolate crumbs, cocoa, sweetener, melted coconut oil or butter, and a pinch of salt. Stir until the mixture looks like damp sand and clumps when pressed.
- Press and par-bake. Divide the crust mixture evenly among the liners (about 1 heaping tablespoon each). Press firmly with the back of a spoon. Bake 5–6 minutes to set, then cool while you make the filling.
- Beat the cream cheese. In a large bowl, beat the softened cream cheese until very smooth, about 1 minute. Scrape the bowl well. Smooth cream cheese prevents lumps later.
- Add the yogurt, sweetener, and vanilla. Mix in Greek yogurt, sweetener, vanilla, and salt until silky. Taste and adjust sweetness now—protein and cocoa can mute sweetness slightly.
- Blend in cocoa and protein powder. Add cocoa and chocolate protein powder. Mix on low just until combined. If the batter seems too thick, add 1–2 tablespoons milk to loosen. Avoid overmixing to keep it creamy.
- Beat in eggs. Add eggs one at a time, mixing on low until just incorporated. Don’t whip in too much air, or your cheesecakes can puff and crack.
- Fill the cups. Spoon the filling over crusts, filling each liner almost to the top. Smooth the surface with the back of a spoon.
- Bake gently. Bake at 325°F (165°C) for 14–18 minutes. They’re done when edges are set but centers still wobble slightly. A little jiggle is perfect.
- Cool and chill. Let the cups cool in the pan for 30 minutes, then transfer to the fridge. Chill at least 3 hours, preferably overnight, to fully set and develop flavor.
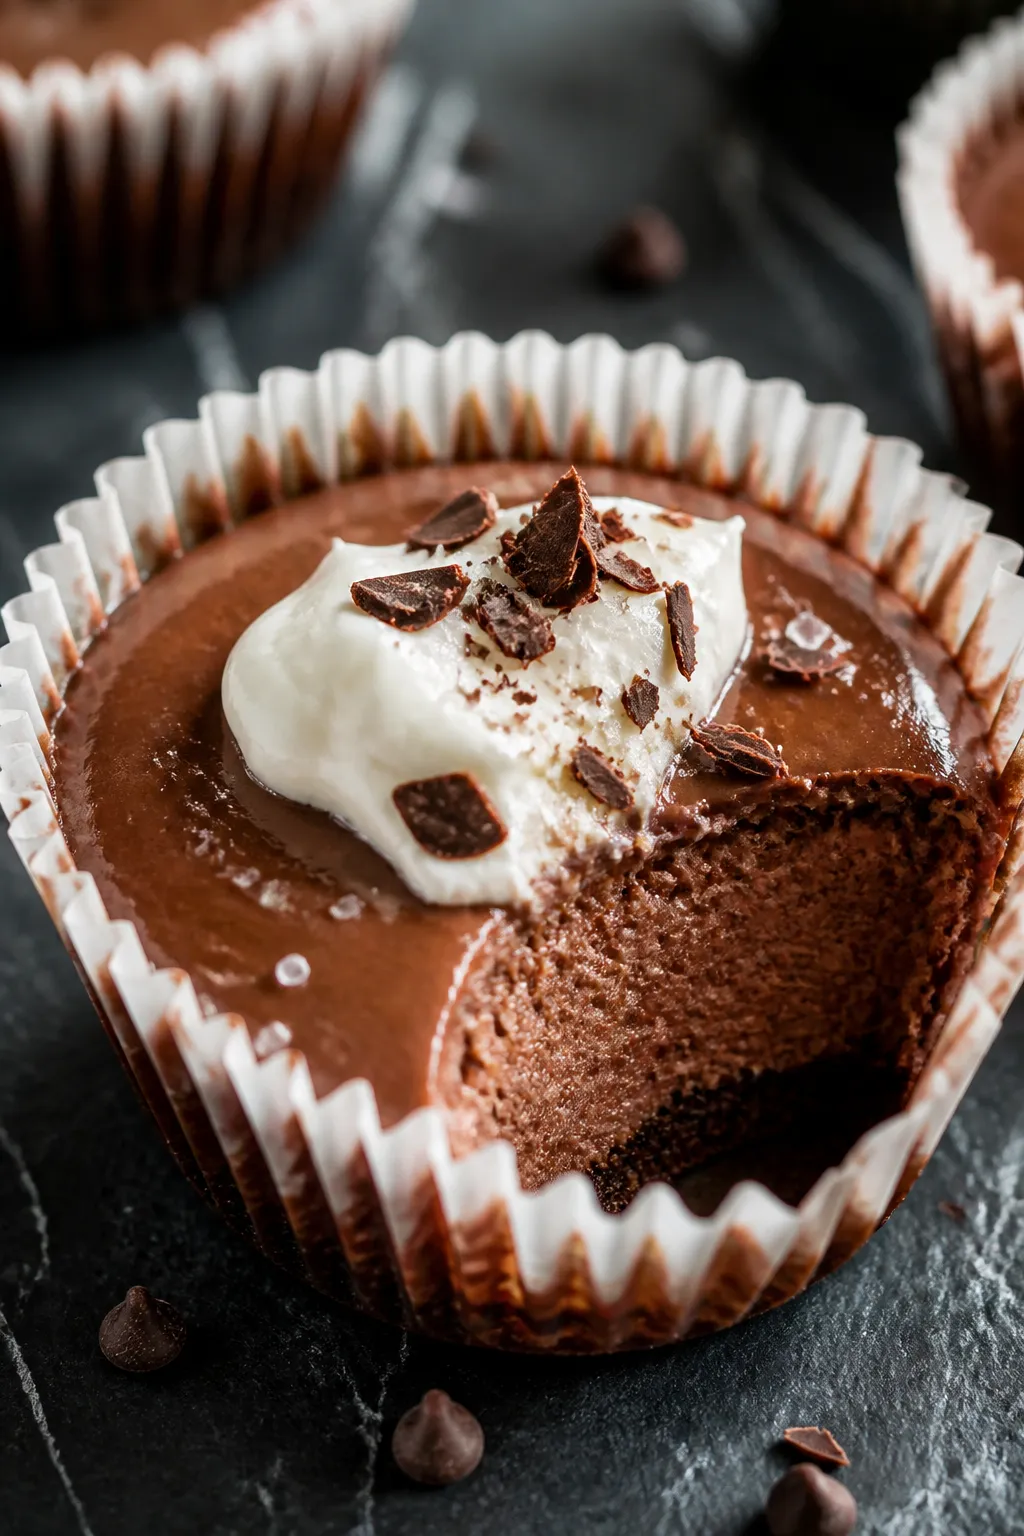
- Top and serve. Add a dollop of whipped topping, berries, or a sprinkle of dark chocolate. Enjoy straight from the fridge for the best texture.
What Makes This Special
These cheesecake cups balance taste and nutrition without feeling like a compromise. You get real cheesecake flavor with a velvety chocolate base, but they lean on Greek yogurt and protein powder for a boost without heavy cream.
The single-serve size makes them handy for snacks or post-workout treats. Plus, they’re quick to assemble and bake faster than a traditional cheesecake.
What You’ll Need
- Crust
- 1 cup chocolate graham cracker crumbs or chocolate cookie crumbs
- 2 tablespoons unsweetened cocoa powder
- 2 tablespoons granulated sweetener (sugar, coconut sugar, or zero-calorie blend)
- 3 tablespoons melted coconut oil or unsalted butter
- Pinch of salt
- Filling
- 8 ounces light cream cheese, softened to room temperature
- 1 cup plain nonfat or 2% Greek yogurt
- 1/2 cup chocolate whey or casein protein powder (or a blend)
- 1/3 cup cocoa powder (Dutch-processed if you like deeper flavor)
- 1/3–1/2 cup granulated sweetener to taste (sugar, allulose, erythritol blend)
- 2 large eggs, room temperature
- 2 teaspoons vanilla extract
- 1/4 teaspoon fine salt
- 1–2 tablespoons milk of choice, only if needed to thin
- Optional Toppings
- Greek yogurt whipped topping or light whipped cream
- Fresh berries or sliced strawberries
- Shaved dark chocolate or mini chocolate chips
- A sprinkle of flaky sea salt
- Tools
- 12-cup muffin tin and paper liners
- Mixing bowls, electric hand mixer or whisk
- Rubber spatula
- Measuring cups and spoons
How to Make It

- Prep the pan. Line a 12-cup muffin tin with paper liners. Preheat your oven to 325°F (165°C).
This slightly lower heat helps the cups bake gently and stay creamy.
- Make the crust. In a bowl, combine chocolate crumbs, cocoa, sweetener, melted coconut oil or butter, and a pinch of salt. Stir until the mixture looks like damp sand and clumps when pressed.
- Press and par-bake. Divide the crust mixture evenly among the liners (about 1 heaping tablespoon each). Press firmly with the back of a spoon.
Bake 5–6 minutes to set, then cool while you make the filling.
- Beat the cream cheese. In a large bowl, beat the softened cream cheese until very smooth, about 1 minute. Scrape the bowl well. Smooth cream cheese prevents lumps later.
- Add the yogurt, sweetener, and vanilla. Mix in Greek yogurt, sweetener, vanilla, and salt until silky.
Taste and adjust sweetness now—protein and cocoa can mute sweetness slightly.
- Blend in cocoa and protein powder. Add cocoa and chocolate protein powder. Mix on low just until combined. If the batter seems too thick, add 1–2 tablespoons milk to loosen.
Avoid overmixing to keep it creamy.
- Beat in eggs. Add eggs one at a time, mixing on low until just incorporated. Don’t whip in too much air, or your cheesecakes can puff and crack.
- Fill the cups. Spoon the filling over crusts, filling each liner almost to the top. Smooth the surface with the back of a spoon.
- Bake gently. Bake at 325°F (165°C) for 14–18 minutes.
They’re done when edges are set but centers still wobble slightly. A little jiggle is perfect.
- Cool and chill. Let the cups cool in the pan for 30 minutes, then transfer to the fridge. Chill at least 3 hours, preferably overnight, to fully set and develop flavor.
- Top and serve. Add a dollop of whipped topping, berries, or a sprinkle of dark chocolate.
Enjoy straight from the fridge for the best texture.
Keeping It Fresh
Store cheesecake cups covered in the fridge for up to 5 days. Keep toppings separate until serving so the surface stays smooth. For longer storage, freeze the plain cups (without toppings) on a sheet pan until firm, then move to an airtight container.
They keep well for up to 2 months. Thaw in the fridge overnight or at room temperature for 30–45 minutes.
Why This is Good for You
These cups pack a solid protein boost from Greek yogurt and protein powder. That means better satiety and a steadier energy curve compared to sugary desserts.
Using light cream cheese trims the fat without losing that cheesecake feel. The cocoa delivers deep chocolate flavor with antioxidants and minimal added sugar. Portion-controlled cups also help you enjoy dessert mindfully without guessing at serving sizes.
Common Mistakes to Avoid
- Using cold ingredients. Cold cream cheese or eggs cause lumps.
Let them come to room temp for a silky batter.
- Overmixing the filling. Too much air leads to puffing and cracks. Mix on low and stop when just combined.
- Overbaking. Look for set edges and a jiggly center. They’ll firm up as they cool.
If they look fully set in the oven, they’re probably overdone.
- Skipping the chill. Cheesecake needs time to set and mellow. Rushing this step leads to a loose, less creamy texture.
- Heavy, oily crust. Measure fat carefully. Too much butter or oil makes the crust greasy and causes seepage.
- Wrong protein powder. Some plant proteins can turn gritty.
If using plant-based powder, choose a fine, smooth blend and consider adding 1–2 extra tablespoons yogurt for moisture.
Recipe Variations
- Mocha Swirl: Stir 1–2 teaspoons instant espresso into the filling and swirl in 2 tablespoons melted dark chocolate before baking.
- Salted Caramel Crunch: Use a light caramel drizzle and a pinch of flaky salt after chilling. Add a few cacao nibs for crunch.
- Peanut Butter Chocolate: Drop 1 teaspoon warmed natural peanut butter onto the top of each cup and swirl with a toothpick before baking.
- Mint Chocolate: Add 1/2 teaspoon peppermint extract to the filling and top with shaved dark chocolate.
- Cookie Crust Twist: Swap crumbs for crushed chocolate rice cakes or high-fiber cereal to lower calories while keeping crunch.
- Plant-Based Option: Use dairy-free cream cheese, a thick unsweetened coconut yogurt, and a smooth chocolate plant protein. Replace eggs with 2 tablespoons cornstarch plus 2 tablespoons dairy-free milk.
FAQ
Can I make these without protein powder?
Need More Easy Dinner Ideas?
Get my FREE 7-Day Easy Dinner Reset and enjoy a full week of healthy dinners without the meal-planning stress.
Yes.
Replace the protein powder with 1/4 cup additional cocoa plus 1/4 cup powdered milk or almond flour for body, and increase sweetener slightly to taste. The protein content will be lower, but the texture stays creamy.
Why did my cheesecake cups crack?
Cracks usually come from overmixing, overbaking, or sudden temperature changes. Mix on low, bake just until jiggly in the center, and let them cool gradually before refrigerating.
What sweetener works best?
Allulose and erythritol blends work well and stay smooth.
Regular sugar tastes great and browns nicely. Pure stevia drops can turn bitter; if using, pair with a bulk sweetener for better flavor.
How do I know when they’re done?
Look for edges that are set and centers that wobble like soft gelatin. If the tops are puffed and dry, they’re overbaked.
Start checking at 14 minutes and add time in short increments.
Can I skip the crust?
Absolutely. Spray the liners lightly and pour the filling directly in. Bake time may be 1–2 minutes shorter.
The result is a lighter, mousse-like cheesecake cup.
What’s the best protein powder for baking?
A casein or whey-casein blend stays creamy and resists drying out. Pure whey isolate can be a bit drier but still works. Choose chocolate flavor for richer taste and adjust sweetness to match the brand.
How can I make them gluten-free?
Use certified gluten-free chocolate cookie crumbs or grind gluten-free oats into a fine meal and mix with cocoa and butter.
Ensure your protein powder is gluten-free as well.
Can I double the recipe?
Yes. Bake in two muffin tins or in batches. Keep the same oven temperature and timing, rotating pans halfway for even baking.
Do they freeze well with toppings?
It’s better to freeze them plain.
Toppings can weep or turn icy. Add whipped cream or berries after thawing for the best texture.
How much protein is in each cup?
It depends on your protein powder and yogurt. On average, each cup lands around 10–14 grams of protein when using chocolate whey-casein blend and Greek yogurt.
Check your labels for a precise count.
Wrapping Up
High Protein Chocolate Cheesecake Cups give you the best of both worlds—indulgent flavor and a smart macro profile. They’re simple to prep, quick to bake, and easy to store, making them a practical dessert for busy weeks. Keep a batch in the fridge or freezer, and you’ll have a go-to treat that actually supports your goals.
When healthy tastes this good, sticking to your plan gets a whole lot easier.
Printable Recipe Card
Want just the essential recipe details without scrolling through the article? Get our printable recipe card with just the ingredients and instructions.
Loved This Recipe?
If you're looking for more simple, healthy dinners your family will actually eat, grab my FREE 7-Day Easy Dinner Reset. You'll get 7 easy dinner recipes, simple grocery lists, and a done-for-you plan that takes the stress out of mealtime.