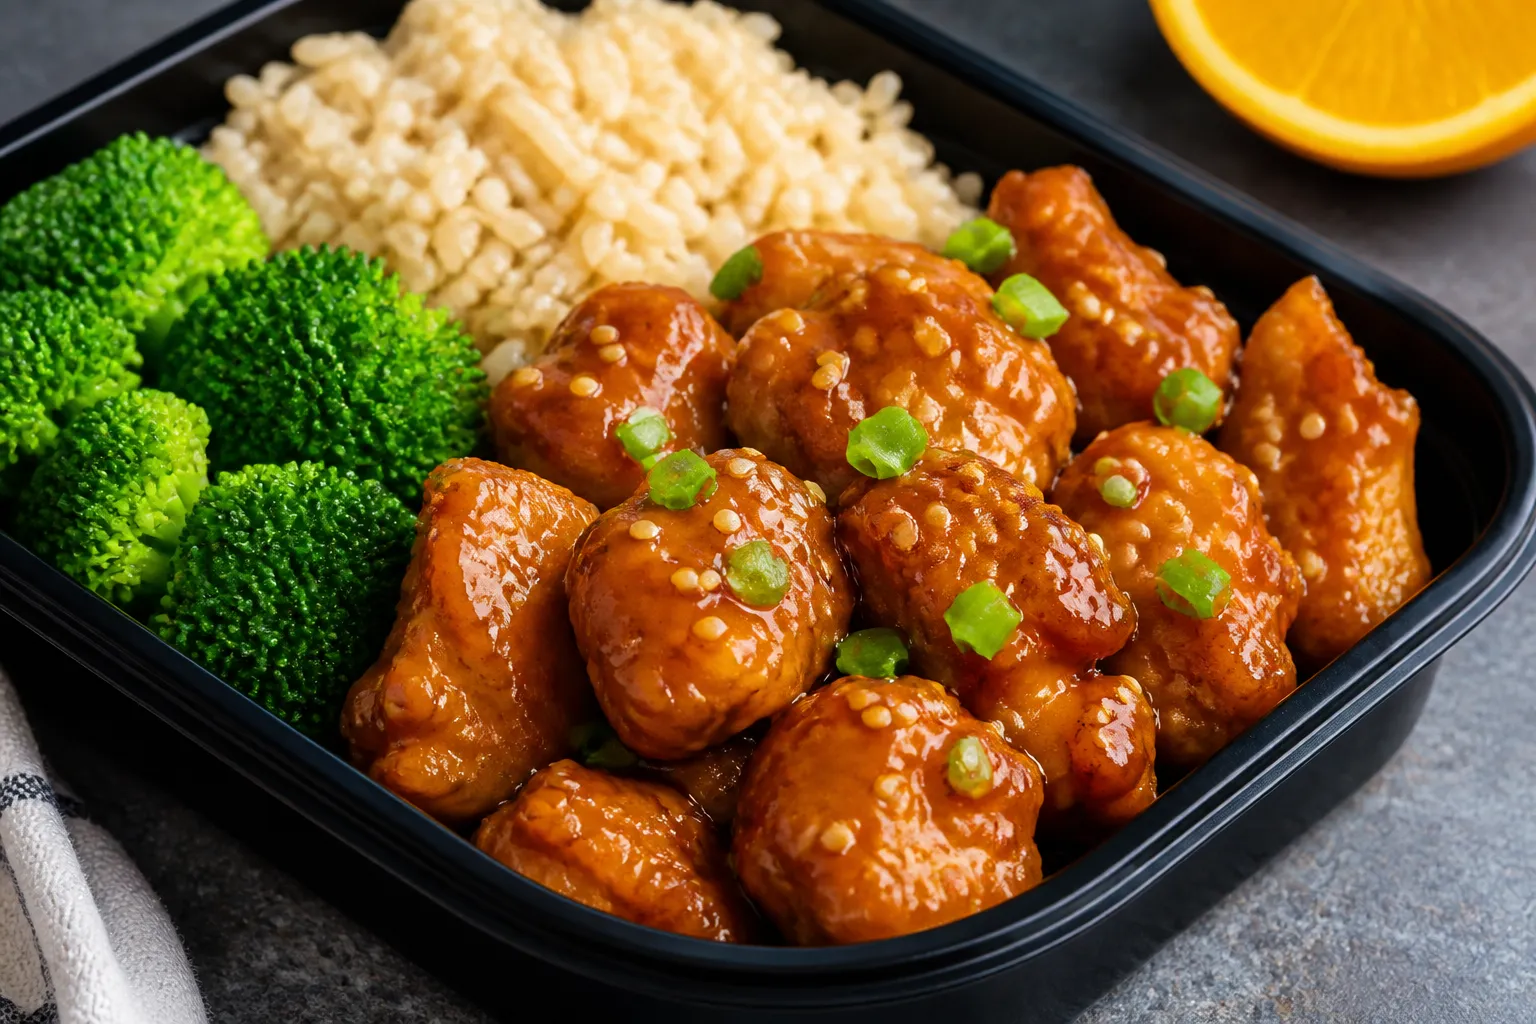
Low Fat Orange Chicken Meal Prep – Bright, Flavorful, and Ready for the Week
If you love the sweet-tangy taste of orange chicken but want something lighter, this version hits the spot. It has all the citrusy flavor you expect, but without the heavy oil or deep-frying. The sauce is fresh, clean, and just sticky enough to coat tender bites of chicken.
Never wonder what's for dinner again.
Get 7 healthy, family-friendly dinners complete with recipes, grocery lists, and simple meal plans delivered straight to your inbox.
It meal preps beautifully, reheats well, and pairs with simple sides you probably already have. It’s a reliable, feel-good option for busy weeks when you still want something tasty.
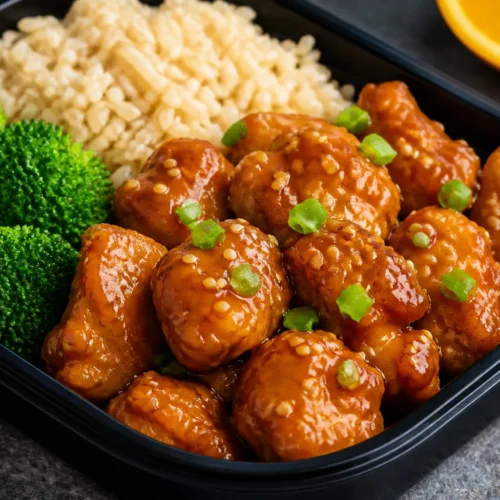
Low Fat Orange Chicken Meal Prep - Bright, Flavorful, and Ready for the Week
Ingredients
- Chicken: 1.5–2 pounds boneless, skinless chicken breast, cut into 1-inch pieces
- Salt and pepper: For seasoning the chicken
- Oil: 1–2 teaspoons neutral oil (avocado or light olive oil)
- Garlic: 3 cloves, minced
- Ginger: 1 tablespoon fresh, grated (or 1 teaspoon ground in a pinch)
- Red pepper flakes: 1/4–1/2 teaspoon, to taste (optional)
- Scallions: 3, sliced (white and green parts separated)
- Orange zest: Zest of 1 large orange
- Orange juice: 3/4 cup freshly squeezed (about 2 large oranges)
- Low-sodium soy sauce or tamari: 3 tablespoons
- Rice vinegar: 1 tablespoon (or apple cider vinegar)
- Honey or maple syrup: 1.5–2 tablespoons
- Cornstarch: 1.5 tablespoons, plus 1 tablespoon water (slurry)
- Toasted sesame oil: 1/2 teaspoon (optional, for aroma)
- Sesame seeds: 1 teaspoon for garnish (optional)
- Sides for meal prep: 3–4 cups cooked brown rice or quinoa, and 4 cups steamed broccoli or snap peas
Instructions
- Prep the chicken: Pat chicken dry, season with salt and pepper. This helps browning and keeps the meat juicy.
- Make the sauce base: In a bowl, whisk orange juice, orange zest, soy sauce, rice vinegar, and honey. Taste and adjust sweetness or salt as needed.
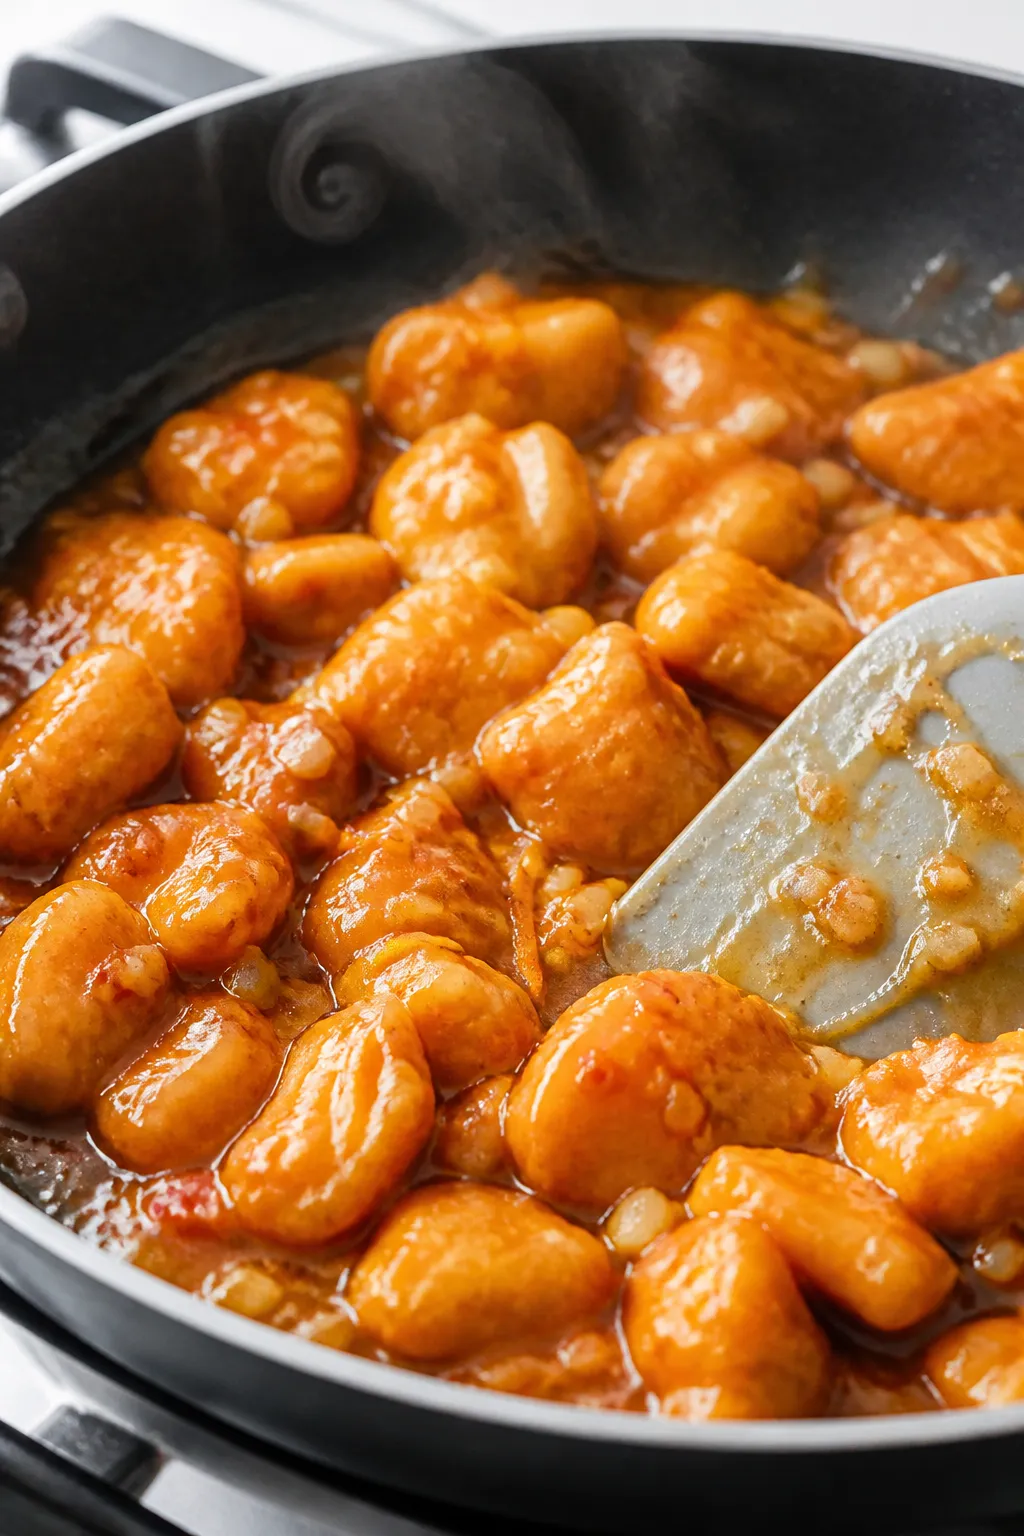
- Cook the chicken: Heat 1–2 teaspoons oil in a large nonstick skillet over medium-high. Add chicken in a single layer. Sear 3–4 minutes, flip, and cook another 3–4 minutes until just cooked through. Transfer to a plate.
- Sauté aromatics: In the same pan, reduce heat to medium. Add a splash of water if the pan is dry. Stir in garlic, ginger, red pepper flakes, and the white parts of the scallions. Cook 30–45 seconds until fragrant.
- Build the sauce: Pour in the orange mixture. Bring to a gentle simmer.
- Thicken: Stir cornstarch with 1 tablespoon water to make a slurry. Whisk into the simmering sauce. Cook 1–2 minutes until glossy and slightly thick.
- Combine: Return chicken (and any juices) to the pan. Stir to coat. Simmer 1–2 minutes to heat through. Off the heat, add sesame oil if using.
- Steam your veg and cook your grain: While the sauce thickens, steam broccoli or snap peas until crisp-tender. Reheat cooked brown rice or cook quinoa if needed.
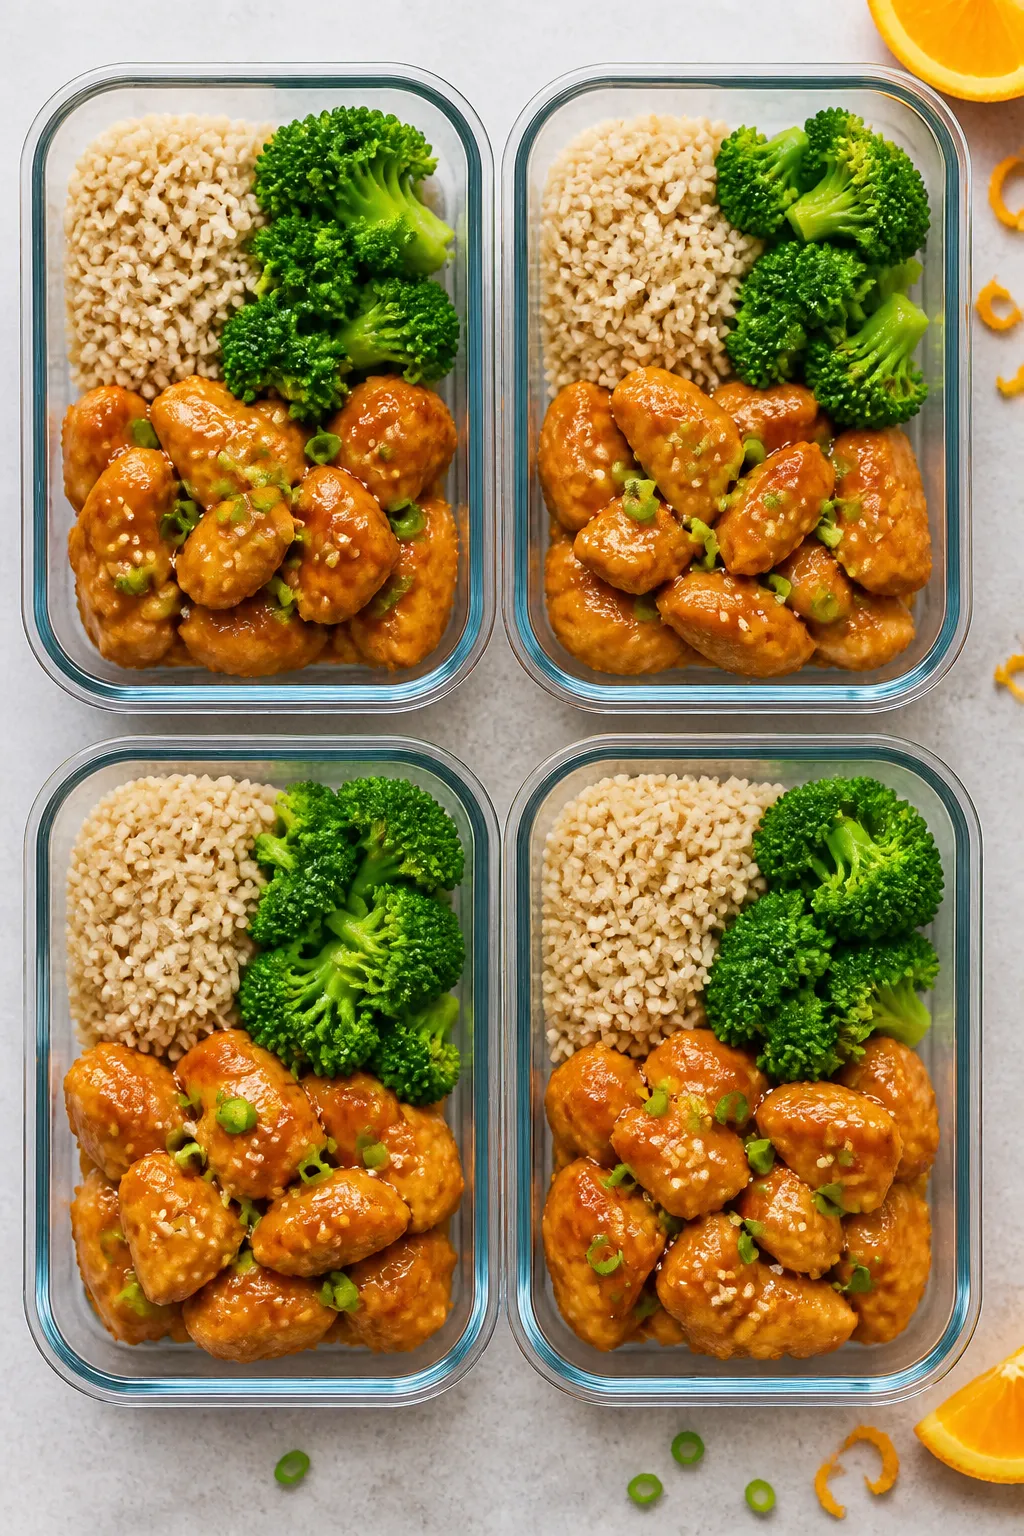
- Assemble meal prep bowls: Divide rice/quinoa and veggies among 4 containers. Spoon orange chicken on top. Sprinkle with green scallions and sesame seeds.
- Cool before sealing: Let containers sit 15–20 minutes so condensation doesn’t make everything soggy. Then seal.
What Makes This Special
- Light but satisfying: Lean chicken breast, minimal oil, and a bright sauce keep calories and fat low, without sacrificing flavor.
- Meal-prep friendly: The sauce clings to the chicken and stays glossy after reheating, so it tastes fresh for days.
- Balanced flavors: Fresh orange juice and zest bring zing, while a touch of honey and soy rounds everything out.
- Quick to make: From start to finish, you’re looking at about 30–35 minutes.
- Flexible sides: Serve with brown rice, quinoa, cauliflower rice, or steamed veggies to fit your goals.
What You’ll Need
- Chicken: 1.5–2 pounds boneless, skinless chicken breast, cut into 1-inch pieces
- Salt and pepper: For seasoning the chicken
- Oil: 1–2 teaspoons neutral oil (avocado or light olive oil)
- Garlic: 3 cloves, minced
- Ginger: 1 tablespoon fresh, grated (or 1 teaspoon ground in a pinch)
- Red pepper flakes: 1/4–1/2 teaspoon, to taste (optional)
- Scallions: 3, sliced (white and green parts separated)
- Orange zest: Zest of 1 large orange
- Orange juice: 3/4 cup freshly squeezed (about 2 large oranges)
- Low-sodium soy sauce or tamari: 3 tablespoons
- Rice vinegar: 1 tablespoon (or apple cider vinegar)
- Honey or maple syrup: 1.5–2 tablespoons
- Cornstarch: 1.5 tablespoons, plus 1 tablespoon water (slurry)
- Toasted sesame oil: 1/2 teaspoon (optional, for aroma)
- Sesame seeds: 1 teaspoon for garnish (optional)
- Sides for meal prep: 3–4 cups cooked brown rice or quinoa, and 4 cups steamed broccoli or snap peas
Instructions
- Prep the chicken: Pat chicken dry, season with salt and pepper. This helps browning and keeps the meat juicy.
- Make the sauce base: In a bowl, whisk orange juice, orange zest, soy sauce, rice vinegar, and honey.
Taste and adjust sweetness or salt as needed.
- Cook the chicken: Heat 1–2 teaspoons oil in a large nonstick skillet over medium-high. Add chicken in a single layer. Sear 3–4 minutes, flip, and cook another 3–4 minutes until just cooked through.
Transfer to a plate.
- Sauté aromatics: In the same pan, reduce heat to medium. Add a splash of water if the pan is dry. Stir in garlic, ginger, red pepper flakes, and the white parts of the scallions.
Cook 30–45 seconds until fragrant.
- Build the sauce: Pour in the orange mixture. Bring to a gentle simmer.
- Thicken: Stir cornstarch with 1 tablespoon water to make a slurry. Whisk into the simmering sauce.
Cook 1–2 minutes until glossy and slightly thick.
- Combine: Return chicken (and any juices) to the pan. Stir to coat. Simmer 1–2 minutes to heat through.
Off the heat, add sesame oil if using.
- Steam your veg and cook your grain: While the sauce thickens, steam broccoli or snap peas until crisp-tender. Reheat cooked brown rice or cook quinoa if needed.
- Assemble meal prep bowls: Divide rice/quinoa and veggies among 4 containers. Spoon orange chicken on top.
Sprinkle with green scallions and sesame seeds.
- Cool before sealing: Let containers sit 15–20 minutes so condensation doesn’t make everything soggy. Then seal.
How to Store
- Refrigerator: Store in airtight containers for 3–4 days.
- Freezer: Freeze for up to 2 months. For best texture, freeze chicken and sauce separately from rice and veggies.
- Reheating: Microwave 1.5–3 minutes, stirring halfway.
Add a splash of water to loosen the sauce if it thickens too much.
- Batch tip: Double the sauce and freeze half in a small bag. Future you will thank you.
Health Benefits
- Lean protein: Chicken breast supports muscle repair and helps keep you full longer.
- Lower fat: Minimal oil and no deep-frying cut down on saturated fat while keeping flavor high.
- Vitamin C boost: Fresh orange juice and zest provide vitamin C for immune support and collagen production.
- Smarter sodium: Using low-sodium soy sauce keeps salt in check without losing savory depth.
- Fiber from sides: Pairing with brown rice or quinoa and veggies adds fiber for steady energy and better digestion.
Common Mistakes to Avoid
- Overcrowding the pan: This steams the chicken and prevents browning. Cook in batches if needed.
- Skipping the slurry: Adding dry cornstarch directly will clump.
Always mix with cold water first.
- Boiling the sauce hard: A rolling boil can make it gummy. Keep it at a gentle simmer for a smooth, glossy finish.
- Overcooking the chicken: Pull it as soon as it’s just cooked through. It will finish warming in the sauce.
- Using bottled juice with additives: Fresh juice tastes brighter and has no added sugar or flavors.
Alternatives
- Protein swaps: Use chicken thighs (still trim fat), extra-firm tofu (pressed and pan-seared), or shrimp (cook quickly to avoid rubbery texture).
- Gluten-free: Choose tamari or coconut aminos, and ensure your cornstarch and vinegar are certified gluten-free.
- No cornstarch: Use arrowroot or tapioca starch.
Add off the heat and avoid high simmer to prevent a stringy texture.
- No added sugar: Replace honey with a non-nutritive sweetener that measures like sugar, or use extra orange zest and a splash of pineapple juice for natural sweetness.
- Extra veggies: Add bell peppers, snow peas, carrots, or bok choy. Stir-fry them after the aromatics and before adding the sauce.
- Lower carb: Serve over cauliflower rice or steamed greens instead of grains.
FAQ
Need More Easy Dinner Ideas?
Get my FREE 7-Day Easy Dinner Reset and enjoy a full week of healthy dinners without the meal-planning stress.
Can I make the sauce in advance?
Yes. Make the sauce (without the slurry), store it for up to 4 days, then reheat and thicken with the cornstarch slurry right before serving.
How do I keep the chicken tender?
Cut evenly, don’t overcook, and let it rest briefly before tossing back into the sauce.
A quick marinade with a teaspoon of soy and a teaspoon of cornstarch can also help with tenderness.
Is this spicy?
Only slightly, depending on how much red pepper you use. For zero heat, skip it. For more heat, add a few dashes of hot sauce or sliced fresh chili.
Can I use bottled orange juice?
You can, but choose 100% juice with no added sugar.
Freshly squeezed gives a brighter, more natural citrus flavor.
What if my sauce is too thin?
Simmer another minute or add a bit more slurry (1 teaspoon cornstarch mixed with 1 teaspoon water). Stir constantly to avoid lumps.
What if my sauce is too thick?
Whisk in a splash of water or orange juice until it loosens to your liking, then taste and adjust seasoning.
How many servings does this make?
Typically 4 meal prep portions, depending on your side choices and appetite.
Can I air fry the chicken?
Yes. Toss lightly with oil, air fry at 400°F (205°C) for 8–10 minutes, shaking halfway, then toss in the sauce on the stovetop.
Wrapping Up
This Low Fat Orange Chicken Meal Prep brings takeout flavor into a lighter, weekday-friendly format.
It’s bright, satisfying, and easy to customize with your favorite grains and veggies. Cook once, portion it out, and enjoy a high-protein, fresh-tasting lunch or dinner for days. When you want something simple that still feels special, this one earns a spot in the rotation.
Printable Recipe Card
Want just the essential recipe details without scrolling through the article? Get our printable recipe card with just the ingredients and instructions.
Loved This Recipe?
If you're looking for more simple, healthy dinners your family will actually eat, grab my FREE 7-Day Easy Dinner Reset. You'll get 7 easy dinner recipes, simple grocery lists, and a done-for-you plan that takes the stress out of mealtime.