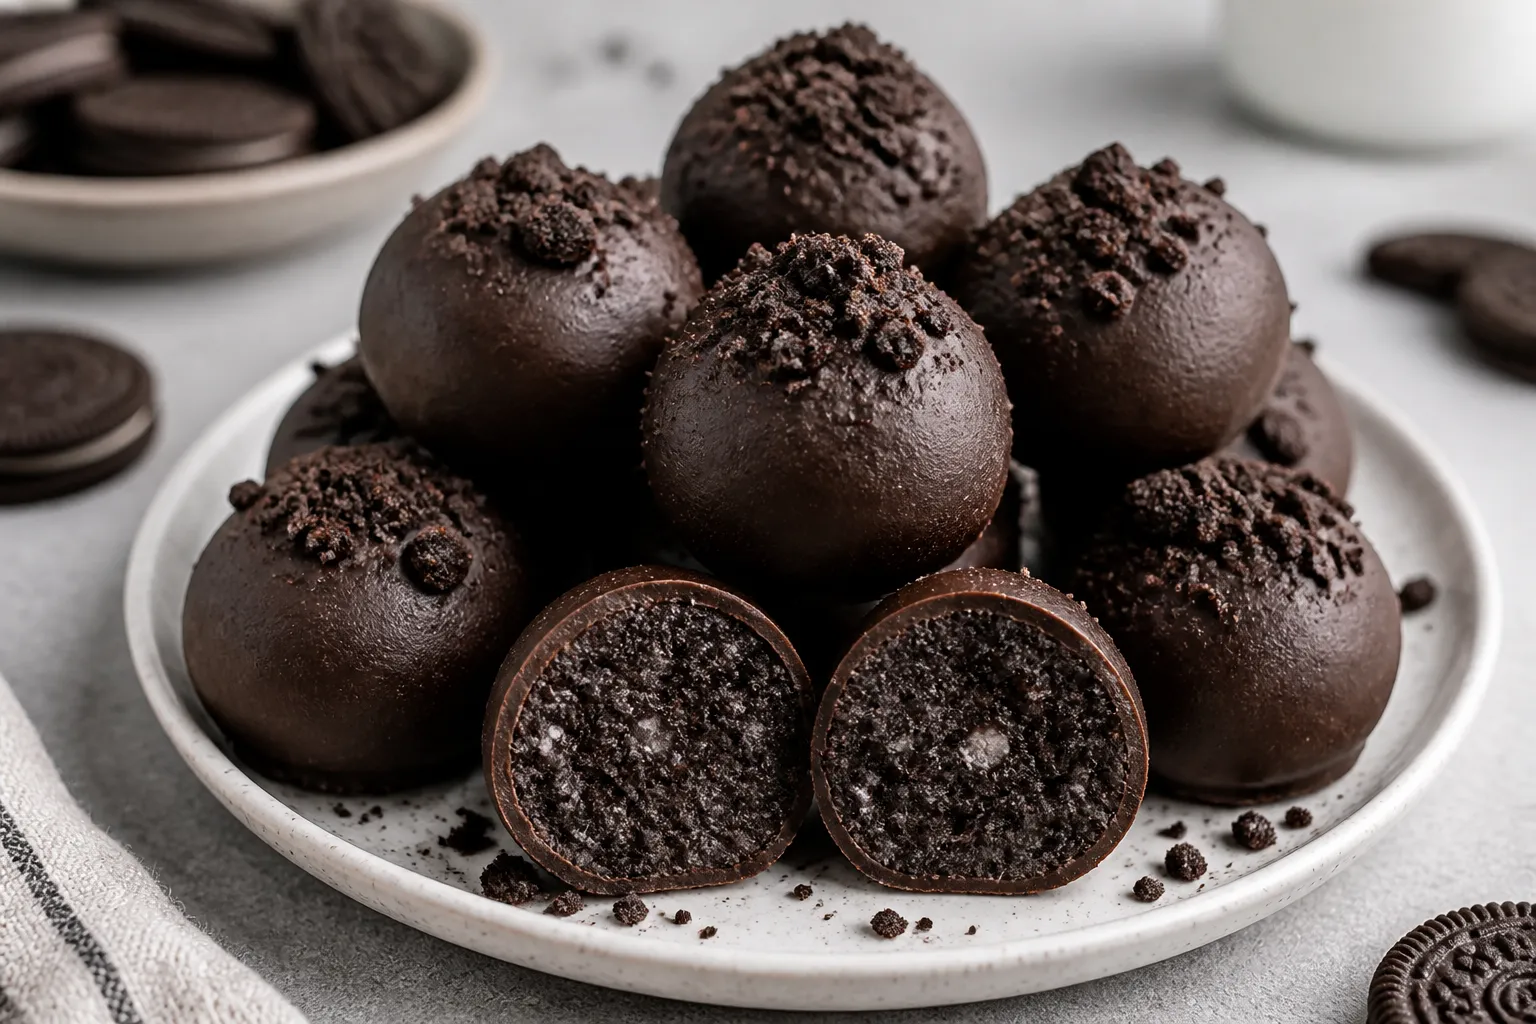
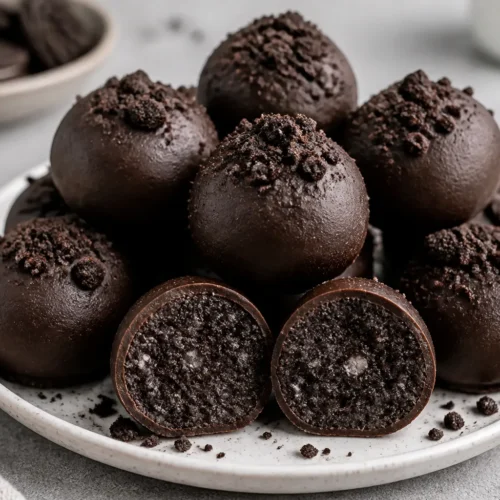
High Protein Oreo Protein Balls – A Quick, No-Bake Snack
These Oreo-inspired protein balls taste like dessert but work like a smart snack. They’re quick to make, require no baking, and pack solid protein to keep you full between meals. You can whip up a batch in 15 minutes with pantry staples and a blender or food processor.
Never wonder what's for dinner again.
Get 7 healthy, family-friendly dinners complete with recipes, grocery lists, and simple meal plans delivered straight to your inbox.
They’re also kid-friendly, office-friendly, and gym-bag-ready. If you like cookies-and-cream anything, you’ll love these.
High Protein Oreo Protein Balls - A Quick, No-Bake Snack
Ingredients
- Oreo cookies (6–8 cookies) – Crushed into fine crumbs for classic flavor.
- Vanilla or cookies-and-cream protein powder (1 cup) – Whey, casein, or a plant-based blend.
- Rolled oats (1 cup) – Regular or quick oats for structure and fiber.
- Natural peanut butter or almond butter (1/2 cup) – Acts as a binder and adds healthy fats.
- Plain Greek yogurt (1/3 cup) – Adds creaminess and moisture. Use dairy-free yogurt if needed.
- Honey or maple syrup (2–3 tablespoons) – Sweetens and helps bind.
- Vanilla extract (1 teaspoon) – Rounds out the flavor.
- Pinch of fine sea salt – Balances sweetness.
- Mini dark chocolate chips (optional, 2–3 tablespoons) – Extra chocolate punch.
- Milk of choice (1–3 tablespoons as needed) – Only if the mixture is too dry.
Instructions
- Crush the Oreos. Add Oreos to a food processor and pulse into fine crumbs. If you don’t have a processor, seal them in a zip-top bag and crush with a rolling pin until sandy.
- Blend the dry base. In the same processor bowl, add oats and pulse a few times to break them down slightly. Add protein powder and a pinch of salt, then pulse to combine with the Oreo crumbs.
- Stir the wet ingredients. In a mixing bowl, whisk peanut butter, Greek yogurt, honey, and vanilla until smooth. This helps the final mix come together fast and evenly.
- Combine wet and dry. Pour the dry mixture into the bowl with the wet ingredients. Use a sturdy spatula or clean hands to mix until a thick dough forms. If it feels dry or crumbly, add milk 1 teaspoon at a time until it holds together when pressed.
- Fold in extras. If using mini chocolate chips, fold them in now. They add texture and reinforce that cookies-and-cream vibe.
- Chill briefly. Pop the bowl into the fridge for 10–15 minutes. Chilling firms the dough and makes rolling easier.
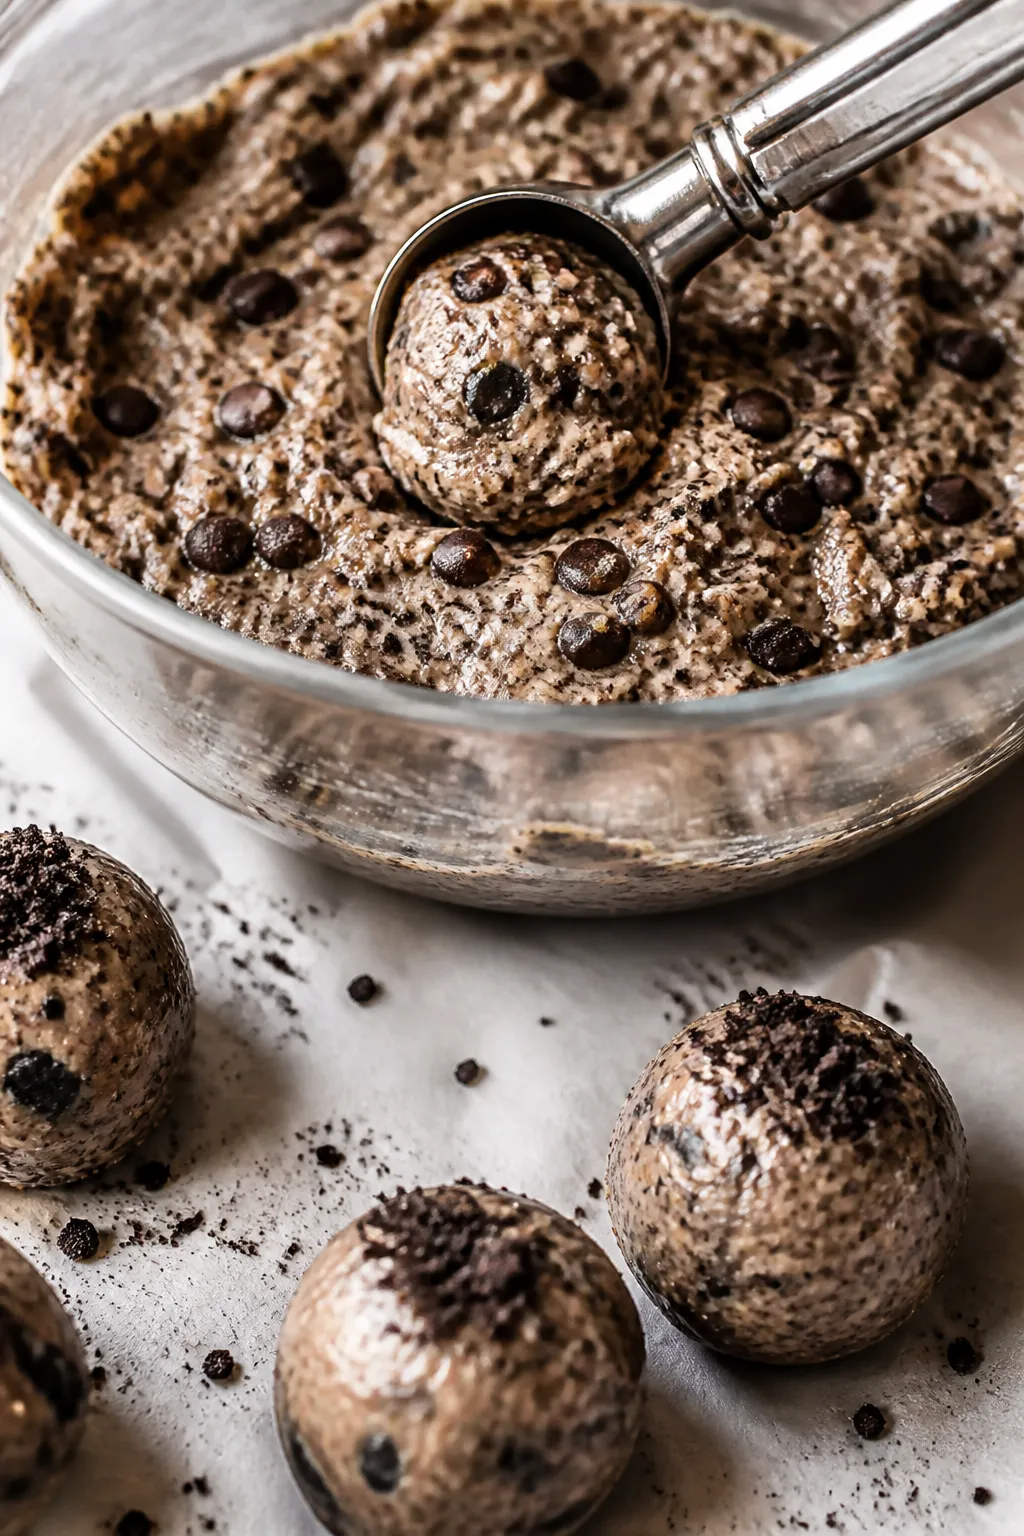
- Roll into balls. Scoop about 1 tablespoon per ball (a small cookie scoop helps) and roll between your palms. Aim for 18–22 balls, depending on size.
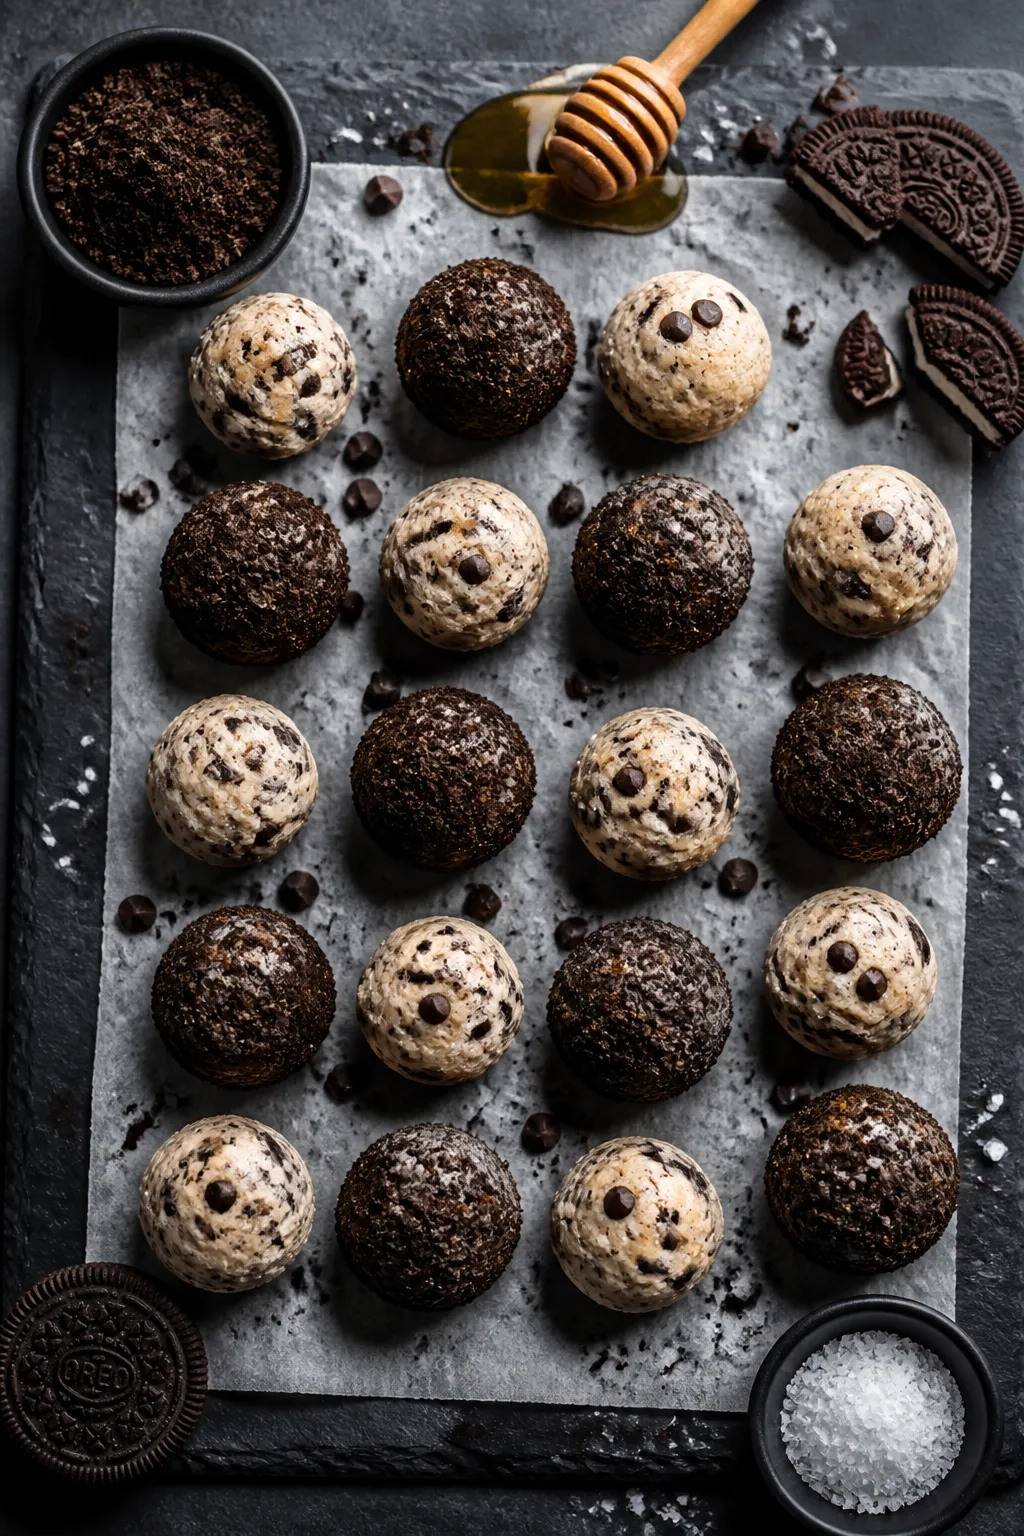
- Optional finish. Roll a few balls in extra Oreo crumbs for a bakery-style look, or lightly press a crumb topping onto the tops.
- Set and serve. Place the balls on a parchment-lined tray and chill for another 15 minutes to set. Enjoy straight from the fridge or at room temperature.
Why This Recipe Works
This recipe balances flavor and function. The Oreo crumbs add that nostalgic cookie-and-cream taste, while protein powder and nut butter supply staying power.
Using Greek yogurt (or a dairy-free option) keeps the texture soft and truffle-like without loads of sugar. A touch of vanilla and a pinch of salt sharpen the flavors so each bite tastes like a treat. Best of all, the mix is forgiving, so you can adjust moisture and sweetness to your preference.
What You’ll Need
- Oreo cookies (6–8 cookies) – Crushed into fine crumbs for classic flavor.
- Vanilla or cookies-and-cream protein powder (1 cup) – Whey, casein, or a plant-based blend.
- Rolled oats (1 cup) – Regular or quick oats for structure and fiber.
- Natural peanut butter or almond butter (1/2 cup) – Acts as a binder and adds healthy fats.
- Plain Greek yogurt (1/3 cup) – Adds creaminess and moisture.
Use dairy-free yogurt if needed.
- Honey or maple syrup (2–3 tablespoons) – Sweetens and helps bind.
- Vanilla extract (1 teaspoon) – Rounds out the flavor.
- Pinch of fine sea salt – Balances sweetness.
- Mini dark chocolate chips (optional, 2–3 tablespoons) – Extra chocolate punch.
- Milk of choice (1–3 tablespoons as needed) – Only if the mixture is too dry.
Step-by-Step Instructions
- Crush the Oreos. Add Oreos to a food processor and pulse into fine crumbs. If you don’t have a processor, seal them in a zip-top bag and crush with a rolling pin until sandy.
- Blend the dry base. In the same processor bowl, add oats and pulse a few times to break them down slightly. Add protein powder and a pinch of salt, then pulse to combine with the Oreo crumbs.
- Stir the wet ingredients. In a mixing bowl, whisk peanut butter, Greek yogurt, honey, and vanilla until smooth.
This helps the final mix come together fast and evenly.
- Combine wet and dry. Pour the dry mixture into the bowl with the wet ingredients. Use a sturdy spatula or clean hands to mix until a thick dough forms. If it feels dry or crumbly, add milk 1 teaspoon at a time until it holds together when pressed.
- Fold in extras. If using mini chocolate chips, fold them in now.
They add texture and reinforce that cookies-and-cream vibe.
- Chill briefly. Pop the bowl into the fridge for 10–15 minutes. Chilling firms the dough and makes rolling easier.
- Roll into balls. Scoop about 1 tablespoon per ball (a small cookie scoop helps) and roll between your palms. Aim for 18–22 balls, depending on size.
- Optional finish. Roll a few balls in extra Oreo crumbs for a bakery-style look, or lightly press a crumb topping onto the tops.
- Set and serve. Place the balls on a parchment-lined tray and chill for another 15 minutes to set.
Enjoy straight from the fridge or at room temperature.
How to Store
- Refrigerator: Store in an airtight container for 5–7 days. Keep them chilled for best texture.
- Freezer: Freeze in a single layer, then move to a freezer bag. They keep well for up to 2 months.
Thaw in the fridge for 30–60 minutes or at room temp for 10–15 minutes.
- On the go: Pack in a small container with an ice pack if it’s warm out. They’ll hold at room temp for a few hours.
Benefits of This Recipe
- High in protein: Between the protein powder, Greek yogurt, and nut butter, these deliver a meaningful protein boost.
- Balanced macros: You get a mix of protein, healthy fats, and complex carbs from oats for steady energy.
- No-bake and quick: Minimal prep and no oven time. Great for meal prep and busy weeks.
- Portion control: Pre-rolled balls make snacking easy to track.
- Cravings, satisfied: The Oreo flavor hits the sweet spot without a full-on dessert commitment.
Pitfalls to Watch Out For
- Too dry or crumbly: Protein powders vary.
If the dough won’t hold together, add milk or a little extra yogurt until it binds.
- Too sticky: If the mixture sticks to your hands, add 1–2 tablespoons of oats or a bit more protein powder, then chill again.
- Overly sweet: Oreos and protein powder can be sweet. Start with less honey and adjust to taste.
- Gritty texture: Quick oats or pulsed rolled oats give a better bite. Whole rolled oats can feel chunky.
- Using the wrong protein: Some isolates can make the dough chalky.
A blend (whey-casein) or a creamier plant-based mix often works best.
Variations You Can Try
- Gluten-free: Use certified gluten-free sandwich cookies and oats.
- Dairy-free: Choose a plant protein, dairy-free yogurt, and check your cookie brand.
- Birthday cake twist: Swap in vanilla sandwich cookies and add rainbow sprinkles.
- Mocha crunch: Stir in 1 teaspoon instant espresso powder and use dark chocolate chips.
- Double chocolate: Use chocolate protein powder and add cocoa powder (1 tablespoon) for a richer bite.
- Peanut butter cup: Use chocolate protein, keep peanut butter as the binder, and add chopped peanuts.
- Low-sugar: Reduce honey to 1 tablespoon and use a lower-sugar cookie alternative.
FAQ
How much protein is in each ball?
It depends on the protein powder and size, but most batches land around 6–9 grams per ball when using whey or a robust plant blend. If macros matter, weigh your ingredients and divide totals by the number of balls you roll.
Can I skip the Oreos?
Yes. Replace them with a few tablespoons of almond flour or extra oats for structure, then add a few chocolate chips and a tiny pinch of cocoa for flavor.
Need More Easy Dinner Ideas?
Get my FREE 7-Day Easy Dinner Reset and enjoy a full week of healthy dinners without the meal-planning stress.
The taste won’t be exactly Oreo, but it will still be delicious.
What if I don’t have a food processor?
Crush cookies in a bag with a rolling pin and use quick oats. Mix everything in a bowl. It takes a bit more elbow grease, but it works fine.
Which protein powder works best?
A blend designed for baking or shakes usually mixes well.
Whey-casein blends hold moisture, while plant-based blends with pea and rice proteins are great dairy-free options. Avoid very thin isolates that make the dough dry unless you add more yogurt or milk.
Can I make these nut-free?
Yes. Swap peanut or almond butter for sunflower seed butter or tahini.
Check the cookie label for cross-contamination if needed.
How do I prevent the balls from sticking to my hands?
Chill the dough and lightly dampen your hands or coat them with a tiny amount of neutral oil. A small cookie scoop also helps keep sizes even and mess down.
Do they taste like protein powder?
Not if you balance moisture and sweetness. The Oreo crumbs, vanilla, and a pinch of salt help mask any chalky notes.
If your powder tastes strong, add an extra spoon of yogurt or a drizzle of maple to smooth things out.
Can I coat them in chocolate?
Absolutely. Melt dark chocolate, roll or drizzle over the chilled balls, and let set. It’s extra, but it turns them into serious dessert bites.
Are they good pre- or post-workout?
They work for both.
For pre-workout, pair one or two with fruit. For post-workout, have two or three with water or milk for quick recovery.
Can kids eat these?
Yes, if they tolerate the ingredients. For kids, you might reduce the protein powder slightly and add a little extra oats to keep the texture soft and the flavor balanced.
Final Thoughts
High Protein Oreo Protein Balls are your answer to sweet cravings and busy schedules.
They’re simple, flexible, and ready in minutes, with a fun cookies-and-cream payoff. Keep a batch in the fridge for weekday snacks, post-gym bites, or a quick dessert that doesn’t derail your goals. Tweak the base to fit your diet, and you’ll have a go-to recipe you’ll actually make again and again.
Enjoy the treat, enjoy the protein, and enjoy the ease.
Printable Recipe Card
Want just the essential recipe details without scrolling through the article? Get our printable recipe card with just the ingredients and instructions.
Loved This Recipe?
If you're looking for more simple, healthy dinners your family will actually eat, grab my FREE 7-Day Easy Dinner Reset. You'll get 7 easy dinner recipes, simple grocery lists, and a done-for-you plan that takes the stress out of mealtime.